-
Notifications
You must be signed in to change notification settings - Fork 0
Week 1_1(en): Starting with HTML
Let's learn about the structure of Web and What HTML & CSS are.
html_1
Let's try making our simplest code using HTML!
- Open NotePad application
These instructions are made assuming the user is using Windows OS - Type in the following code
<h1>This is my first page.</h1> - Save the file as
index.html
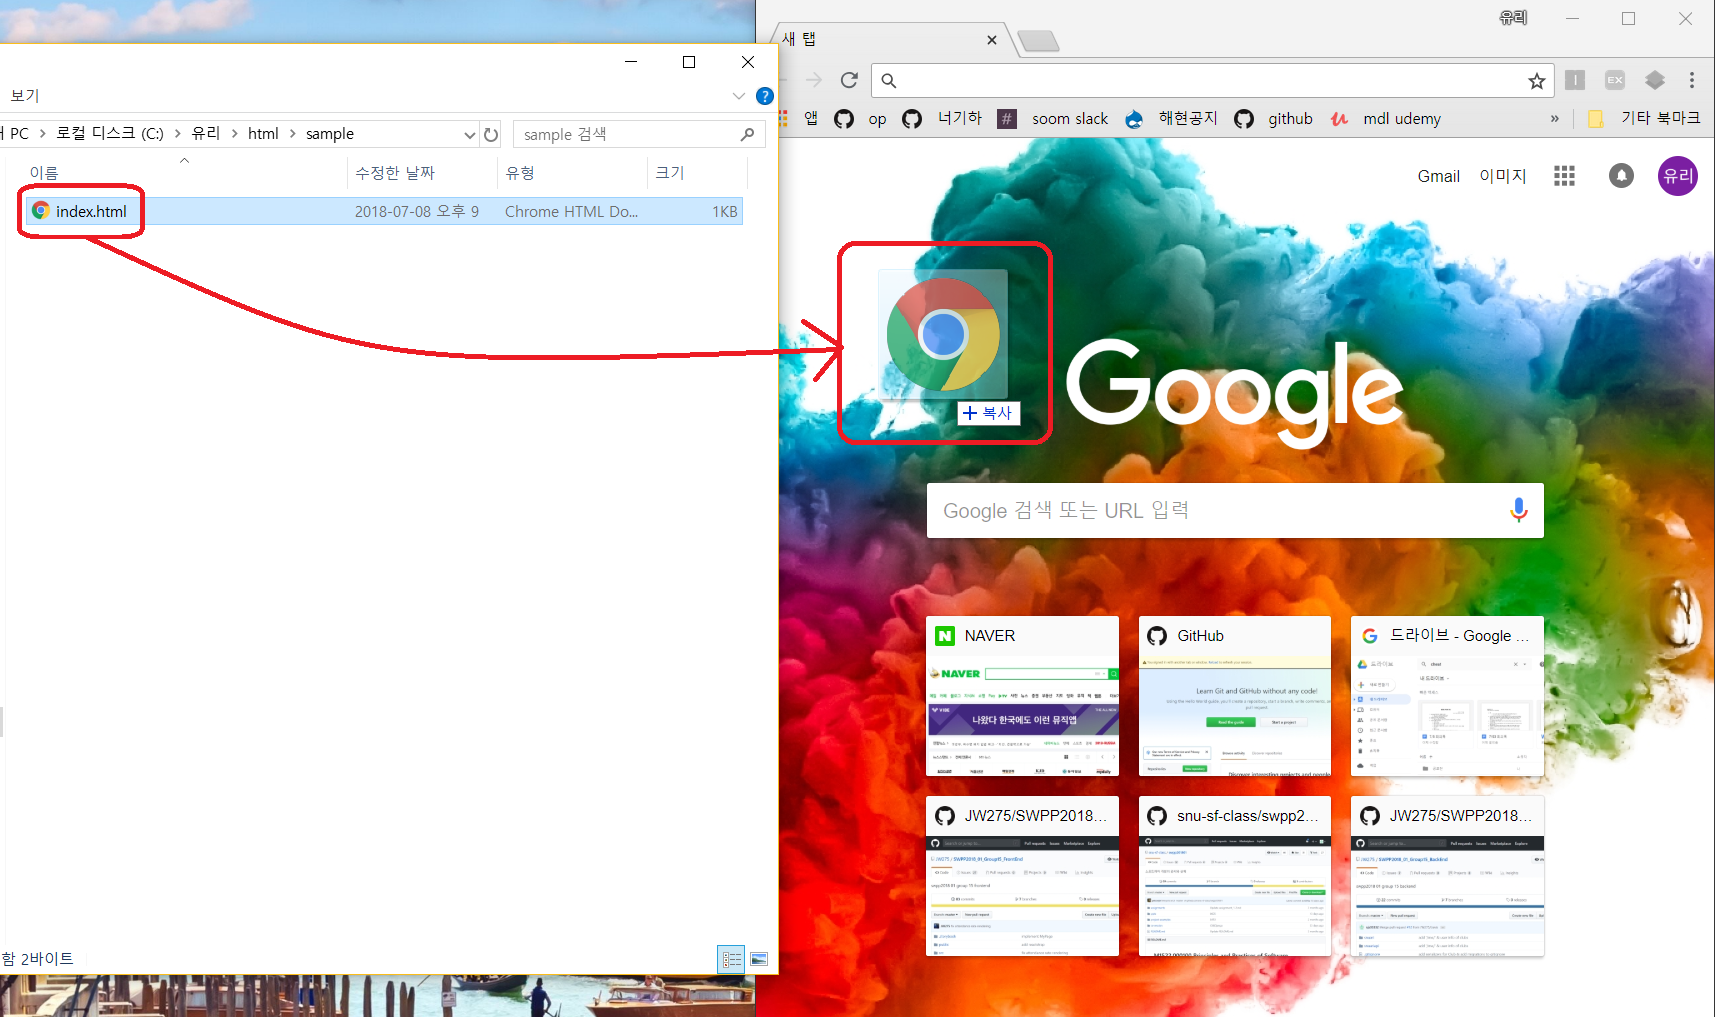
Make sure you set the file format to 'All files' - Find the file from File Explorer and drag the file to a new tab in Chrome browser

- You have just made your first code with HTML!
The <h1> is a heading 1 tag, which is used to define the most important heading.
Try adding some code to your index.html file like below.
<!-- start of page -->
<h1>This is my first page.</h1>
<!-- explanation about my feelings -->
<p>I am very proud of it.
  Hurray! <br />
  Would you like to take a look at it?</p>
Then, drag it to your browser again to view how your page has changed.
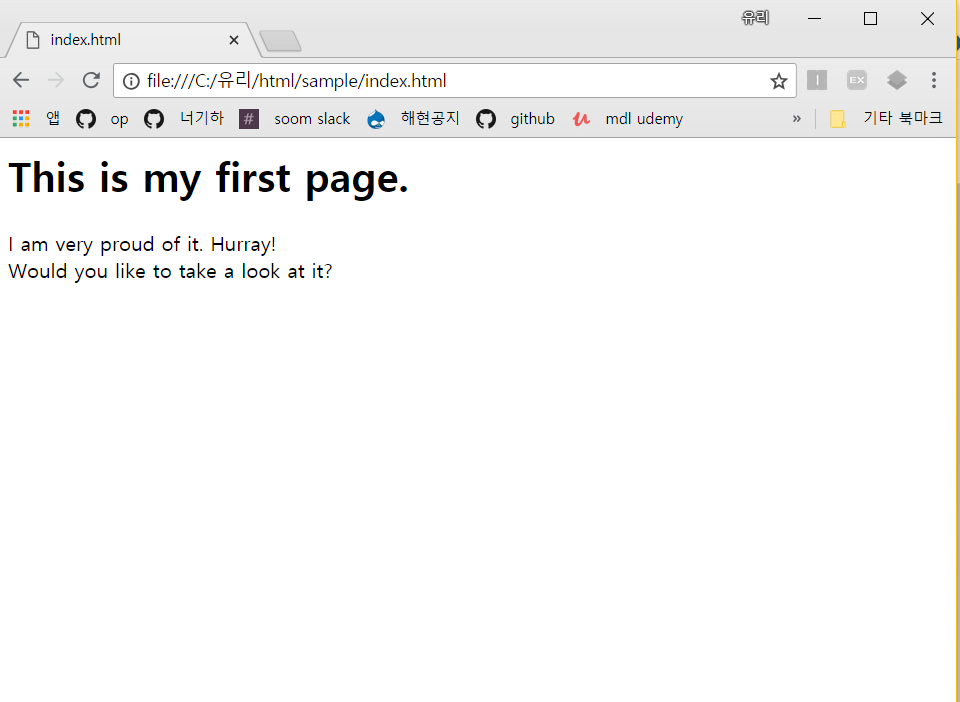
Your page should look similar as below.
 What kind of changes do you notice? Let's go over them.
-
You cannot see the content between
<!--and-->on the browser!
This is because<!--and-->are used to indicate the start and the end of a comment.A comment is a piece of code which is ignored by the browser. It is used to clarify codes. Using comments is a good practice to enhance code readability as your code gets more complicated.
-
The content displayed by the
<p>tag is smaller
The<p>tag is used to indicate paragraphs -
Pressing Enter on your code does not mean a new line on the browser!
HTML ignores new line made by pressing the <Enter> key.
(It also does not reflect 2 or more spaces between letters) - Instead, the
<br>tag makes a line break -
The
<br>tag does not have an end tag!
Elements with only a start tag and no content or end tag are called empty elements.
Empty elements can be closed in the opening tag like this:<br />. (This means exactly the same thing as<br>)
Try replacing your index.html file with the following code.
<h1>Things to do</h1>
<ol>
  <li>Listen carefully to today's class</li>
  <li>Have a splendid dinner</li>
  <li>Go to the grocery store to buy the following items</li>
</ol>
Check how your page looks on your browser.
-
<ol>tag is for ordered lists - We use
<li>tags to represent each listed item
What if you wanted to add a list of items to buy below the third <li> element?
Just like you put <li> tags in between the start and end tags of <ol>, you can simply add elements inside another element! This is called nesting.
Try changing a part of your index.html code like the following.
...
  <li>Go to the grocery store to buy the following items
    <ul>
      <li>Eggs</li>
      <li>Onions</li>
      <li>Cereal</li>
    </ul>
  </li>
...
Check how it looks on your browser.
As you may have guessed, the <ul> tag is used for unordered lists.
In HTML, it is a convention to break line and indent 2 spaces when nesting elements, but this is not mandatory. (However, it is recommended to follow the convention for code readability.)
We can have a better understanding about nested relations using trees to visualize them.
Here is an example of a simple HTML code.
<html>
  <head>
    <title>About Nested Relations</title>
  </head>
  <body>
    <p>
      To quote Yuri, <q>It is very important to understand nested relations in HTML.</q>
    </p>
  </body>
</html>
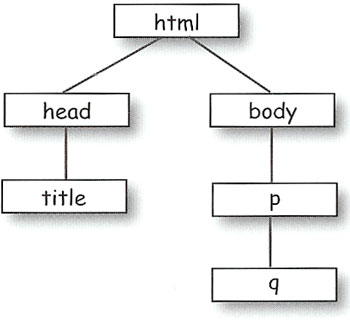
The structure of this code can be translated as the following tree diagram.

In the diagram, the <html> tag is the root tag.
The parent of <head> is <html>, while <head> has one child, <title>.
The following is the basic HTML document structure.
<!DOCTYPE html>
<html>
  <head>
    <meta charset="utf-8">
    <title>Yuri's Page!</title>
  </head>
  <body>
    <h1>This is my first page.</h1>
    <p>I am very proud of it.</p>
  </body>
</html>-
<!DOCTYPE html>lets the browser know that we are using modern HTML code.
This should come at the very beginning of the code to make sure the browser reads our code using HTML5. - The whole code is inside the
<html>element. The browser will now know that this file is an HTML file. - The
<head>element contains information about the web page.- The
<meta>tag with the attributecharsetset as"utf-8"tells the browser we want access to utf-8 character sets on our page.
Notice that the<meta>is an empty element, just like<br>!
(We will get to attributes soon, don't worry if you do not know what it is for now.) - The
<title>tag contains the title of our page, which is showed on the top of our browser tab.
- The
- The content to be displayed is inside the
<body>element.
Note that only the content inside the<body>element is displayed in a browser.