-
Notifications
You must be signed in to change notification settings - Fork 1
3. Combine chambers into a single segment
Oliver Fischer edited this page Mar 18, 2022
·
1 revision
- Prepare molds and materials.
- 3 fiber reinforced chambers from 2. Create Individual Chambers
- sensor assembly from 1. Sensors & Cabling (top bundler piece + wrapped sensor + cable)
- 3 mm rods
- shell pieces
- Clean surface of the chambers with isopropanol for good silicone-to-silicone adhesion.
- Combine the bend sensor and cable, 2 chambers, and φ3mm rods (for air tunnels) using the bundler piece
- put approx. 1 cm of silicone tubing as reinforcement around the end of each 3mm rod. This has the same effect as the silicone tubing cast together with the plugs in 2. Create Individual Chambers. Clean the surface of these silicone tubes as well.
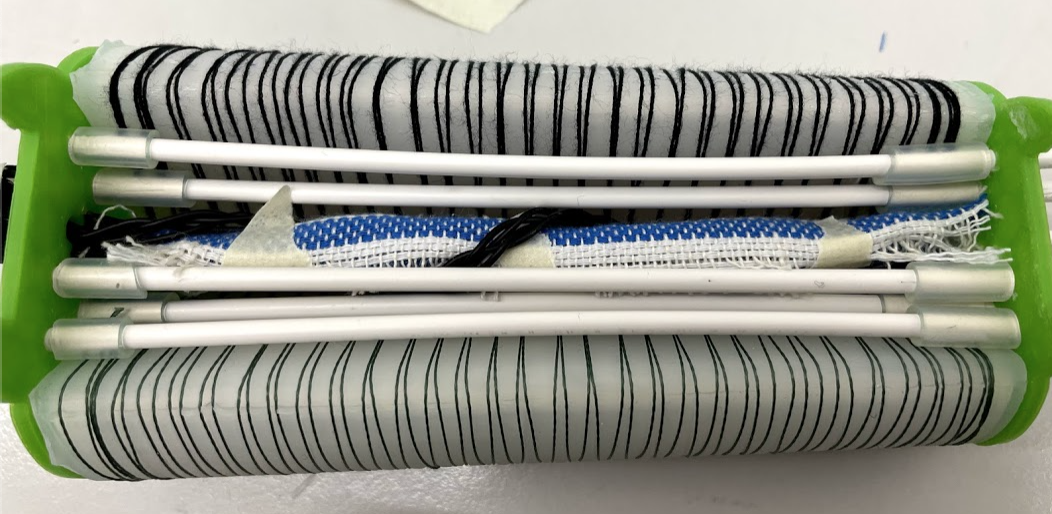
- This is a rather finniky step especially for larger segments with more rods, have patience!
- put approx. 1 cm of silicone tubing as reinforcement around the end of each 3mm rod. This has the same effect as the silicone tubing cast together with the plugs in 2. Create Individual Chambers. Clean the surface of these silicone tubes as well.
- Place the assembly inside the shell piece. This can prevent silicone from leaking from the gap between the chambers.

- Pour silicone approx. 5mm below the top, and let the silicone cure. (this two-step casting will take more time, but lowers the risk of cavities forming after combining all 3 chambers) Do NOT put this into the oven for curing, since it has electronic parts inside. (TODO change to more recent picture which uses the shell piece and not the rubber band)
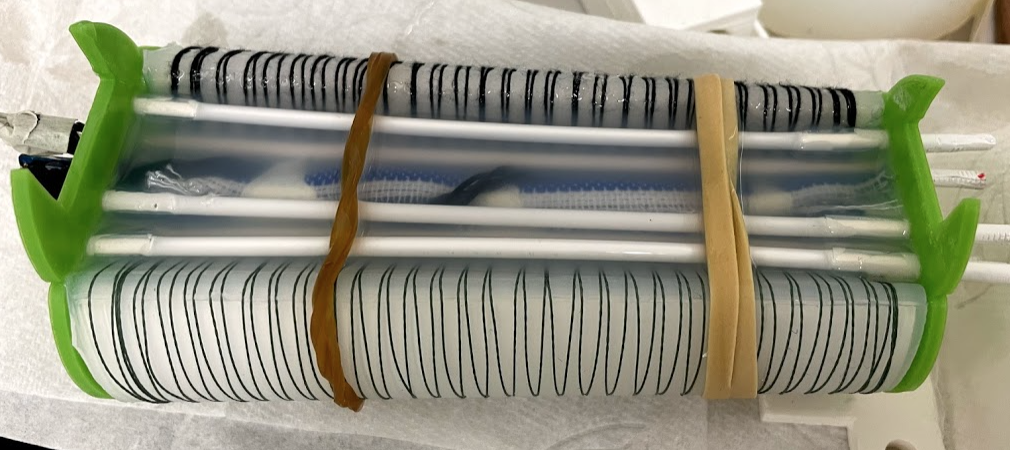
- After curing, pour a layer of silicone to both the bundled piece (from the previous step) and the flat surface of the third chamber (spread the silicone across the entire surface like butter on toast), and place the third chamber on top. Wrap the entire assembly with the shell piece, and secure with rubber band to prevent third chamber from lifting up.
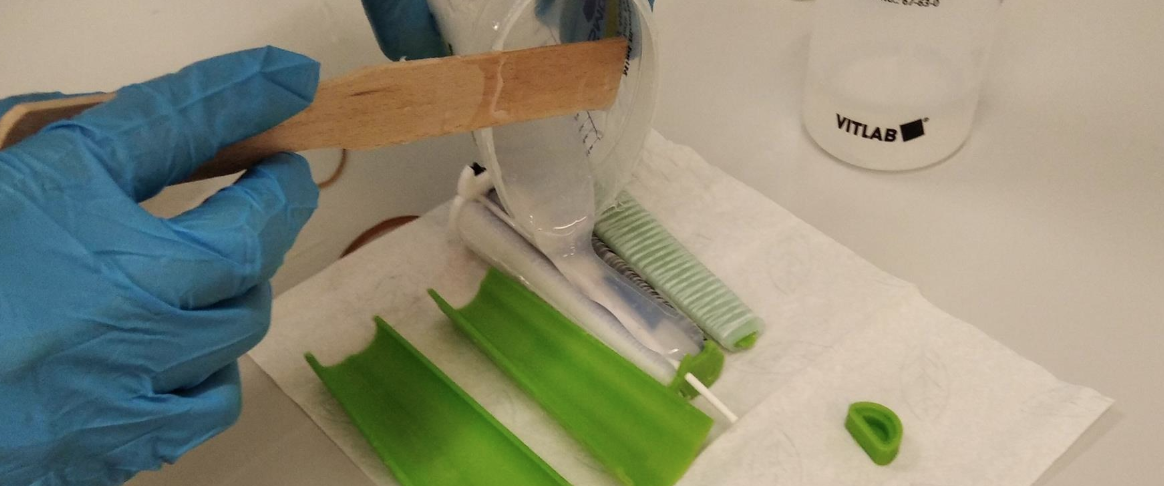
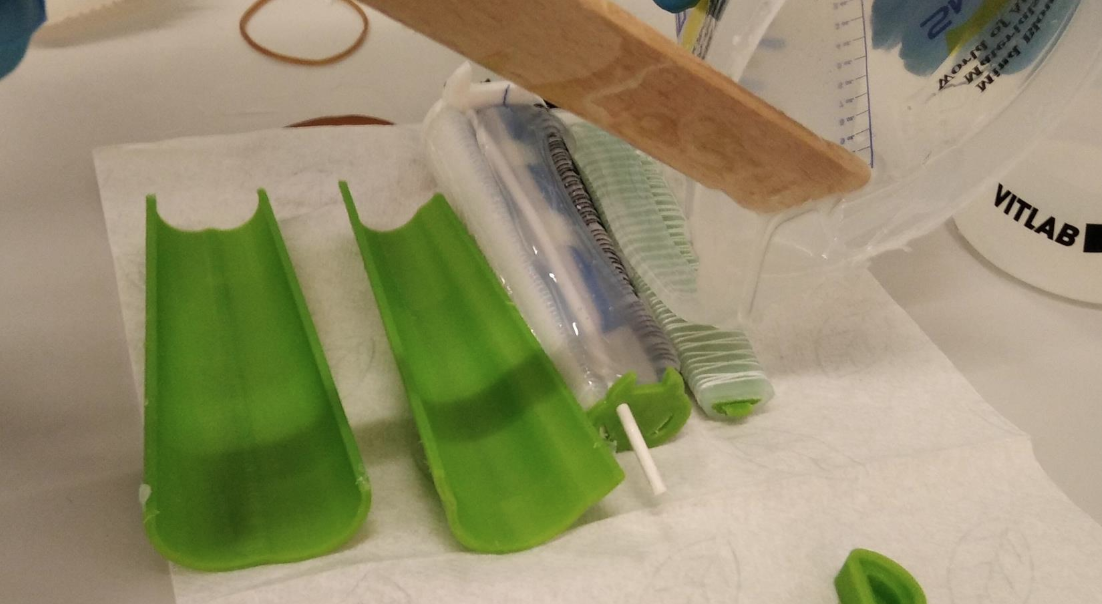
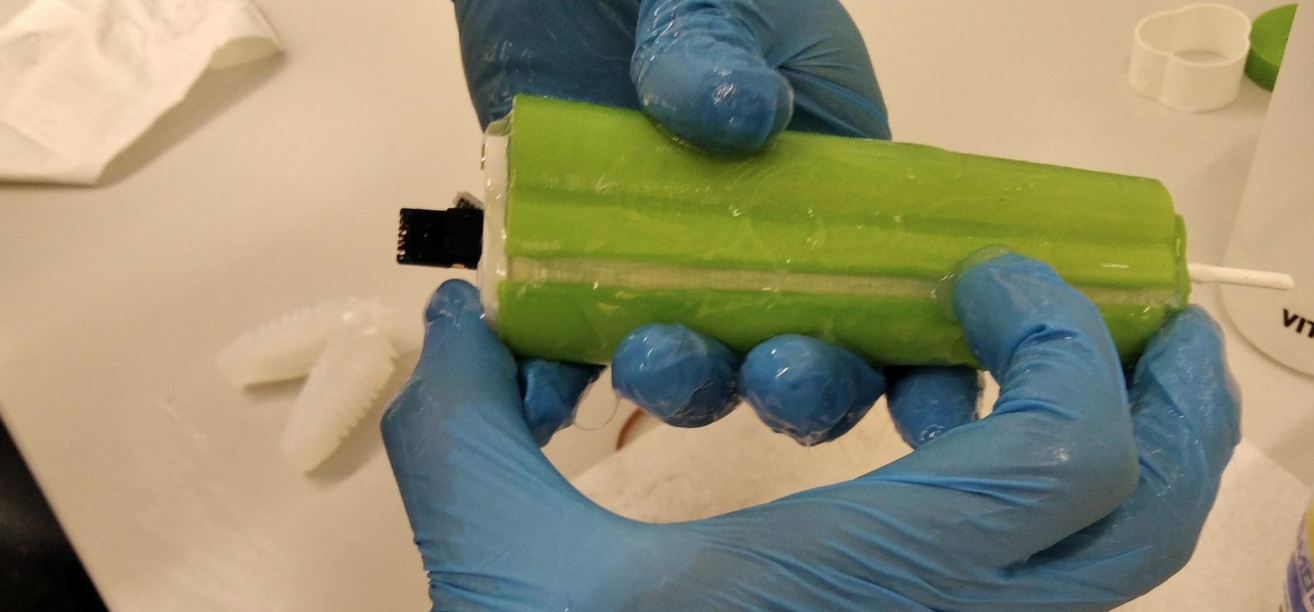
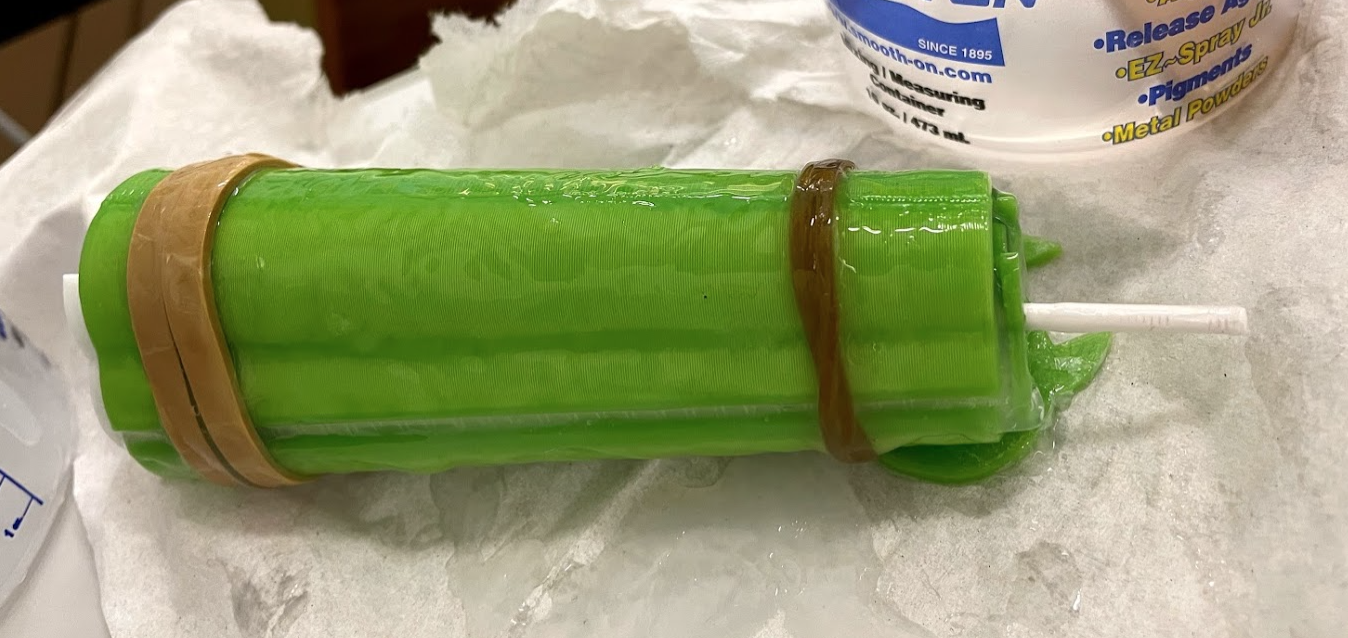
- after it cures if there is a gap between the third chamber and the rest like this, patch it before moving on to the next step.
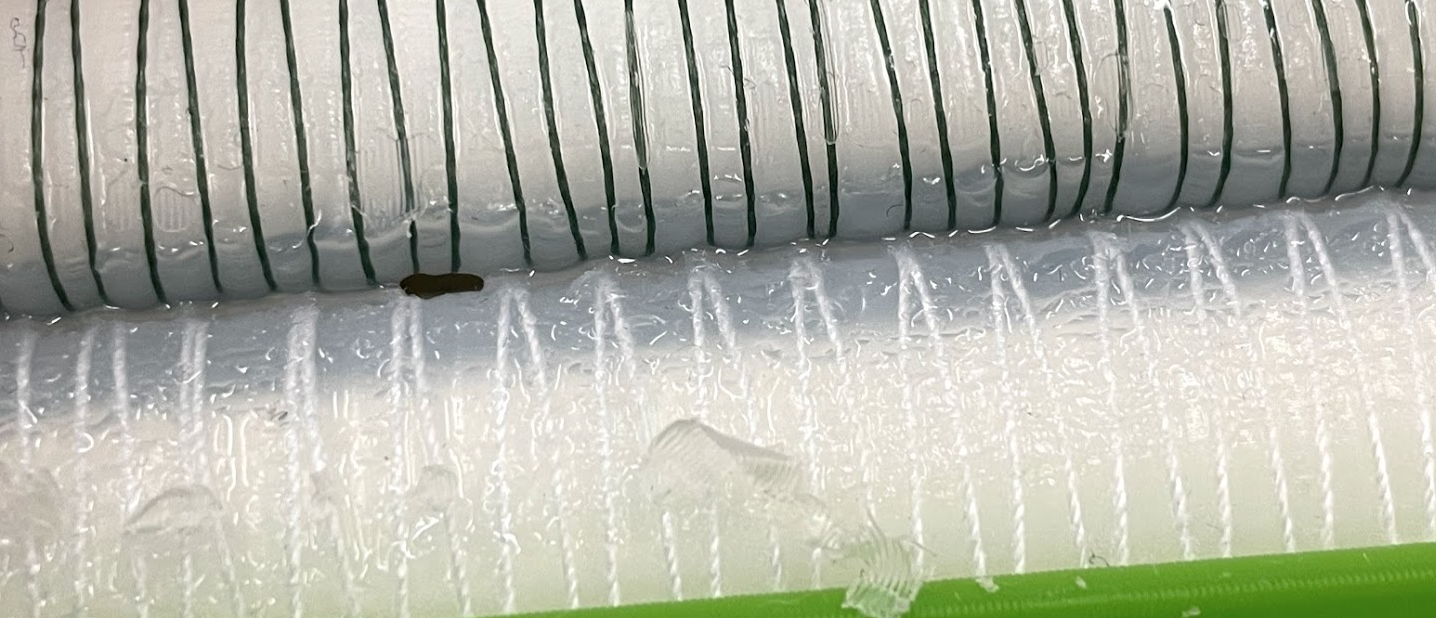
- after it cures if there is a gap between the third chamber and the rest like this, patch it before moving on to the next step.
- Apply thin layer of silicone to the inner surface of both parts of the shell, and wrap the three-chamber assembly with the shell. Use rubber band to secure. This will coat the outer surface of the chamber, fixing the fibers in place. (This can be done in the same step as last if you’re more confident in your silicone casting skills)
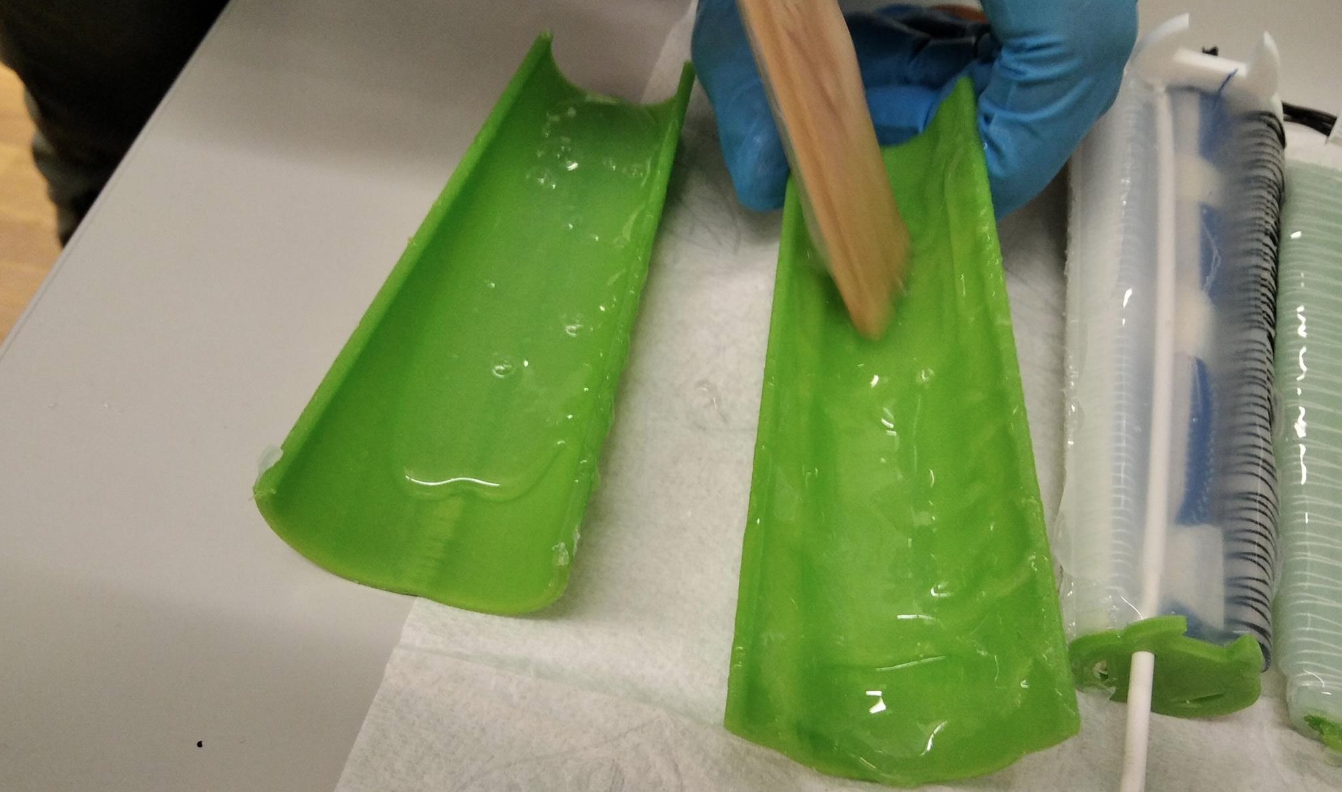

- Pull out rods from the cured silicone. It's easier to pull it out after twisting it around
- It is geometrically impossible to remove the bundler piece on the top (because of sensor shape), therefore cut it up to remove it

- Remove the core from each chamber (with pliers). For easier extraction, pour isopropanol inside and propagate it between the silicone and 3D printed mold. I hope you've done the screwdriver process in 2. Create Individual Chambers because without it it's very hard to remove the cores.
- Make sure the plugs with inlet holes have the silicone tube cast inside. You can check by looking at the ceiling light through the tube and checking that the material around the hole is different. If it doesn't have the silicone tubes, air will leak!
- Glue on (with DS10 or Silpoxy) the plugs on the ends of each chamber to create airtight segment. Apply glue to both sides being glued (green marked areas) for better adhesion. Obviously clean both sides with IPA before gluing.
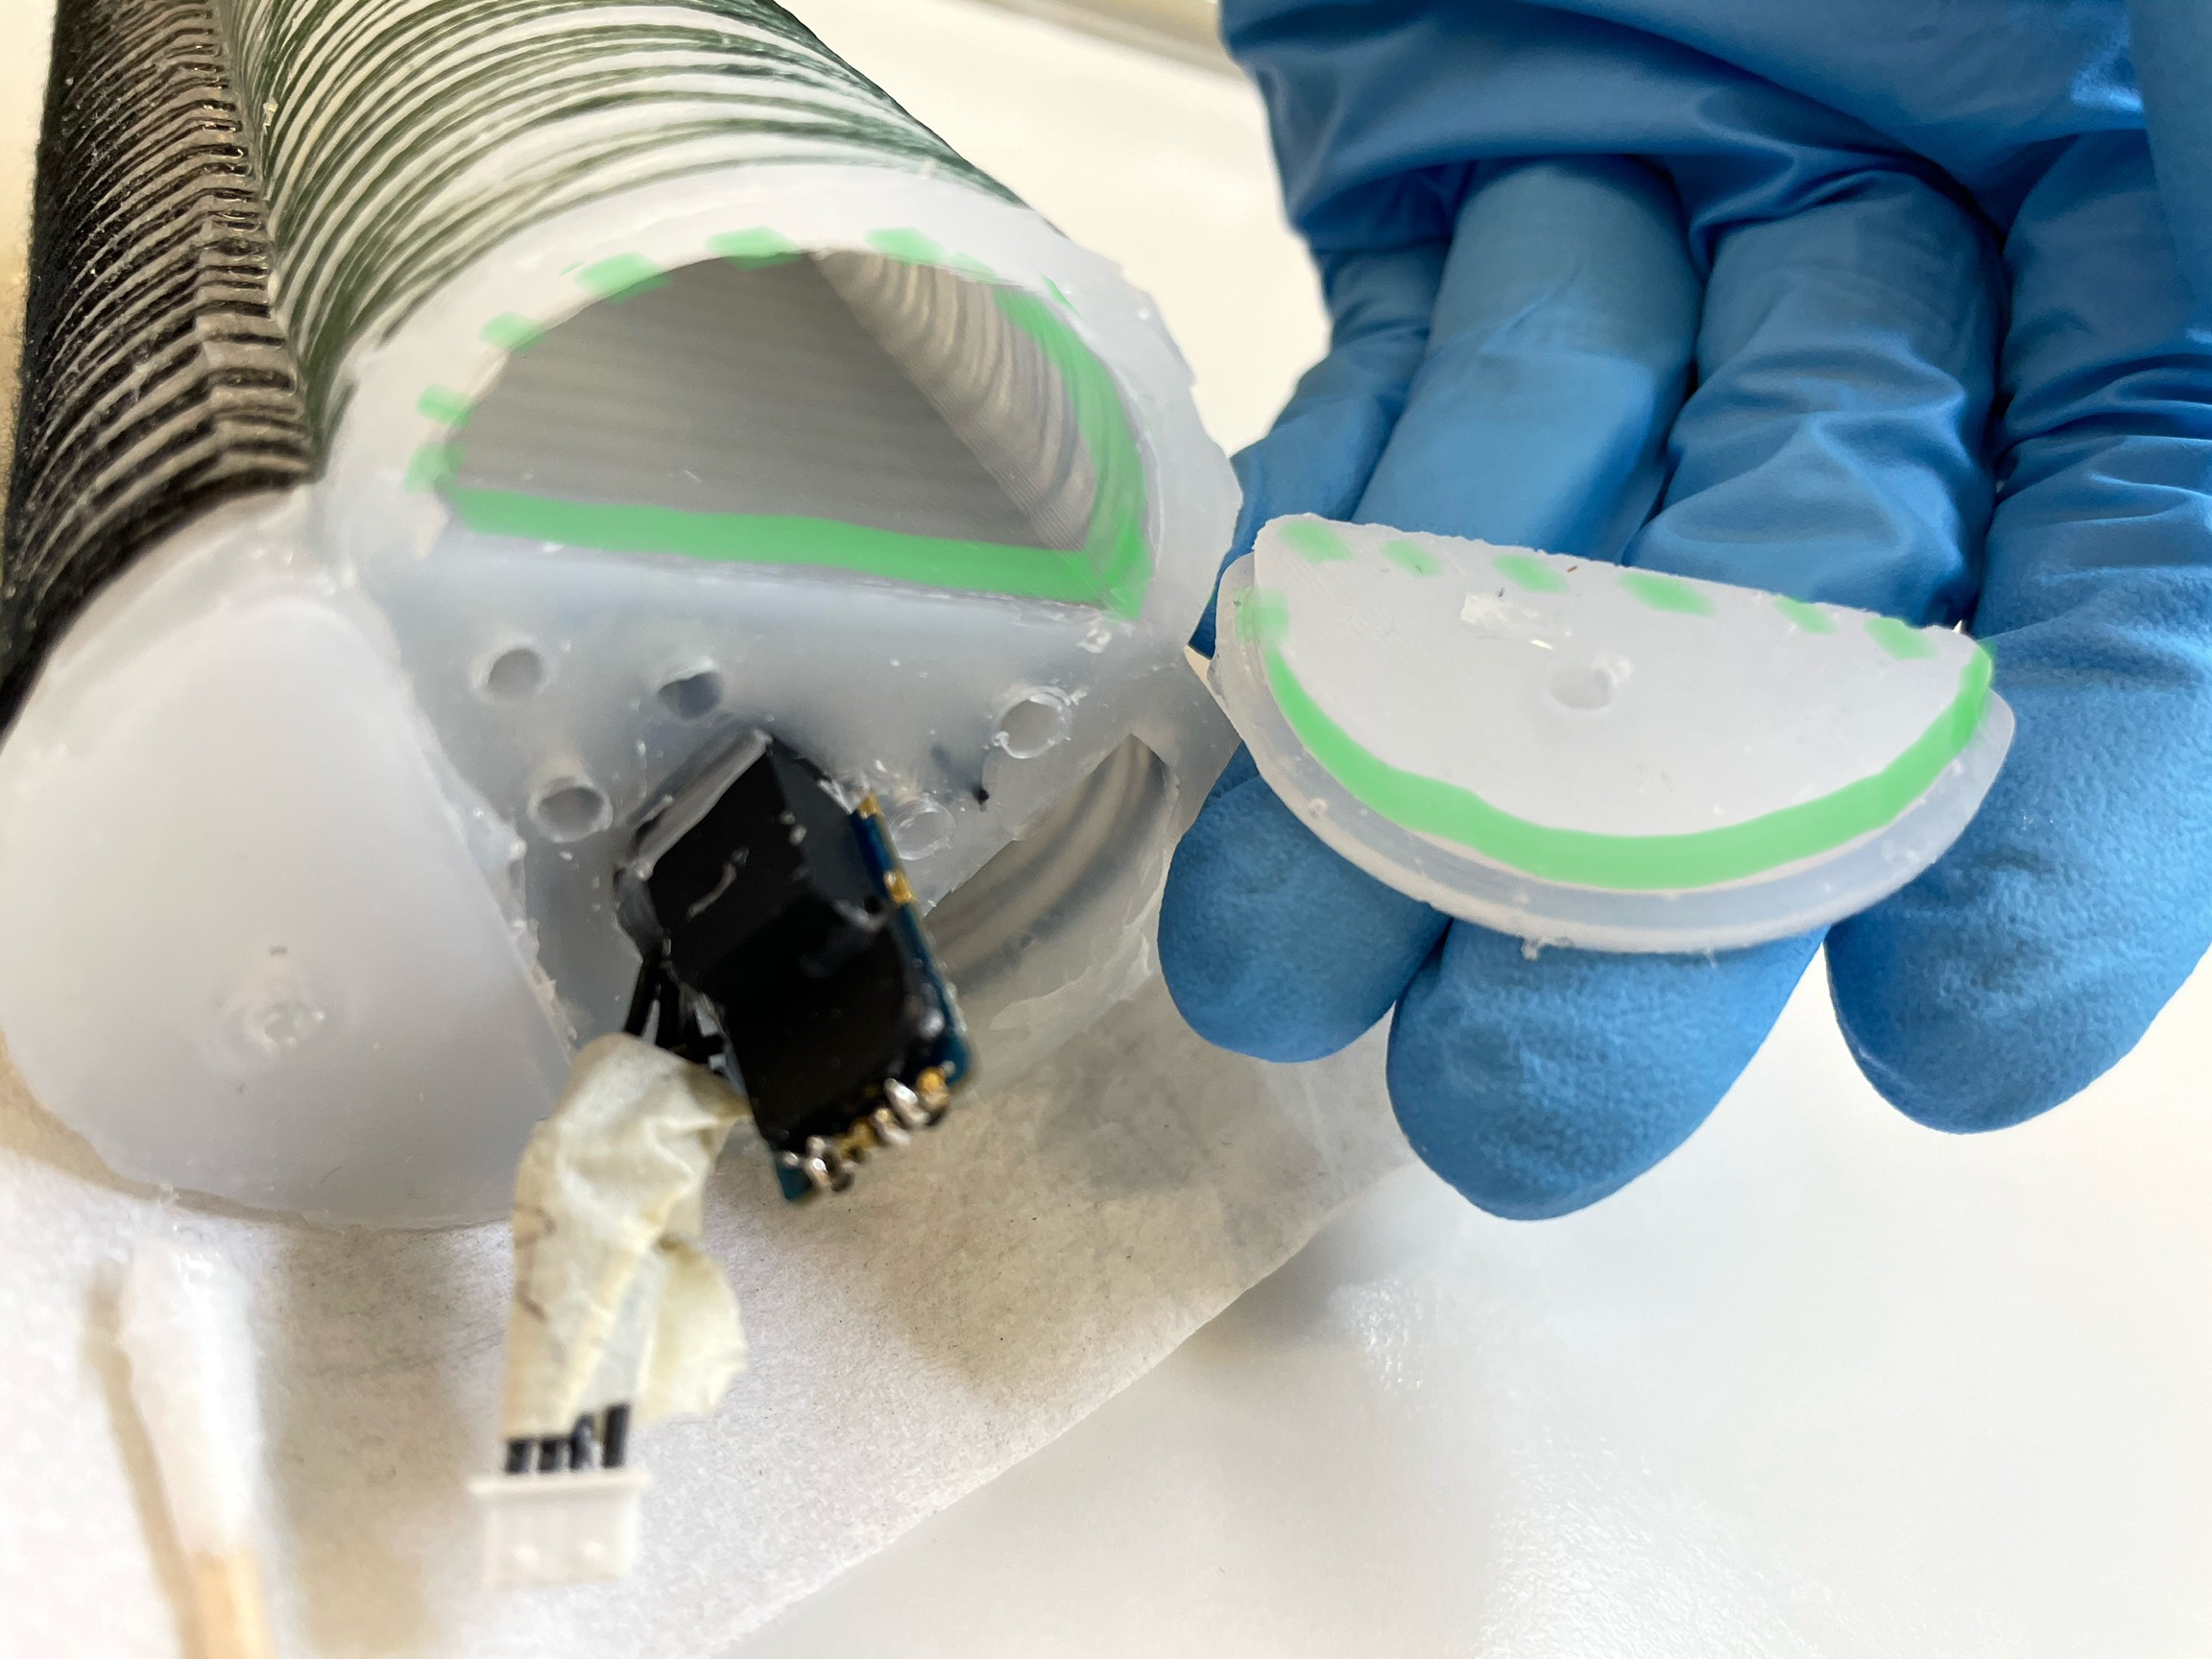
Use a syringe to
- test each chamber. Do they actuate without leaking? Often there is a gap between the chamber and plug, if this is the case find out where the leak is from and apply more glue to the area.
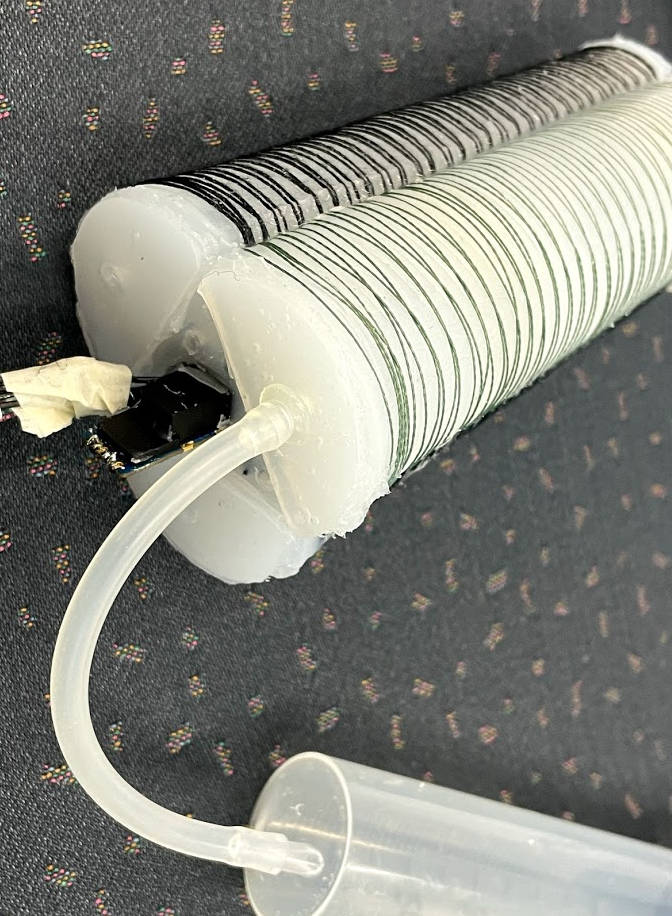
- test each air tunnel. First, does air pass without blockage? Next, block the air at the other end. Is there no air leaking out from somewhere else?