-
Notifications
You must be signed in to change notification settings - Fork 0
Lab 2.2 ‐ Create Boilerplate Blazor app
First, scaffold a new Blazor application. Later in the labs, we want to leverage the automatic interactivity mode that allows us to seamlessly switch between Server or Client side rendering. Therefore, we use the blazor template with the auto interactivity mode.
- In the Terminal in your Codespace, type:
dotnet new blazor -int auto -o code/start/HmsBlazorThis command Created a new Blazor project that you can now find in the file explorer in your codespace.

After creating the application, you can now load it into the solution explorer. This is done by selecting the files explorer and at the bottom goto the solution explorer

Now load the solution that you just created.
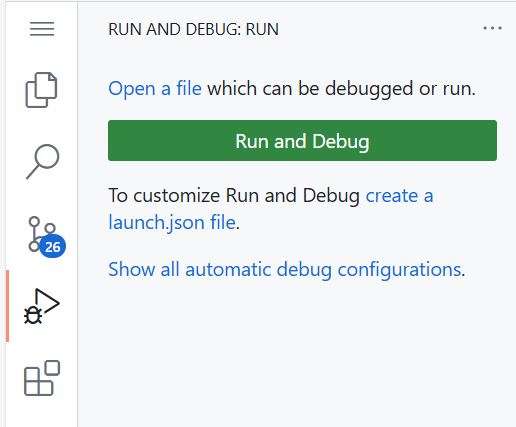
In Codespaces you can run and debug the application, the same way as you can do this on your local machine. To start debugging the just created application you go to the debug icon on the left side of the codespace.

you now see the following window where you can control the debugging session

Now click the Show all automatic debug configurations and you will see in the top of the window the option to select a debug session with C#
Here you select C#:

Here you can now pick the solution we just loaded

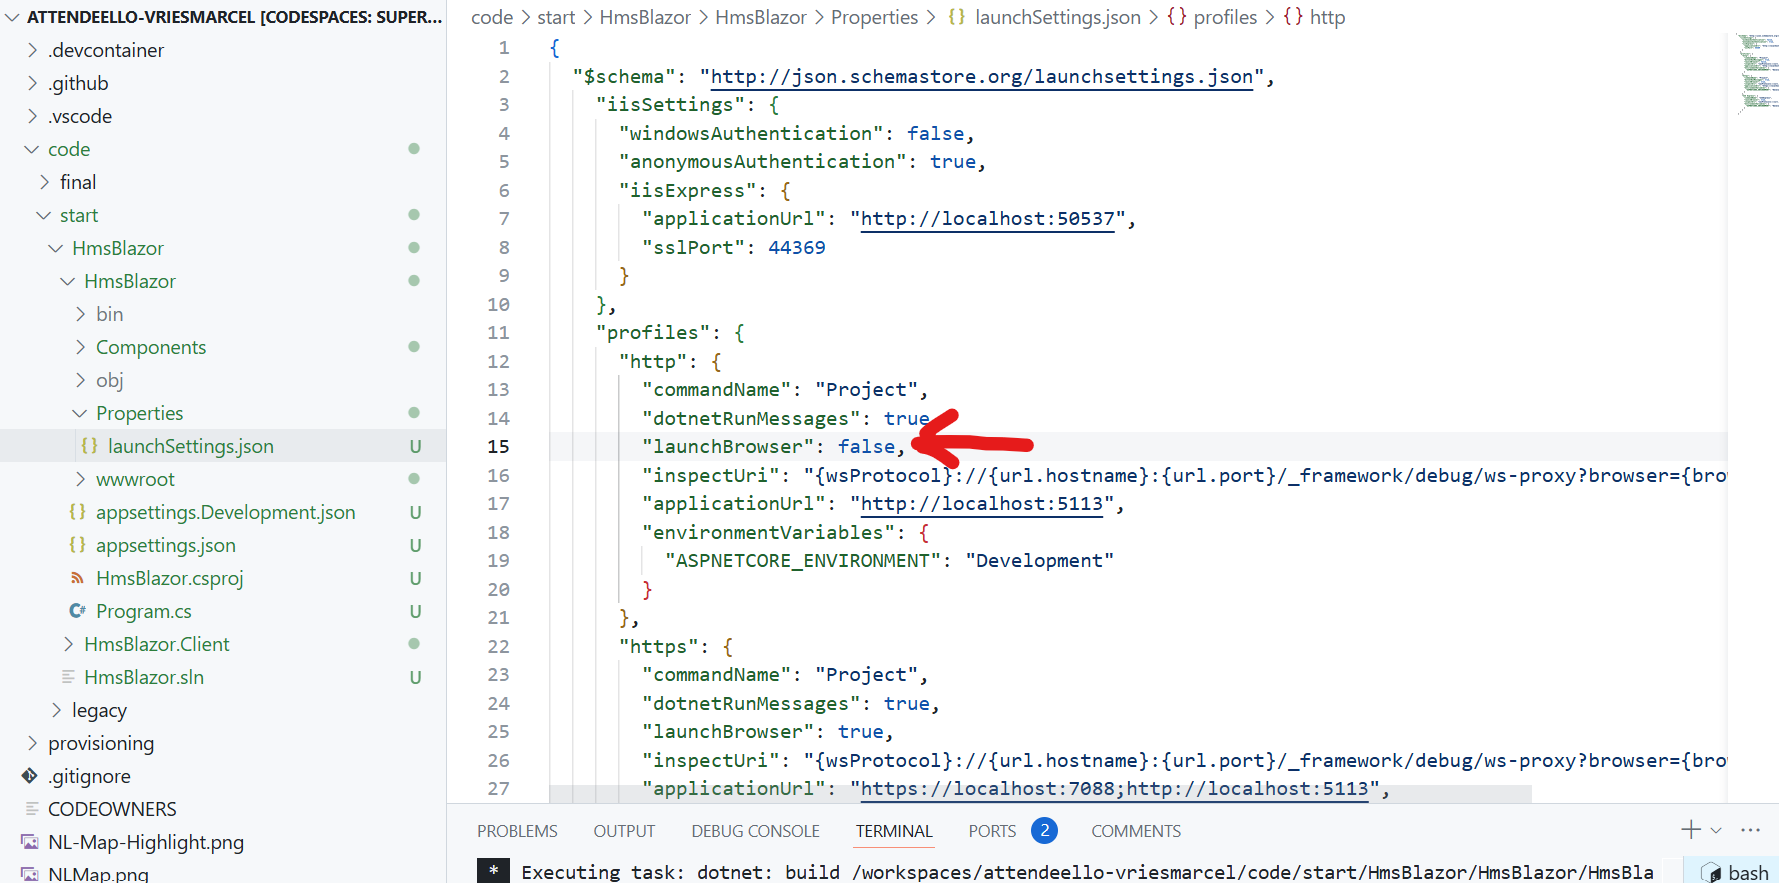
⚠️ After the build starts, you will get an error message that there is no valid browser installed. This is a known issue when debugging blazor applications. You can fix this by making a change to thelaunchSettings.jsonsettings in the blazor project. You can see that here in the screenshot

Here you set the property launchBrowser to false
Now try again and browse manually to the application. You will see the popup now show that there is a localhost port which is forwarded from the external URL of your Codespace. You can now browse to that URL:

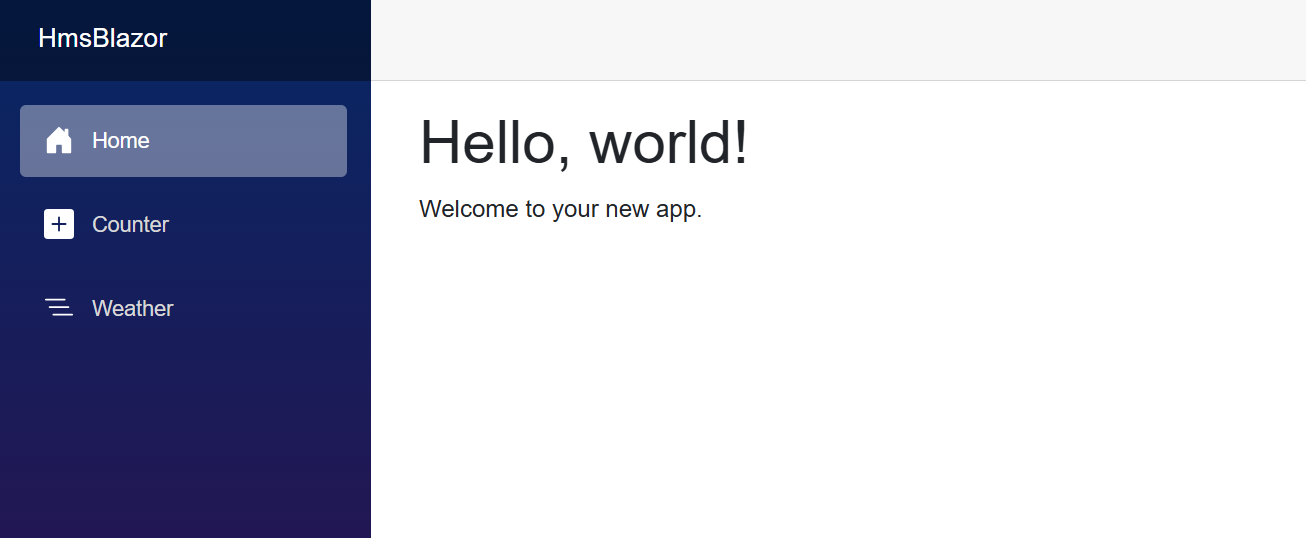
Click the Open in Browser button and you will see the application running

Now, we will start the migration. In this first iteration, we will reuse the existing DataAccess logic from the Forms application.
- Copy the
DataAccess.csfile from thecode/start/legacy/Project_HMS/Project_HMSfolder into your new Blazor app (incode/start/HmsBlazor/HmsBlazor). If you like, you can change the namespace the class is in, or leave it as is. For this lab, we assume that the fully qualified class name will remainProject_HMS.DataAccess. - For interacting with SQL Server, the old code uses the
System.Data.SqlClientlibrary. This has been replaced by Microsoft by a more modern implementation calledMicrosoft.Data.SqlClientwhich comes as a Nuget package. We need to install it:
dotnet add code/start/HmsBlazor/HmsBlazor/HmsBlazor.csproj package Microsoft.Data.SqlClient- Now we just need to change 1
usingstatement at the top of theDataAccess.csfile that you copied:
using System.Data.SqlClient
Now becomes:
using Microsoft.Data.SqlClient;
Now you can compile your Blazor application again.
In Blazor, we can use Dependency Injection for using the DataAccess class in our pages. Therefore, we need to register it in the DI Container.
- Open
Program.csin yourHmsBlazorproject - Find the following line:
var app = builder.Build();- Just before this line, add:
builder.Services.AddScoped<Project_HMS.DataAccess>();Since we're using a development container for SQL Server, we need to tweak the connection string in DataAccess.cs so that we don't run into connection errors.
- On
line 43inDataAccess.cs, at the end of the connection string, add:
;TrustServerCertificate=True
This will make the SqlConnection accept the development certificate that the SQL Docker container returns.