-
Notifications
You must be signed in to change notification settings - Fork 0
Lab 1.2 ‐ Setup Codespace
The objective of this Hands-On Lab is to get you familiar with GitHub Codespace and to set up a Codespace for your repository with specific extensions and configurations. You can then use this codespace to work on the exercises in the next Labs. 🔨
Each Codespace you create is hosted by GitHub in a Docker container, running on a virtual machine. You can choose from a selection of virtual machine types, from 2 cores, 8 GB RAM, and 32 GB storage, up to 32 cores, 64 GB RAM, and 128 GB storage.
By default, Codespaces are created from an Ubuntu Linux image that includes a selection of popular languages and tools, but you can use an image based on a Linux distribution of your choice and configure it for your particular requirements.
We have already prepared a Codespace definition that sets you up for today's labs. You can find it in the /.devcontainer folder in your repository. The definition here will be used when you create a new Codespace.
- Navigate to your own repository on the URL https://github.com/XpiritCommunityEvents/attendeello-[yourhandle].
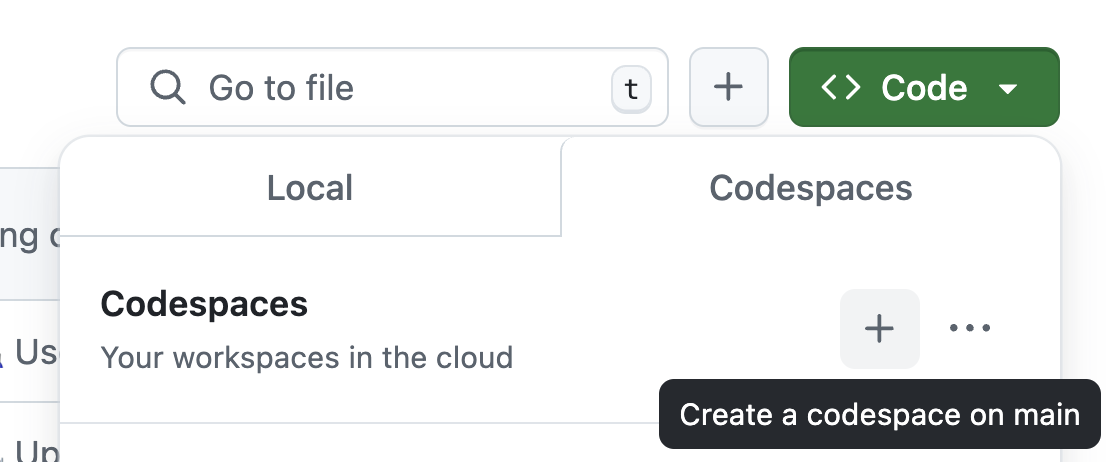
- Locate the "Code" tab near the top menu. Next to Codespaces, click the "+" button. When you hover over it, a popup will say "Create a codespace on main":

Your Codespace is being created. After a minute or so, you will be able to see your Codespace in the browser. It will look very similar to the Visual Studio Code UI.
We've prepared your Codespace with some pre-configured extensions. In the file .devcontainer/devcontainer.json in your repo, you will find the following section:
	// Configure tool-specific properties.
	"customizations": {
		"vscode": {
			"extensions": [
				"ms-dotnettools.vscode-dotnet-runtime",
                "ms-dotnettools.csharp",
				"ms-azuretools.vscode-docker",
				"github.copilot",
				"ms-dotnettools.csdevkit",
				"ms-mssql.mssql"
			]
		}
	}
The most notable extensions pre-installed here are:
-
github.copilot: allows us to chat with GitHub Copilot in later labs -
ms-dotnettools.csdevkit: the C# devkit, needed for working with .NET solutions -
ms-mssql.mssql: SQL Server explorer for running queries on the SQL Server in our solution
The .devcontainer/devcontainer.json file also mentions some event handlers:
	"onCreateCommand": "bash ./.devcontainer/on-create.sh",
	"postCreateCommand": "bash ./.devcontainer/post-create.sh",
	"postStartCommand": "bash ./.devcontainer/post-start.sh",
These are lifecyle events of the Codespace that allow you to run scripts. We use these lifecyle events for some additional provisioning. Feel free to explore these scripts a bit. Here is what we added:
on-create.sh
Upon creation of the Codespace, we make sure that we have dev https certificates setup in the dotnet toolchain. Also, we run dotnet workload update to make sure we have the latest versions of the .NET workload sets.
dotnet dev-certs https --clean && dotnet dev-certs https --trust
sudo dotnet workload update
post-create.sh
After the Codespace is fully created, the post-create.sh script does the following:
#!/bin/sh

my_repo=$(gh repo view --json name -q ".name")
my_codespace=$(gh codespace list -R XpiritCommunityEvents/$my_repo -q '.[] | select( .state == "Available" )' --json name,state | jq -r '.name')

gh issue create --assignee roycornelissen,vriesmarcel --title $my_codespace --label "provisioning" --body "Please provision my codespace" -R XpiritCommunityEvents/LegacyLiftOffWorkshop

gh codespace ports visibility 7219:public --codespace $my_codespace
Using the GitHub CLI, gh, we figure out the name of the current repo (your repo) and the name of the currently active codespace.
Then, we automatically create an issue on our template repo XpiritCommunityEvents/LegacyLiftOffWorkshop with the name of the codespace as title and label provisioning. We use this for registering the public URL of your Codespace with our Entra ID app registration for the authentication lab later today.
Finally, we run gh codespace ports visibility ... to make port 7219 publicly visible. This is the port the Blazor application we will create runs on. We need the port to be publicly visible for our authentication lab as well.
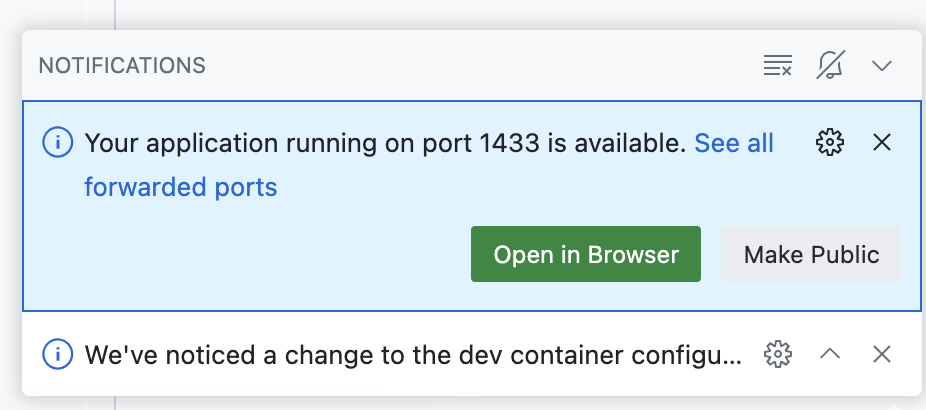
After your Codespace has started up, you will also notice a notification in the lower right corner after some time:

This is due to our final script:
post-start.sh
# pull and start the HMS database
docker run -d -p 1433:1433 marcelv/project_hms_db
After starting the Codespace, it pulls a docker image named marcelv/project_hms_db. This is SQL Server running in a Docker container[https://github.com/microsoft/mssql-docker], with the HMS database pre-built and pre-seeded. SQL Server runs on port 1433, hence the notification that this port was made available.
So, after creating your Codespace, you are completely ready to go.
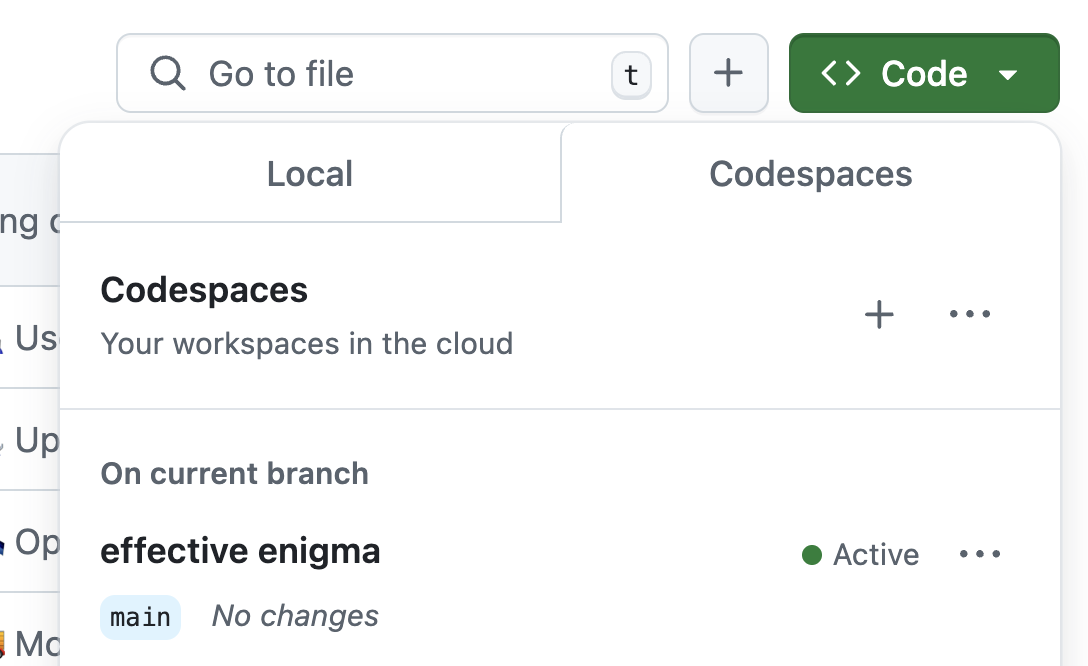
Keep the tab with your Codespace open for the remainder of the day. In case you accidentally close it, you can always go back to it on the Code tab of your repo, via the green Code button:

Imagine a new developer joining the team and hitting the ground running with a Codespace like this, because there is no yak shaving involved getting to the first commit 🚀