-
Notifications
You must be signed in to change notification settings - Fork 2
Interface
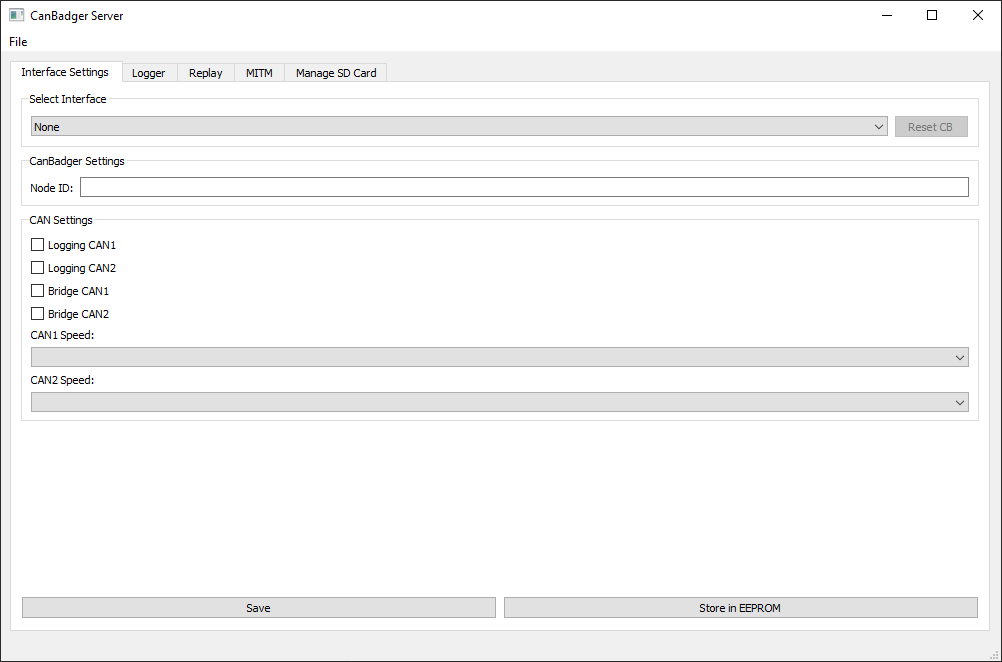
The Interface Tab is initially shown when starting the CANBadger GUI. Here you can select a CanBadger to connect to and tweak some settings to get started fast.

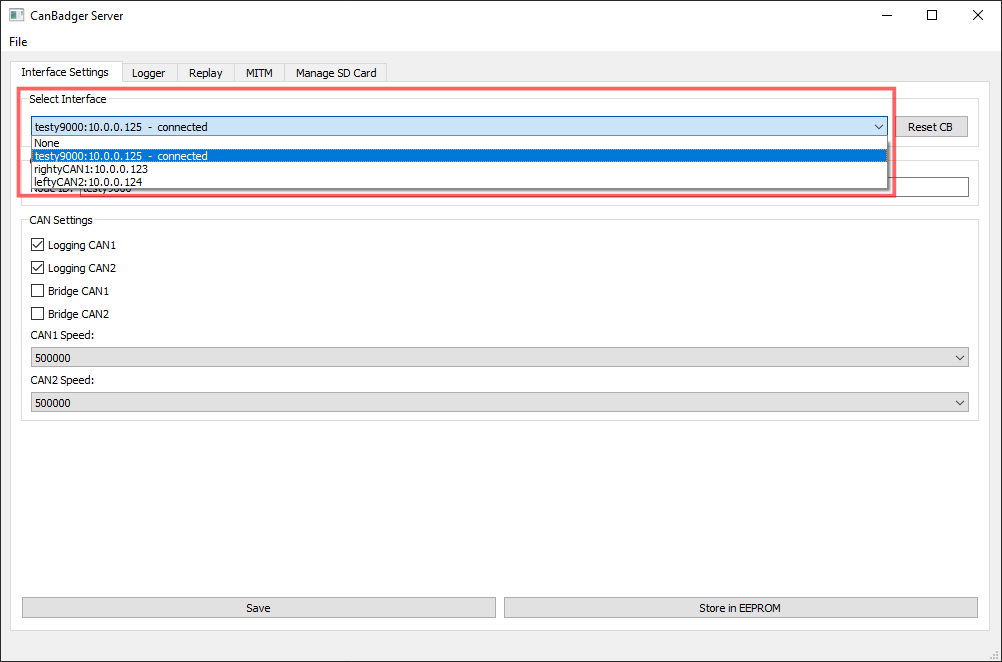
To connect to a CANBadger in your network, open the dropdown selection. It lists all the available CANBadgers with their IDs and IPs. It will also show available connections over SocketCAN (on Linux).

Selecting a CANBadger will try to connect to it. A successfull connection will be noted behind the selected device. To disconnect from a CANBadger, you can click "None", or just connect to another device available.
The "Reset CB" button will restart the firmware of the selected CANBadger, which can be used for reloading with different settings or to punish missbehaving Badgers.
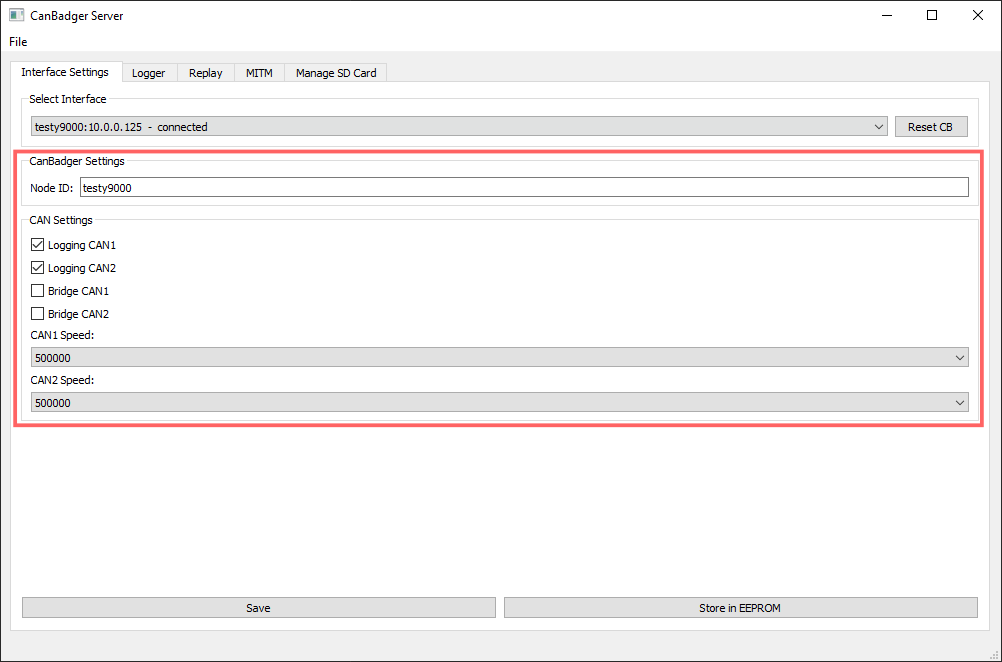
When successfully connecting to a CANBadger, the Node ID and the CAN Settings will show its internal settings. You can customize your CANBadgers ID and its CAN Interface Settings here comfortably.

Your changes will only be written to the CANBadgers SD with the "Save" button at the bottom. If you want to write the settings into the EEPROM, use the "Store in EEPROM" button. You can read more about the CANBadgers settings and the EEPROM here.
Visit our website for more information, customized automotive security hardware or trainings.