-
Notifications
You must be signed in to change notification settings - Fork 4
Ripping Models

This guide aims to give an in-depth walkthrough on how to import models and levels from the Sonic Adventure titles using this Blender Addon. This guide is strictly for importing files.
Before we get started, you'll need to dump out the game assets by creating a Mod Project using the SA Tools. You can download the latest builds through the following links:
Please follow the tutorial for the SA Tools Hub for setting up projects. Once you have created a project, the below steps will cover importing models and levels from your project into Blender.
In case you made it here without having the addon installed, please (see here for installation guide).
There are two methods for importing assets into Blender. The first method is your standard File -> Import.
- To import Model files: "File -> Import -> Sonic Adv. Model (.*mdl)"
- To import Level files: "File -> Import -> Sonic Adv. Level (.*lvl)"
 \
\
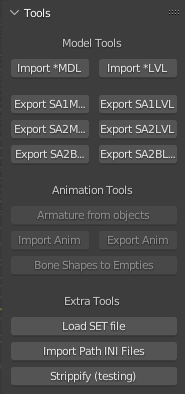
The second method to import models is done directly in the Tools panel in the SA Tools tab within the Viewport. The Import *MDL and Import *LVL buttons do exactly what their names imply.
Once your asset is imported, you should be able to start taking a look around it in the main scene in Blender. Please note, some levels may take a second to import as they may have a lot of data to be processed. You may also need to increase your view distance if you would like to see the level without it clipping.
Example Character Import
Example Level Import
 Level imports also come with two types of sub Collections when imported. A Visual and a Collision collection.

The Visual contains all level models that are rendered when the level is played. The Collision contains level models are have their attributes set to solid, but are invisible. In SA1/DX, your main level will be mostly comprised of Visual objects as it used used the level models for both visual and collidable surfaces.
Now that you have your model or stage imported, you probably want the model to have its textures. Thankfully this addon also supports auto-assigning textures.
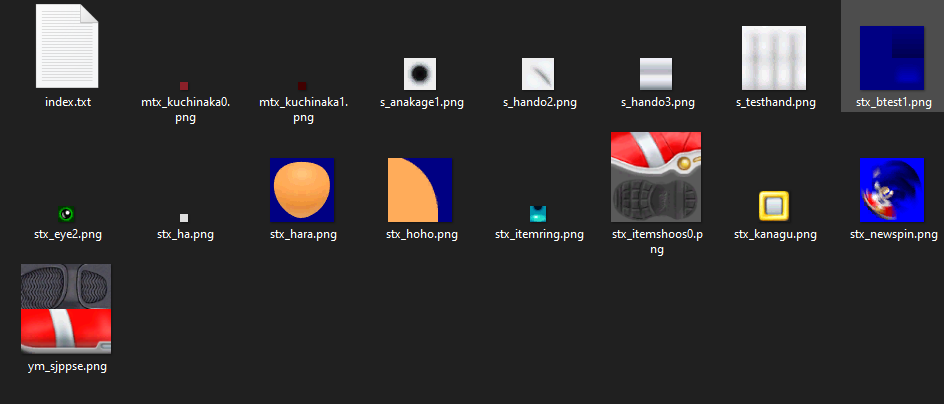
First, you will need to export your textures to a Texture Pack. This can be done using Texture Editor in the SA Tools. In the Texture Editor tool, simply load the texture file you need to use, and use the File>Export All option to export an index.txt file. You can follow this guide for more indepth information
Once your textures are saved to a folder with index.txt, it should look a little something like this:
In the Scene Information panel of the SA Tools tab, you'll find the Texture List Info box. This will show any loaded textures for use in your scene.
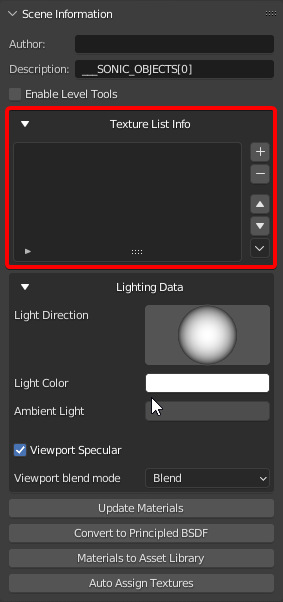
Expand the Texture List properties, and click on the Texture List Specials button ![]() . Then select the Import SA Tex File option:
. Then select the Import SA Tex File option:
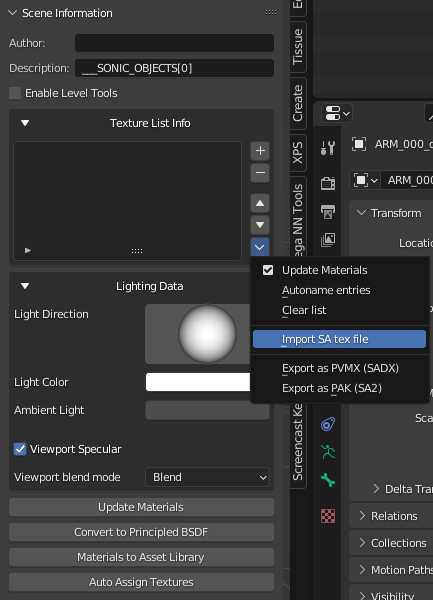
The addon currently supports two methods of input, Texture Packs or a Texlist file. This guide strictly refers to using a Texture Pack.
At the bottom of the Scene Panel in the SA Tools Tab, you'll find the update materials button. Simply click the button and your model will now be using the correct textures.
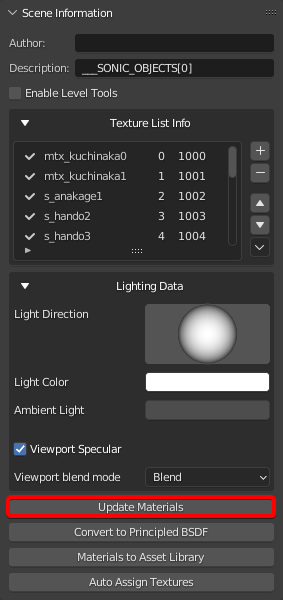
Once you have updated the materials, your model or level import will be textured! Huzzah!
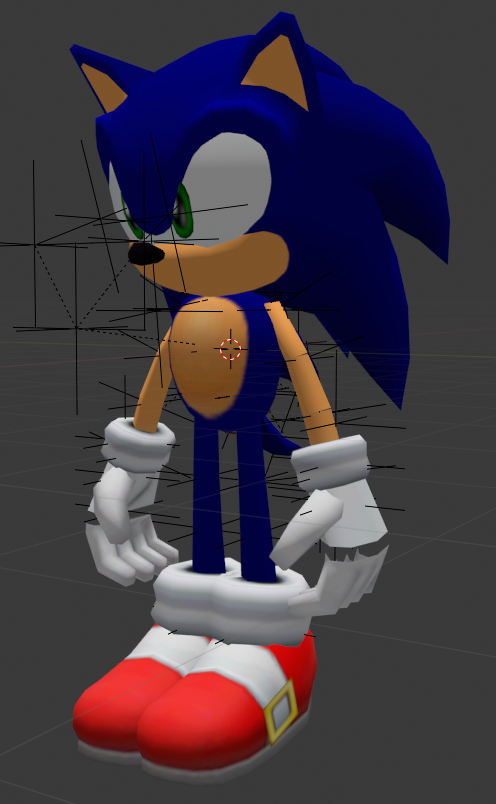
For model files, this tool also supports loaded in animation files that have been converted from *.saanim to *.json.
The following information is extremely important
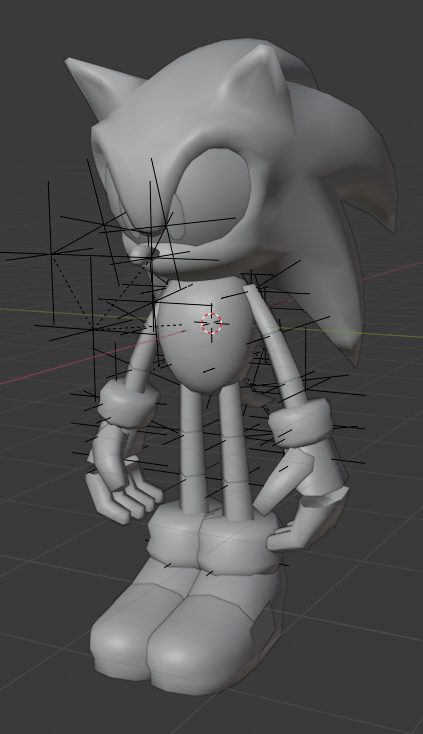
To import an animation, you will need an object that is setup as an armature. Not all models will import with an armature. Thankfully though, this addon can convert non-armature objects to armatures easily. The following are examples of an armature and non-armature object.
Example of an Armature Object:
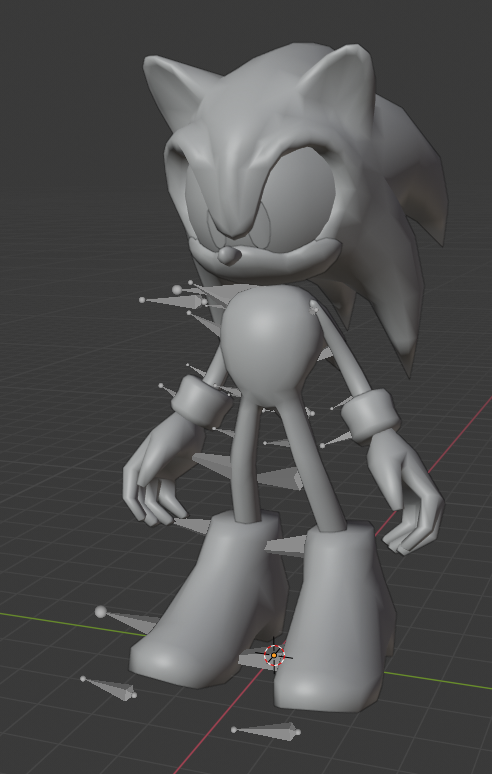
Example of a Non-Armature Object:

If you have imported a mesh with an armature, you can skip to Animation Conversion or to Animation Import. If you do not, please complete the next step before continuing.
To convert a non-armature, simple select the root node of your object. It will be the very first object in the imported collection.

Once selected, go to the Tools panel within the SA Tools Viewport Panels and press the Armature from objects button.
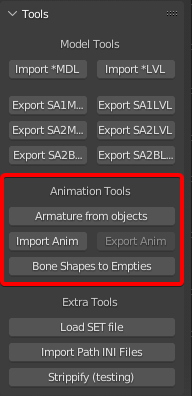
A prompt with will open asking you for a Rotation mode and if you wish to merge the meshes.
- Rotation Mode
- Simply leaving this on the default (Quaternion) is fine.
- Merge Meshes
- This option will merge the mesh data into a single mesh on conversion.
Once you have adjusted the options the way you want them, simply press OK and a new armature containing the mesh data will be created.
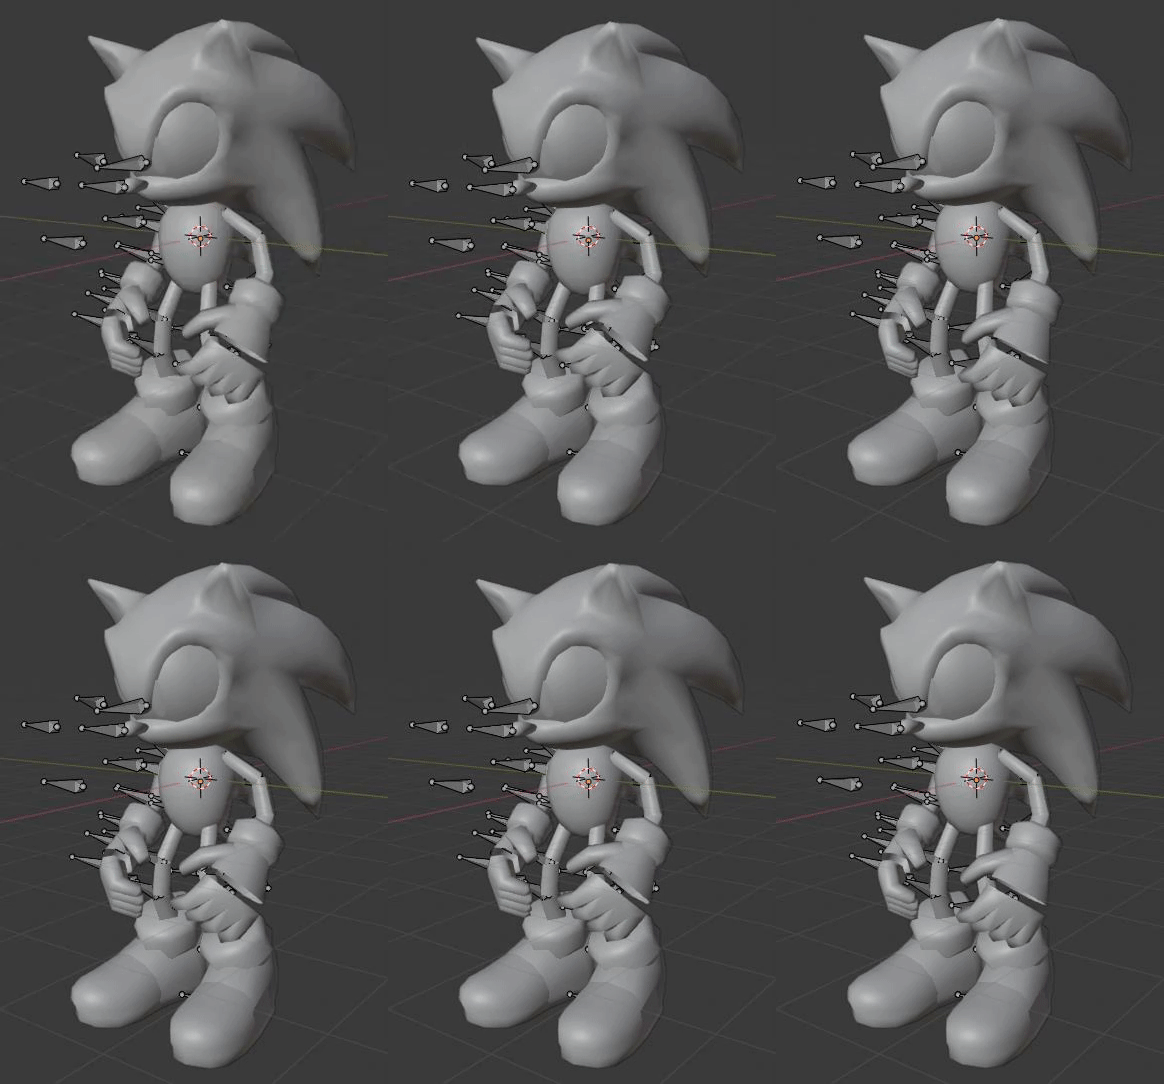
Example output:
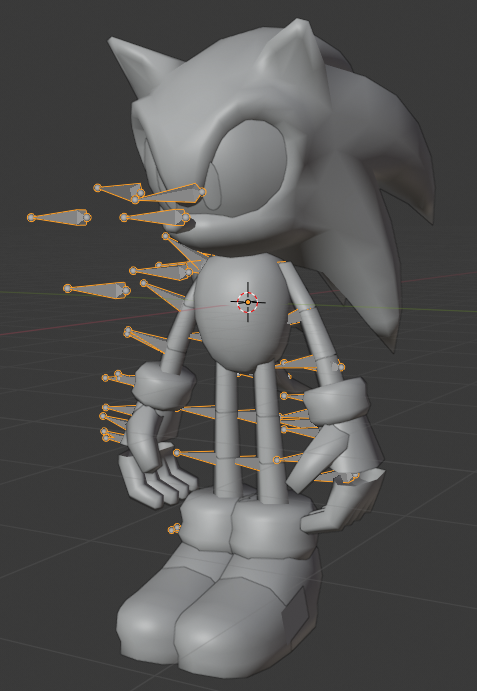
Woohoo! Now you're ready to properly import your animation data to the scene!
Once you have the armature object, you need to make sure your animation files are in the .json format before you can import them.
There are two methods to do this.
Within the SA Tools Hub, with an open Project, you can simply right click on .saanim files and use the Convert to JSON option. You can select multiple files at a time and convert them all at once.
In the bin folder of your SA Tools install location, you will find a program called AnimJSONConverter. Simply double click the program and it'll open a file dialog for you to select any .saanim files you want to convert to .json.
Now comes the final step, actually importing the animations. Simply select your root object (the Armature).
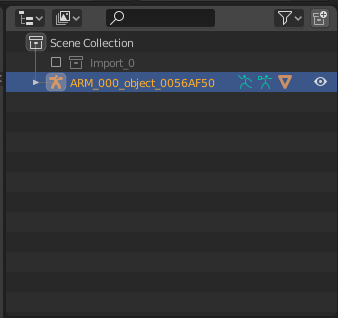
With the armature object selected, simply head to the Tools panel in the SA Tools tab, and use the Import Anim button.

You are able to select as many JSON files as you would like to import. Once you have selected the files you wish to import, press the Load Anim JSON File in the dialogue box and your animations will be assigned to this model & armature.
To view the animations, you can head over to the Animations Workspace in the top bar menu in Blender.

Once here, change the Dope Sheet to the Actions Editor. Make sure the Armature for your object is still selected:
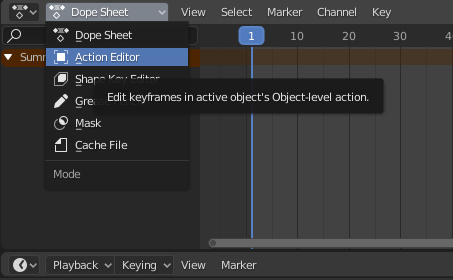
In the Actions Editor window, there will be a large New button with a drop down next to it. Select the drop down, and then select your imported animation!
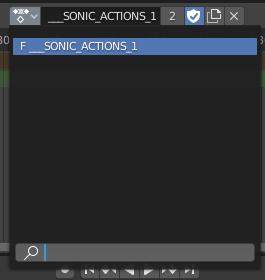
Walla! The model should now be in the correct pose for the start of the animation! Simply press play and the animation will begin.
