-
Notifications
You must be signed in to change notification settings - Fork 0
Probability Map Viewer in single image analysis mode
This page provides a tutorial on running Probability Map Viewer in single image analysis mode which just performs probability map generation on a single tiled image using Image Magick convert utility to threshold the image.
The following is required to run Probability Map Viewer locally
- Centos 6+, Ubuntu 12+, and most other linux distributions should work
- Java 8+ (jdk to build)
- Image Magick command line programs (namely convert)
- Internet connection
- Web browser. This tutorial was tested on Chrome 52 on Centos 7.2.
- Wget
To Download: Instructions can be found here
Launch Probability Map Viewer via AWS CloudFormation
Once the CloudFormation template is complete just ssh into the machine and continue with Step 2
ssh ubuntu@<PUBLIC_IP_ADDRESS>This step downloads example.png and tiles it using ImageMagick's convert command
wget https://github.com/CRBS/probabilitymapviewer/wiki/images/example.png
# If no wget or on Mac os try:
# curl -L https://github.com/CRBS/probabilitymapviewer/wiki/images/example.png
mkdir tiles
convert example.png -crop 128x128 -set filename:tile "r%[fx:page.y/128]_c%[fx:page.x/128]" +repage +adjoin "tiles/0-%[filename:tile].png"wget https://github.com/CRBS/probabilitymapviewer/wiki/data/myprobmapgenerator.sh
chmod a+x myprobmapgenerator.shjava -jar probabilitymapviewer-3.0.1-jar-with-dependencies.jar --inputimage ./tiles --disableanalyzingtile --imageheight 4000 --imagewidth 5500 --cores 1 --custom Threshold,red,./myprobmapgenerator.sh,52%Things to note about above command:
-
--imageheight and --imagewidth are set to the size of this example image. For larger images set accordingly.
-
--disableanalyzingtile turns off a feature in Probability Map Viewer that displays a lighter color overlay tile for the tiles that are currently being processed. Reason for this is some browsers (firefox) seem to cache this tile and never show the real probability map.
-
--cores sets the number or probability map generator jobs that can run concurrently. This lets a user throttle the load on the server for more intensive processing such as CHM.
-
--custom flag lets caller add probability map generator scripts. See Probability Map Viewer Custom Flag for more information.
Launch browser and go to: http://localhost:8080 which should bring a page that looks like the following:
NOTE: Replace localhost in url above with <PUBLIC_IP_ADDRESS> if using AWS CloudFormation to run Probability Map Viewer
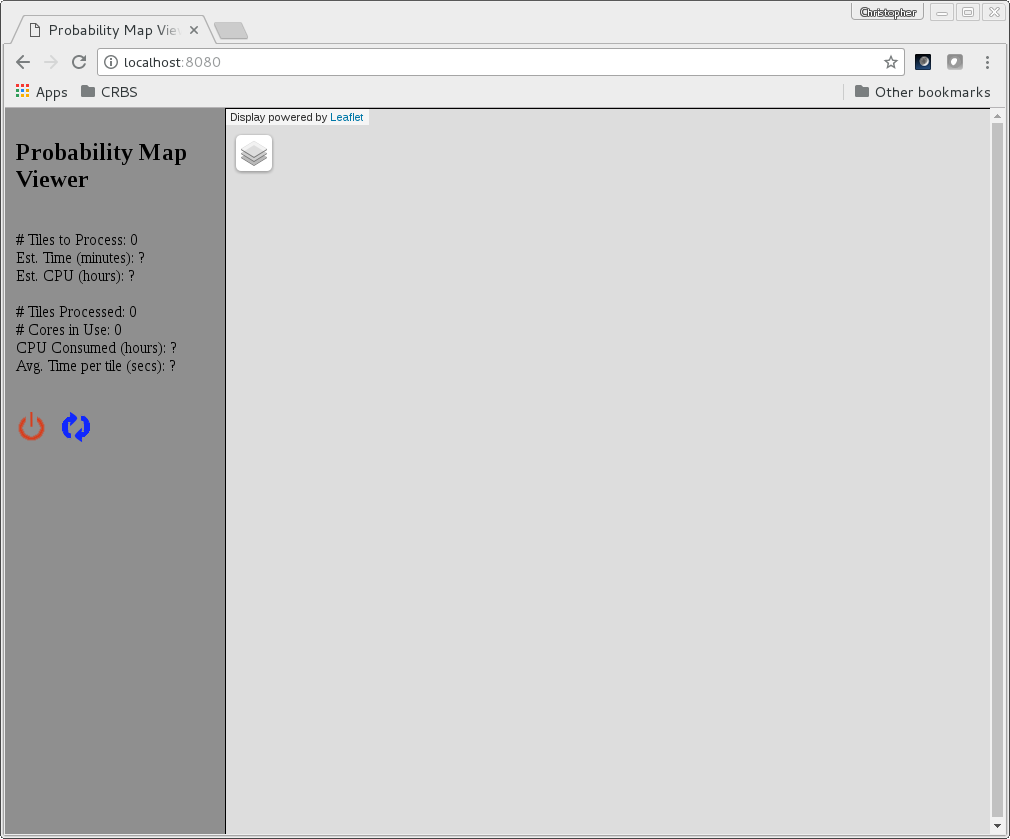
Click on the layer icon (3 squares pancaked together in upper left corner) which can be seen in the image above.
Select the Base image radio button to display the tiled image as seen below:
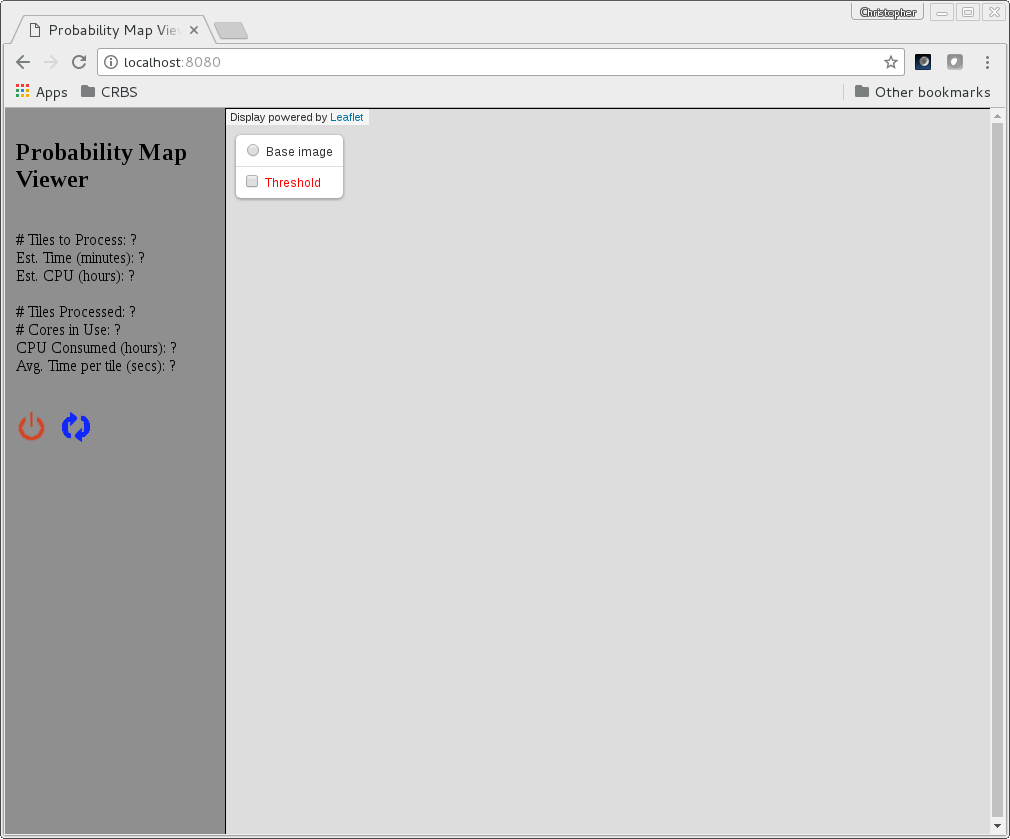
Image should now be visible as seen below:
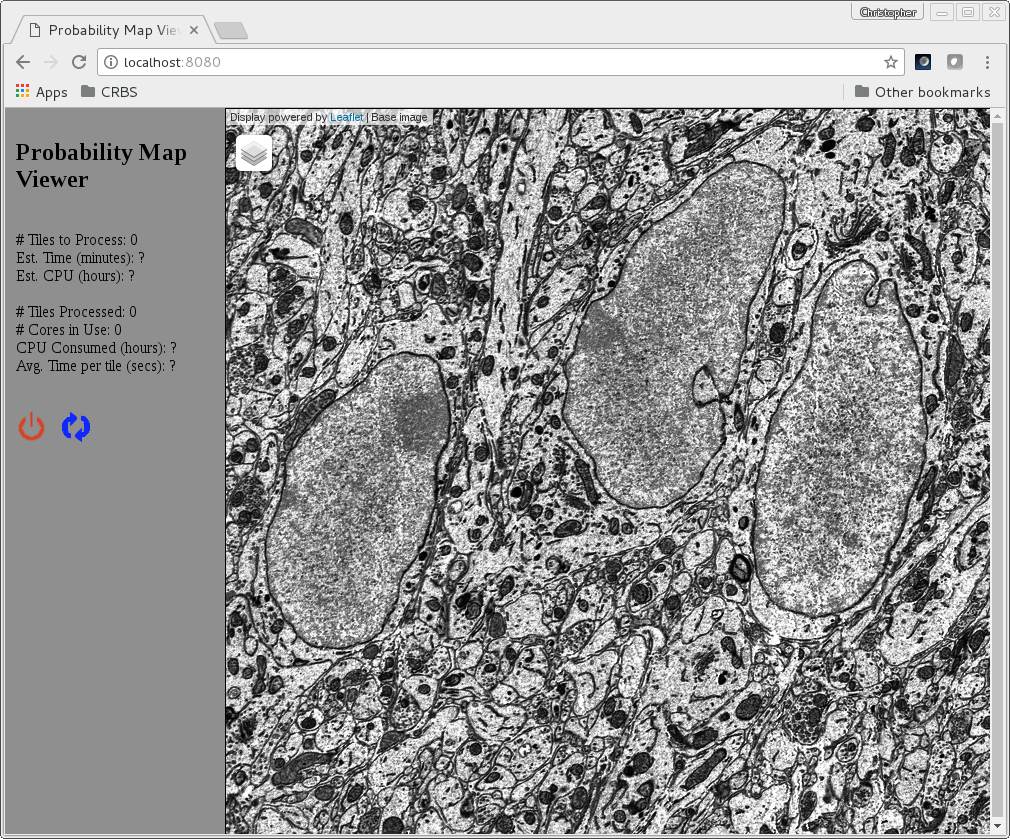
Click on layer icon again and click the checkbox for the newly added layer Threshold this should add the overlay as seen below:
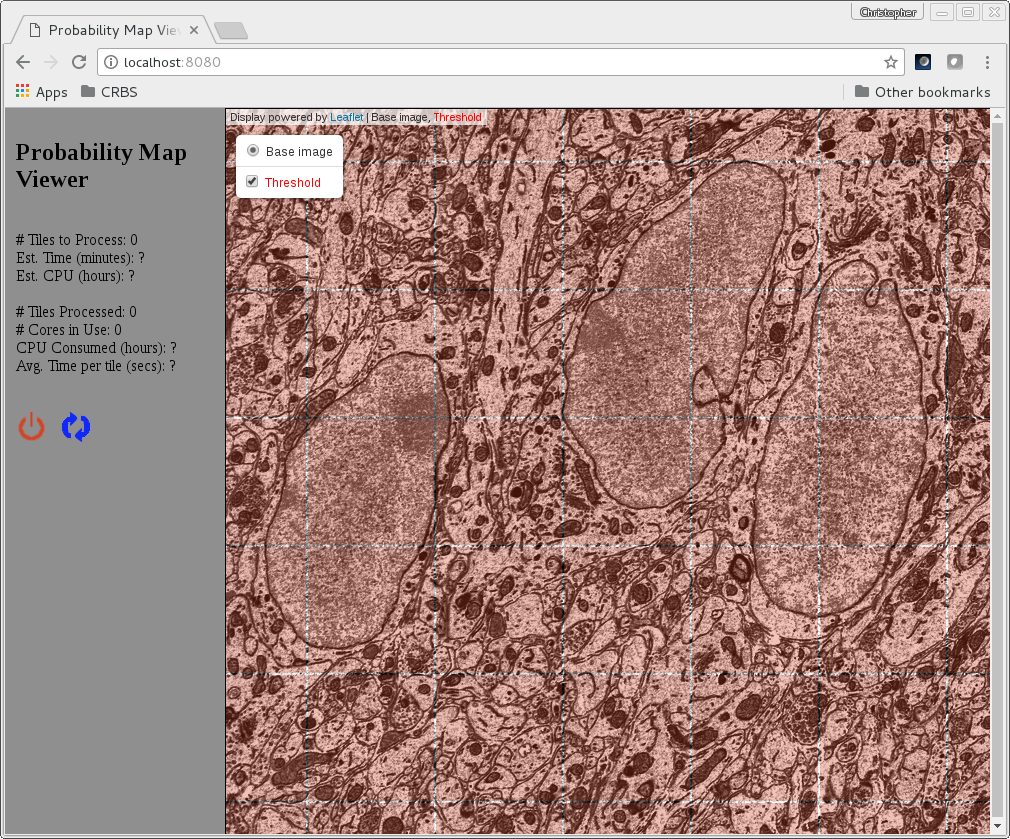
The solid colored overlays are those to be analyzed. After 10 or so seconds the solid colored overlays will be replaced with probability maps as seen below:
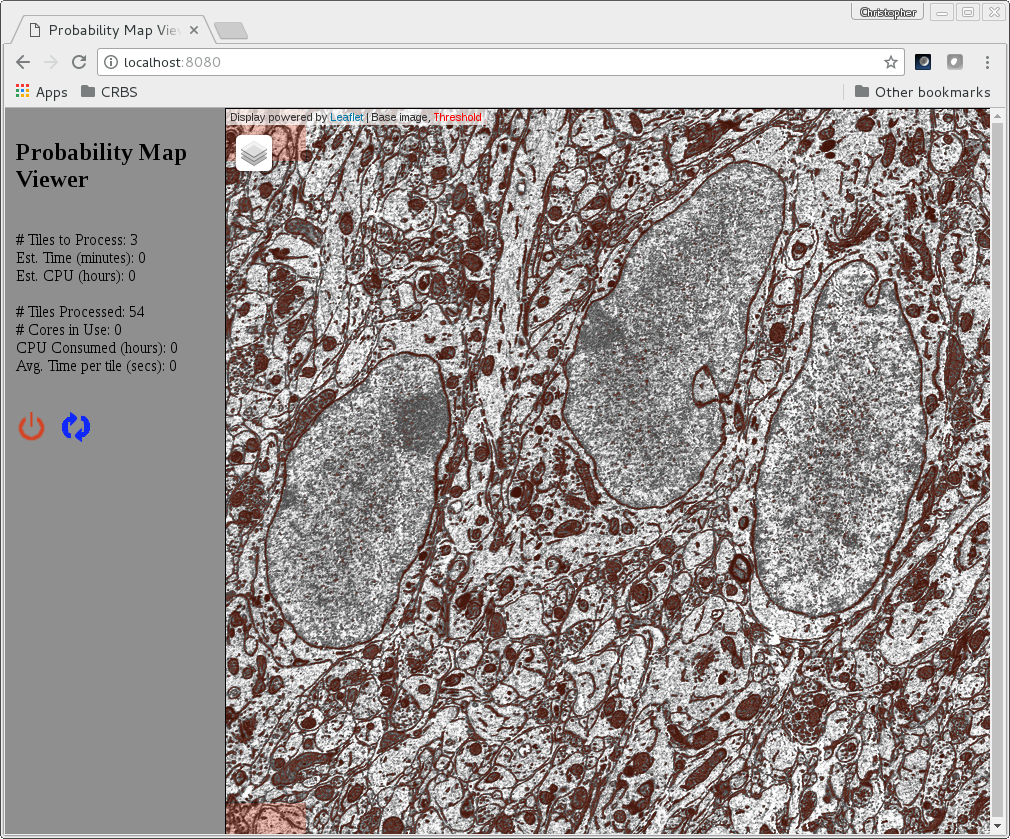
Feel free to left click and drag the mouse to move around the image. As the image is panning the Probability Map Viewer will generate probability maps for the tiles displayed.
To shutdown Probability Map Viewer click the red power icon in the browser or in the window the Probability Map Viewer jar was invoked hit Ctrl c