-
Notifications
You must be signed in to change notification settings - Fork 85
How to capture Analytics for your plugin
BuildFire provides a way for developers to track plugin views and user actions with minimal setup so they can retrieve all these analytical data later.
These events will be sent to our analytics server and then forwarded to the developer segment.io account which will be set by the developer. Our Intergration with segment.io, will allows developers to receive events at any of the endpoints supported by segment.io.
** Events will be also accessible to BuildFire, White Label owners and the app owner so it is very important NOT to use it to send sensitive information such as user passwords or anything that may violate users privacy.**
Views can be tracked using the trackView function:
arguments:
-
[event name]: The name of the view you wish to track -
[meta data obj]: Any extra information you would like to add to the user event (optional)
example:
buildfire.analytics.trackView('contact-us');
User actions, such as a button click, can be tracked by using the trackAction function:
arguments:
-
[event name]: The name of the action you wish to track -
[meta data obj]: Any extra information you would like to add to the user event (optional)
example:
buildfire.analytics.trackAction('add-entry', { totalEntries : myTotalEntries } );
Plugin events are useful to give the customer detailed analytics of the user's behavior in your plugin. You can do that by registering your plugin events in the control side of your plugin. Once you register your custom events, you can track them using the above examples using buildfire.analytics.trackAction([event name],[meta data obj]);.
The Analytics tab in the Control side, will have three reports:
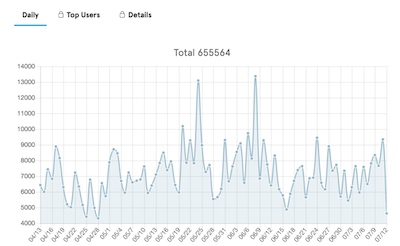
- Daily Report: Will show the total count of the selected event.
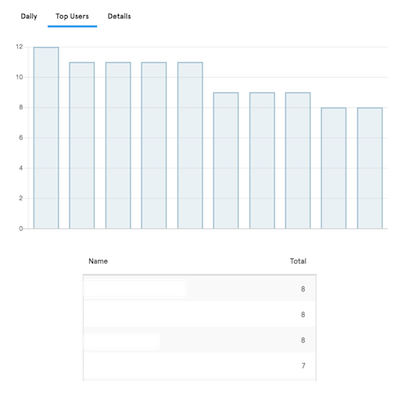
- Top Users Report: Will show the top users for the selected event.
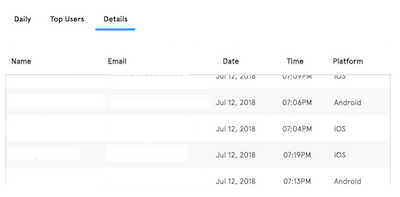
- Details Report: will show detail info about each user.
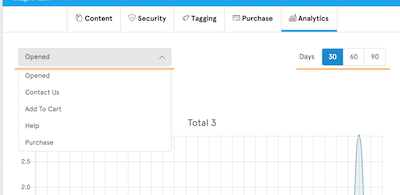
These three reports will recalculate the data depending on the selected event from the list on the left top corner, or when changing the selected days period on the right top corner.
This function used to register an event for your plugin.
You can use this in the Control Side only.
-
event:(Object)-
title:Event name, customer will see this on the control side under analytics tab. (String) -
key:Unique key for the registered event. (String) -
description:Description of the plugin event. (String)
-
-
options:(Object)-
silentNotification: Determine wether you want to display a notification to the customer, with the new registered event. (Boolian, Default: false)
-
-
callback(err,result):(Function)
Example:
 //register plugin events for analytics
 function registerEvent(title, key, description, silentNotification) {
     buildfire.analytics.registerEvent({
         title: title,
         key: key,
         description: description
     }, {silentNotification: silentNotification});
 }


 registerEvent('Contact Us', 'contact_us', 'Customers who clicked on Contact Us');
 registerEvent('Purchase', 'purchase', 'Customers who clicked on Purchase');
 registerEvent('Add To Cart', 'add_to_cart', 'Customers who clicked on Add To Cart');
 registerEvent('Help', 'help', 'Customers who clicked on Help');
Once you register your plugins in the control side, the customers will see a notification in the Analytics tab, to inform them that there is a new event registered to the plugin, so they can check the reports related to the new event.
This function used to unregister an event for your plugin.
You can use this in the Control Side only.
-
key:Your plugin event key. (String) -
callback(err,result):(Function)
Example (Control Side):
//unregister plugin events for analytics
buildfire.analytics.unregisterEvent('contact_us');
buildfire.analytics.unregisterEvent('purchase');
buildfire.analytics.unregisterEvent('add_to_cart');
buildfire.analytics.unregisterEvent('help');


