-
Notifications
You must be signed in to change notification settings - Fork 0
Home
You can create multiple credentials if you wish.
This should be an admin client! The .rb/.pem files can be deleted later.


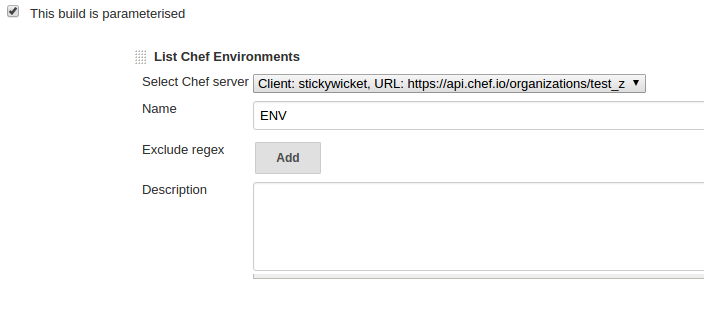
Note that you can replace this with any build parameter or env variable as long as you reference it in the build wrapper (see below)

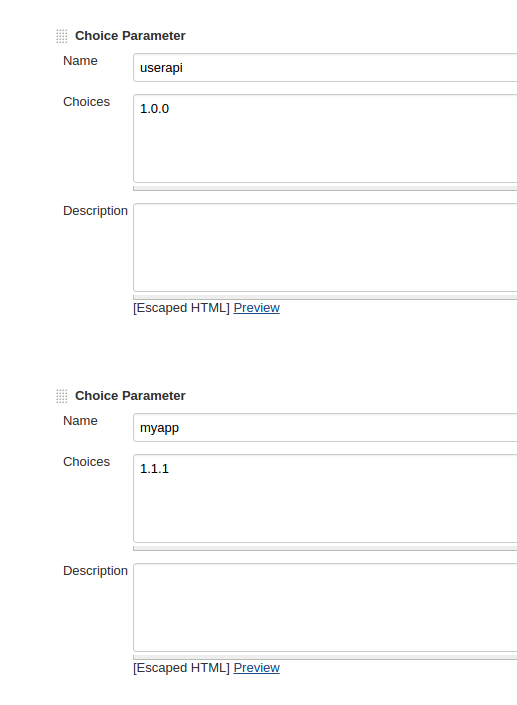
Here's an example using build parameters

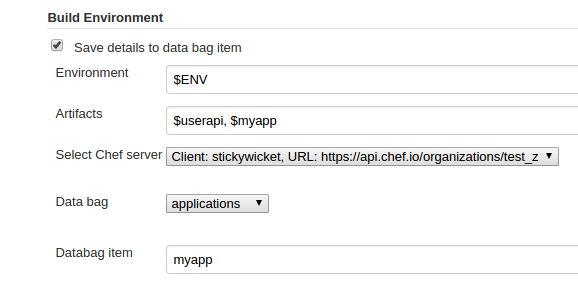
The wrapper needs to know which environment you are deploying to, which packages and where you want to save this information (in which Chef data bag item)

You can skip this step if you don't require immediate deployment. Given that the chef-client service is running on your servers it will eventually deploy the changes.
For immediate deployment you can do something like:
knife ssh "chef_environment:$ENV AND role:myapp" 'sudo chef-client'
or knife ssh -m '10.10.1.2 10.10.2.3 $ENV.myapp.mycompany.com' 'sudo chef-client'
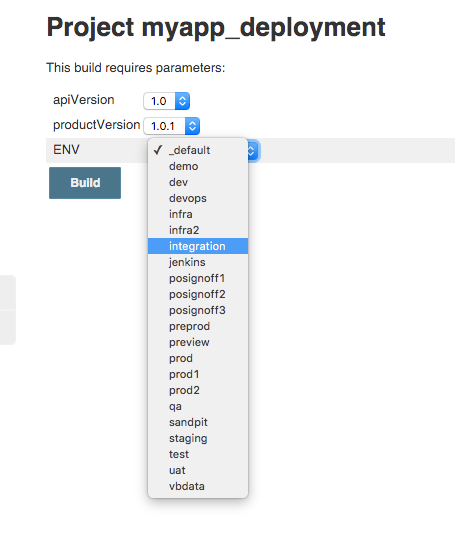
If you have parameterized the build and if you used the 'List Chef environments' parameter the plugin will retrieve the environments from the Chef server


The plugin will generate links to an environment report page where you can track what got deployed where
This is available for both the project and for individual builds:

