-
Notifications
You must be signed in to change notification settings - Fork 0
Best Practices to Edit and Compile Pytorch Source Code On Windows
Page Maintainers:: @mszhanyi
In this wiki, I'll introduce best practices to work with PyTorch C++ Source code on Windows. To some extent, developers could get the better experience with Visual Studio than on Linux.
At first, We need to build the debug version libtorch On Windows. You can refer building libtorch to build it.
Once the libtorch built, please copy the directory of the libiomp5md.dll and add it to the PATH.

If you're debugging on a GPU machine, nvToolsExt PATH should be added as well.
For me, I use a bat to start Visual Studio
set PATH=D:\programs\envs\nightly\Library\bin\;"C:\Program Files\NVIDIA Corporation\NvToolsExt\bin\x64\";%PATH%
"D:\Program Files (x86)\Microsoft Visual Studio\2019\Enterprise\Common7\IDE\devenv.exe"
Another way is to start Visual Studio in the Conda Windows where libtorch is built
As we know, for performance, PyTorch only officially support Ninja as the CMake generator. As the result, we could not manage and navigate Pytorch Source Code via Visual Studio Solutions/Projects. Luckily, there's a better option.
VsChromium has been become a more general purpose extension that can be userful for any project. Its full text search engine is much more faster that search/replace in visual studio. For more details, please read through https://chromium.github.io/vs-chromium/.
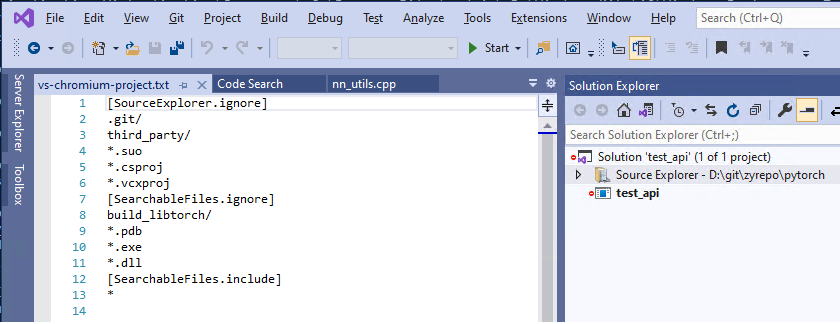
Don't forget to add vs-chromium-project.txt into your PyTorch root directory. For conveniently, you could copy mine directly.
[SourceExplorer.ignore]
.git/
third_party/
*.suo
*.csproj
*.vcxproj
[SearchableFiles.ignore]
build_libtorch/
*.pdb
*.exe
*.dll
[SearchableFiles.include]
*
In this section, I'll demo how to add one printf in test/cpp/api/nn_utils.cpp, compile and debug it.
- Start Visual Studio Correctly
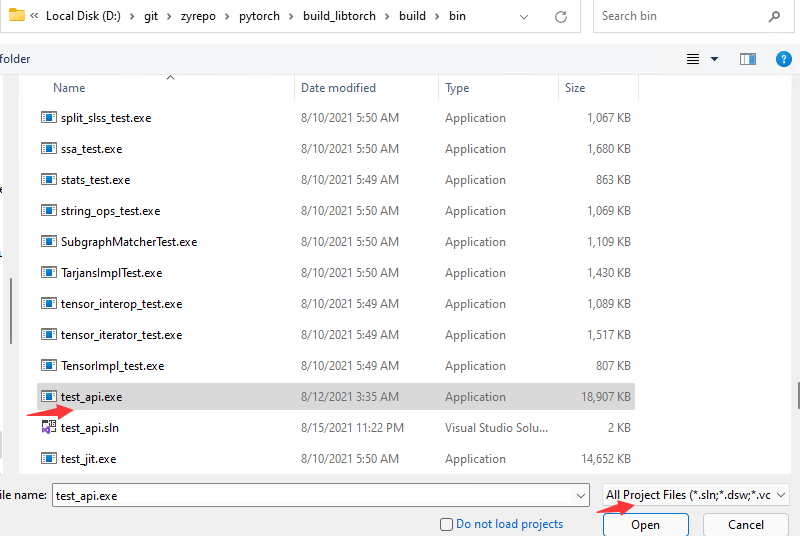
- Open Project/Solution, select test_api.exe.

- Open Setup.py or any other source file, then it starts loading all source files right away. The Visul Studio should look like the below snapshot.

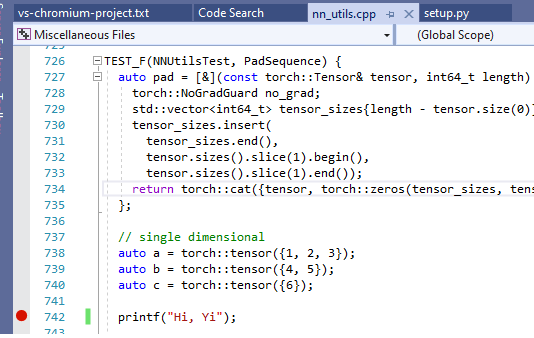
- Add one printf in test/cpp/api/nn_utils.cpp as below, and
run python ../tools/build_libtorch.pyto recompile.
Since increment build with Ninja for Pytorch has been supported on Windows. For such small change, It only takes about one minute to compile.

- Then, we could add a breakpoint and click Start to debug it.
To save time, we could add a gtest_filter.

You might find some changes you made doesn't work and after recompiling, the changes dismissed. That is because some PyTorch C++ code is generated in compile. For Codegen, you could check out Codegen and Structured Kernels
PyTorch presented to you with love by the PyTorch Team of contributors
- Install Prerequisites and Dependencies
- Fork, clone, and checkout the PyTorch source
- Build PyTorch from source
- Tips for developing PyTorch
- PyTorch Workflow Git cheatsheet
- Overview of the Pull Request Lifecycle
- Finding Or Creating Issues
- Pre Commit Checks
- Create a Pull Request
- Typical Pull Request Workflow
- Pull Request FAQs
- Getting Help
- Codebase structure
- Tensors, Operators, and Testing
- Autograd
- Dispatcher, Structured Kernels, and Codegen
- torch.nn
- CUDA basics
- Data (Optional)
- function transforms (Optional)