-
Notifications
You must be signed in to change notification settings - Fork 0
ArcGISPro_SDK_Download_Guide
##ArcGIS Pro 1.1 SDK Download Guide Please follow the below steps for downloading and installing ArcGIS Pro 1.1 SDK in the Visual Studio 2013.
Step 1: Start Visual Studio 2013
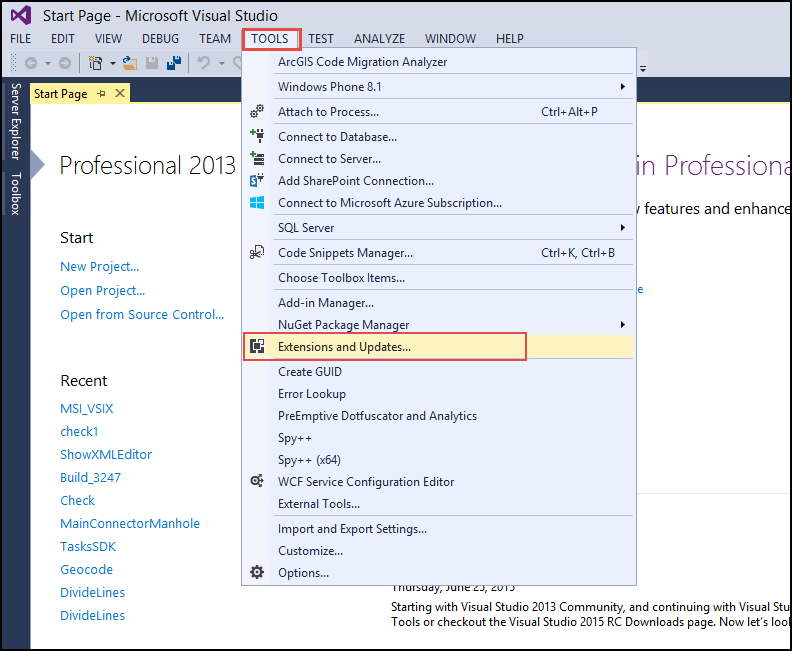
Step 2: Click on the Tools menu and choose Extensions and Updates option from the Start page.
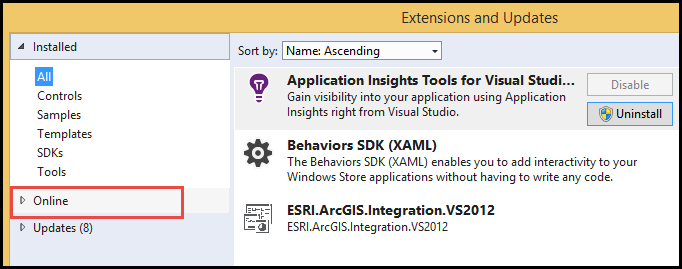
Step 3: Click on the Online Option from left side menu of the Extensions and Updates Window.
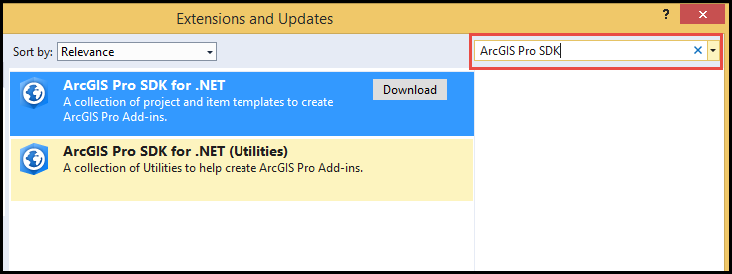
Step 4: Type ArcGIS Pro SDK in the Search box in the top right corner of the Extensions and Updates Window.
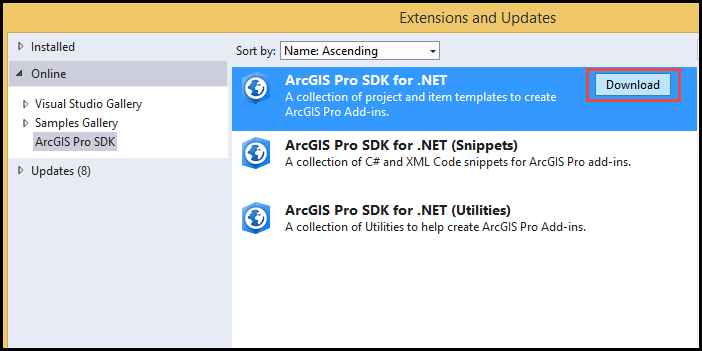
Step 5: Click on the download button to install the ArcGIS Pro SDK for .NET.
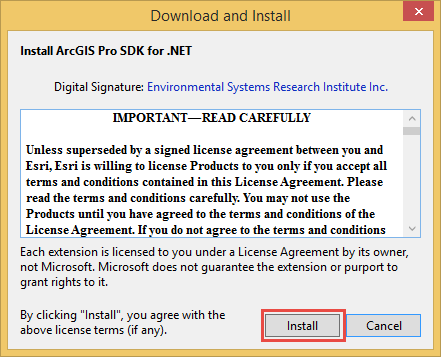
Step 6: Click on the Install button in the Download and Install dialog box
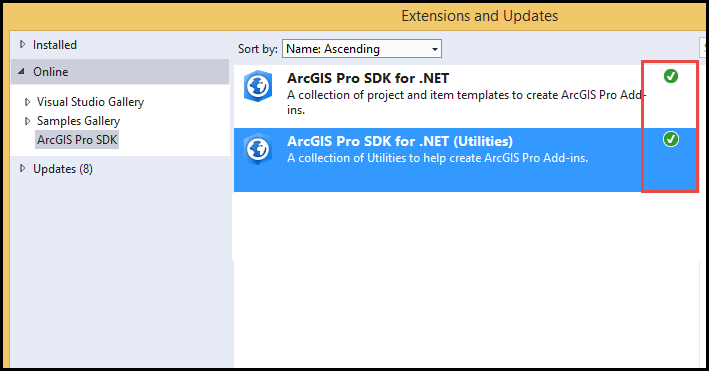
Step 7: Once the install is completed, a green check mark appears on the top right corner.
Step 8: Repeat the same for the ArcGIS Pro SDK for .NET (Utilities).
Step 9: The green check mark at the right side of each link indicates that it is installed.
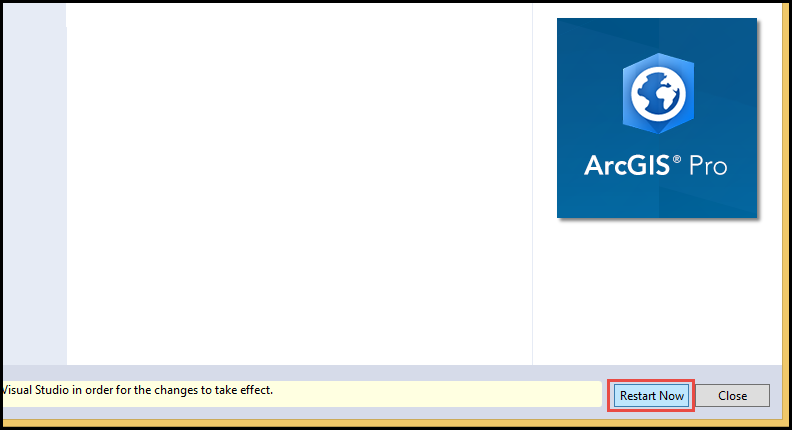
Step 10: Restart Visual Studio by clicking the Restart Now at the bottom right corner of the Extensions and Updates Window.
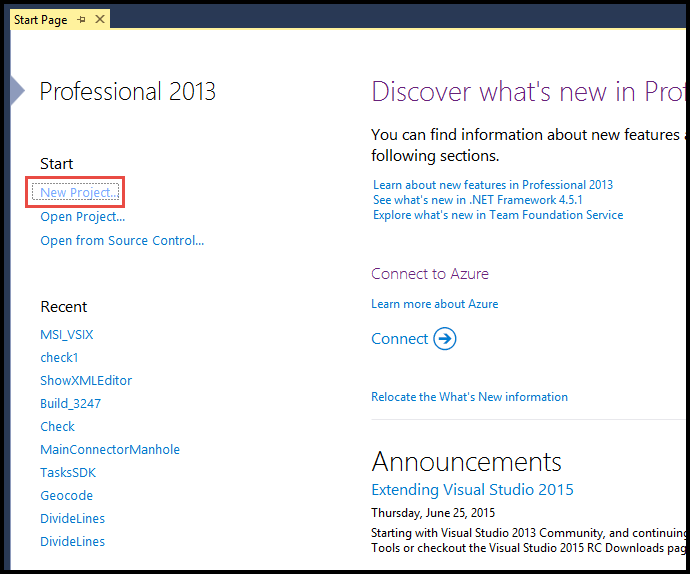
Step 11: Once Visual Studio is restarted, Click on the New Project from the Start Page.
Step 12: Verify that Installed section is selected in the left side Navigation Menu.
Step 13: Select either Visual C# or Visual Basic from the Installed Templates section.
Step 14: Choose ArcGIS from the drop down menu.
Step 15: Verify that the ArcGIS Pro Add-ins option is present in the sub menu.
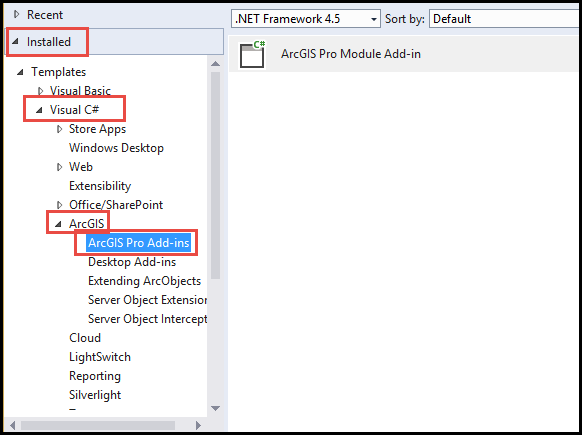
###FAQ.
1. ArcGIS Pro 1.1 not found dialog box popping up when a New Project is created.
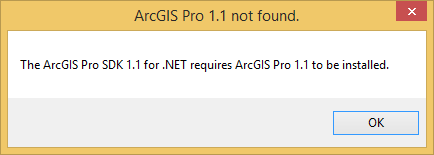
Ans: Install ArcGIS Pro 1.1 software before working with ArcGIS pro SDK.
![]() ArcGIS Pro 1.1 SDK for Microsoft .NET Framework (Beta)
ArcGIS Pro 1.1 SDK for Microsoft .NET Framework (Beta)
###Developing with ArcGIS Pro
- Requirements
- Download
- Installing ArcGIS Pro SDK
- Getting started
- ArcGIS Pro API
- Release notes
- Resources
###Add-in Fundamentals
- Pro Guide: Your first add-in
- ProConcept: Localization
- ProGuide: Digitally signed add-ins
- ProGuide: Content and Image Resources
###Framework
Customization
- ProGuide: The Ribbon, Tabs and Groups
- ProGuide: Buttons
- ProGuide: Label Controls
- ProGuide: Checkboxes
- ProGuide: Edit Boxes
- ProGuide: Combo Boxes
- ProGuide: Palettes and Split Buttons
- ProGuide: Galleries
- ProGuide: Dockpanes
- ProGuide: Code Your Own States and Conditions
###Reference