Customizing marker's pin image
This section describes how to customize marker's pin image.
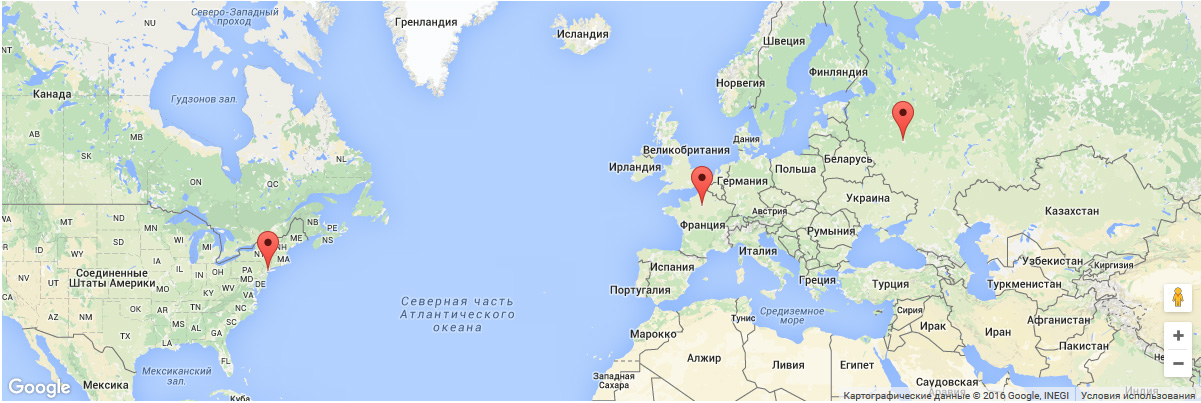
The widget uses the red pin as the default marker's pin icon:
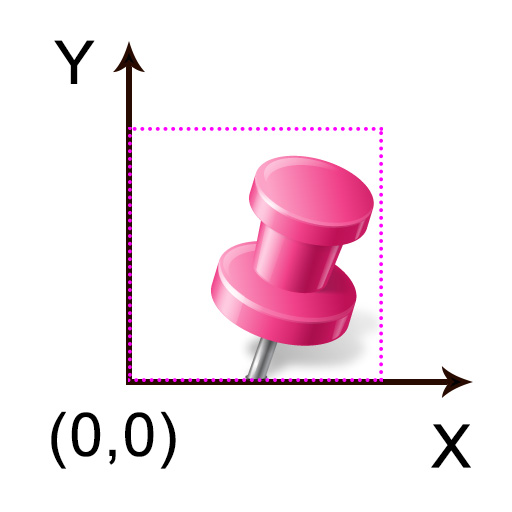
You can use any valid image image supported by web browser as marker's pin icon. I suggest using PNG with transparency or SVG. A pin image has an anchor - it's a place where the icon's hotspot is located. For "pin-like" icons the hotspot is set to the end of the pin. You can choose any position for the hotspot as you like to achieve best icon positioning and visual results. The hotspot is defined by 2 parameters in the widget: the X and the Y coordinates. The coordinates are set in pixels and are relative to the the image's dimensions, so that:
- the bottom left corner of the image is a starting zero-point (0,0);
- axes have standard orientation: the X to the right; Y to the top.
The above geometry is presented on the following picture (the image's border is marked with purple dashed line):
If the anchor point is not defined (or is empty) then the bottom center point of the image is used as the anchor.
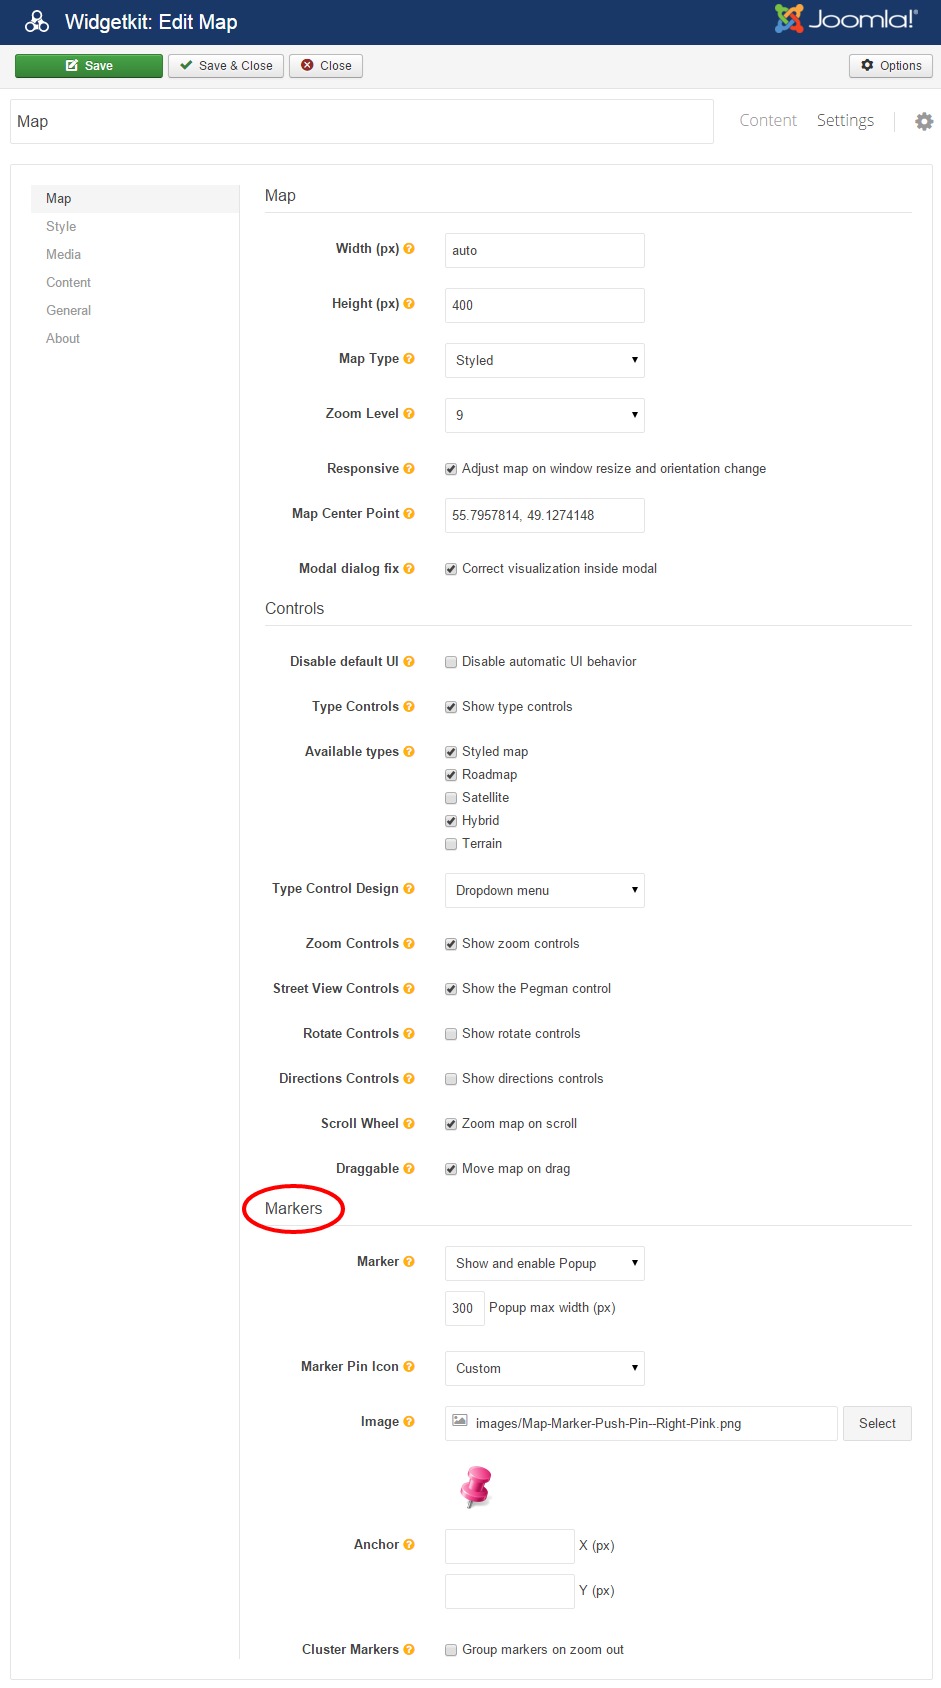
You can override and set a custom icon that will be used for all points (markers) on the map. First of all you should select "Custom" option for the "Marker Pin Icon" setting. After that, you will be able to choose the desired image and set the anchor point if necessary:
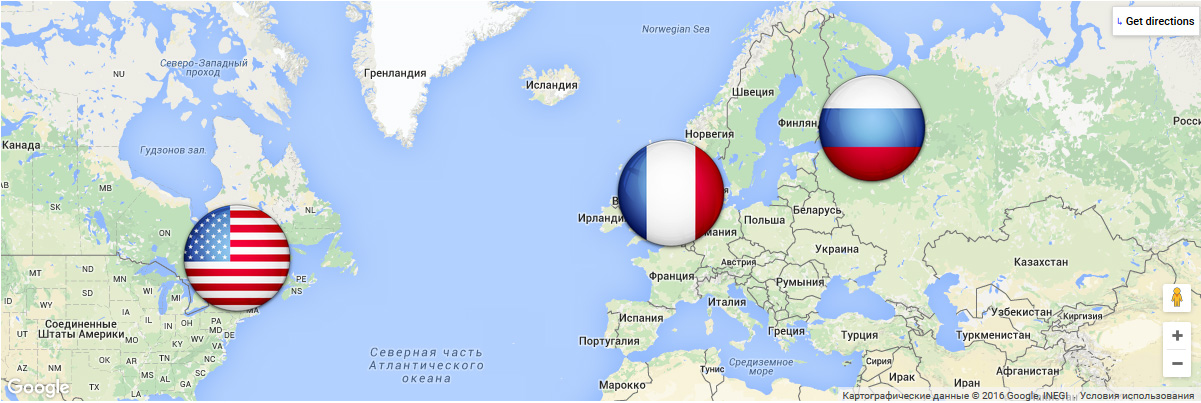
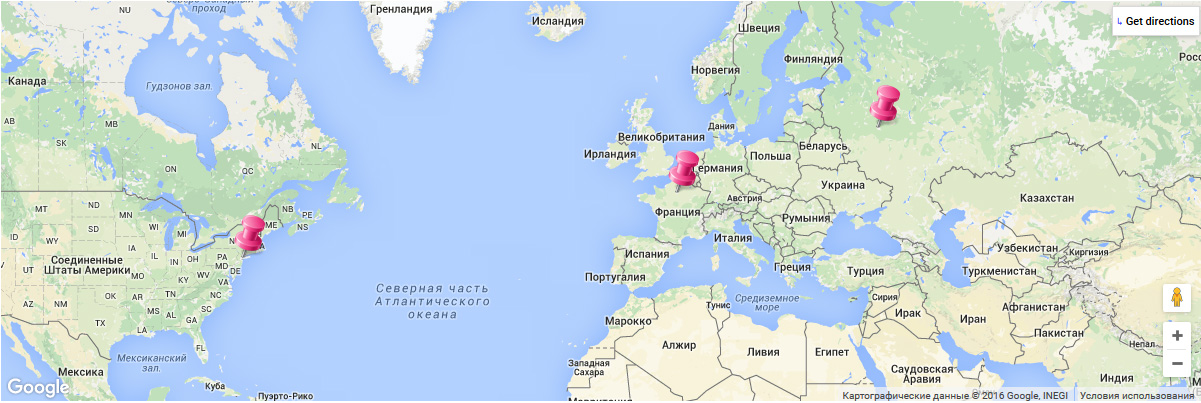
The resulting rendered map will look as follow:
It's possible to set a custom unique icon for every item (marker) of the map. This is achieved using the "Content" interface:
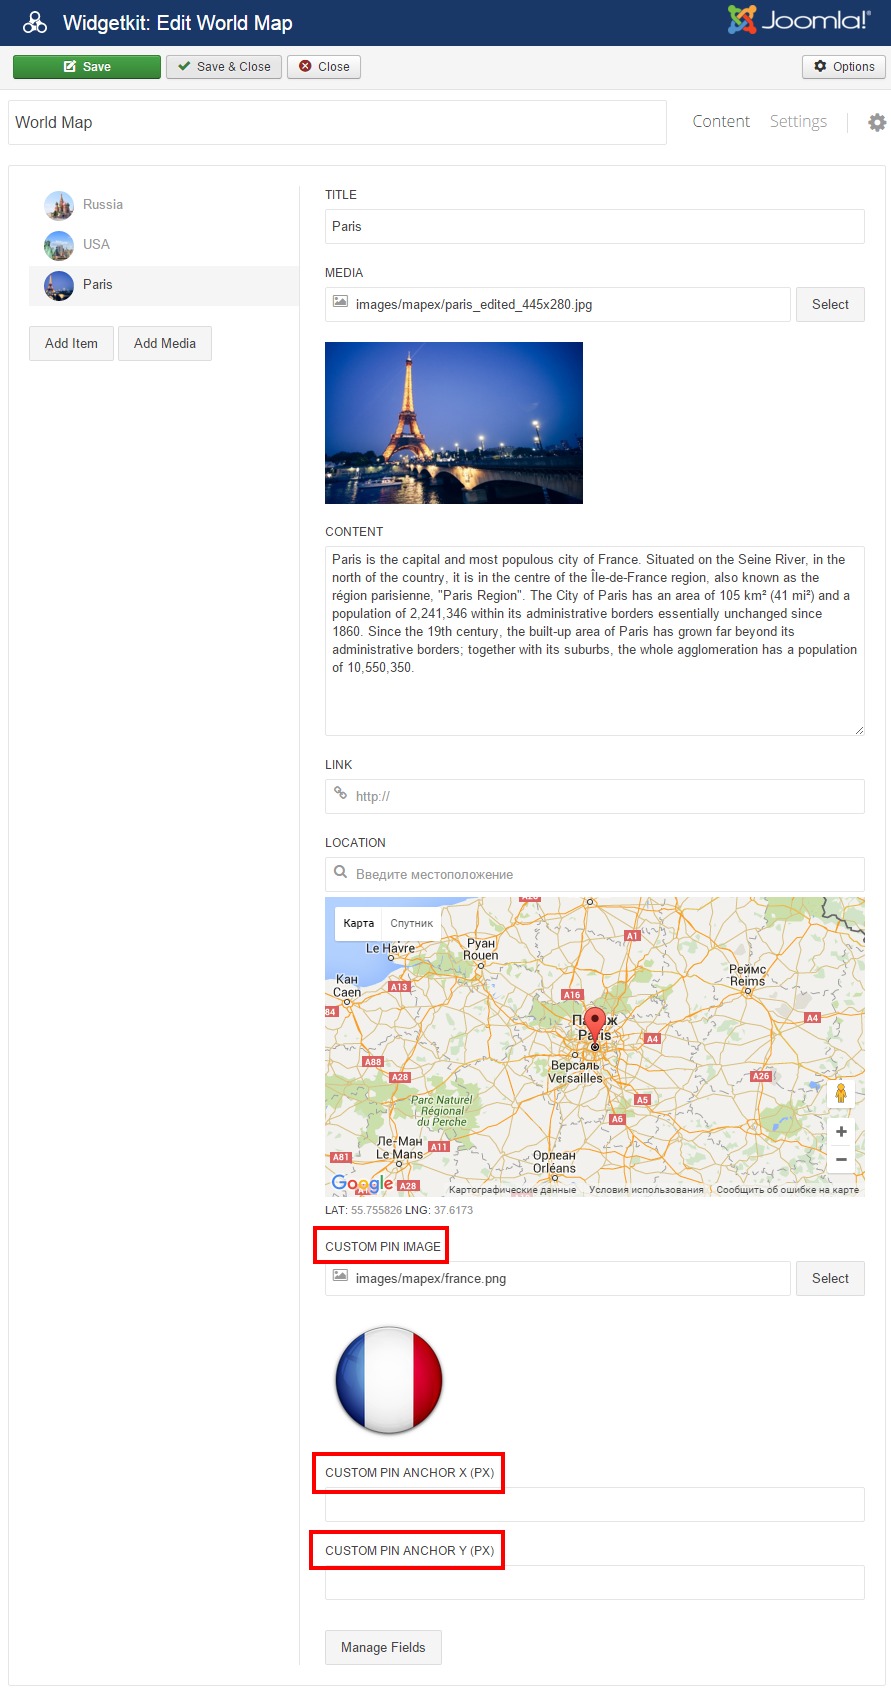
The options "Custom Pin Image", "Custom Pin Anchor X" and "Custom Pin Anchor Y" define the unique marker's pin icon for selected content item. These settings have a higher priority and override the icon and values that may be defined in the "Settings" interface of the widget (described in the previous section). Inspite of that, you should anyway select "Custom" option for the "Marker Pin Icon" setting in order to activate the "Custom marker pin" feature of the widget.
The resulting rendered map will look as follow: