Getting Started
Here you have two options. If you like working with Git, you can go below to Using Git. If you would instead like to download the code as a .zip without any version control, you can skip to Downloading a Zip.
NOTE: I assume you know the basics of Git, so this section is mainly about how to fork the template to your repo, not an in-depth tutorial on Git.
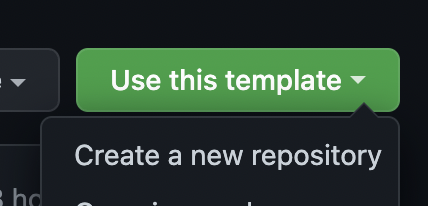
If you want to use Git with this project, start by creating a fork of this template. Head to the main page, click the "Use this template" button, then click "Create a new repository"
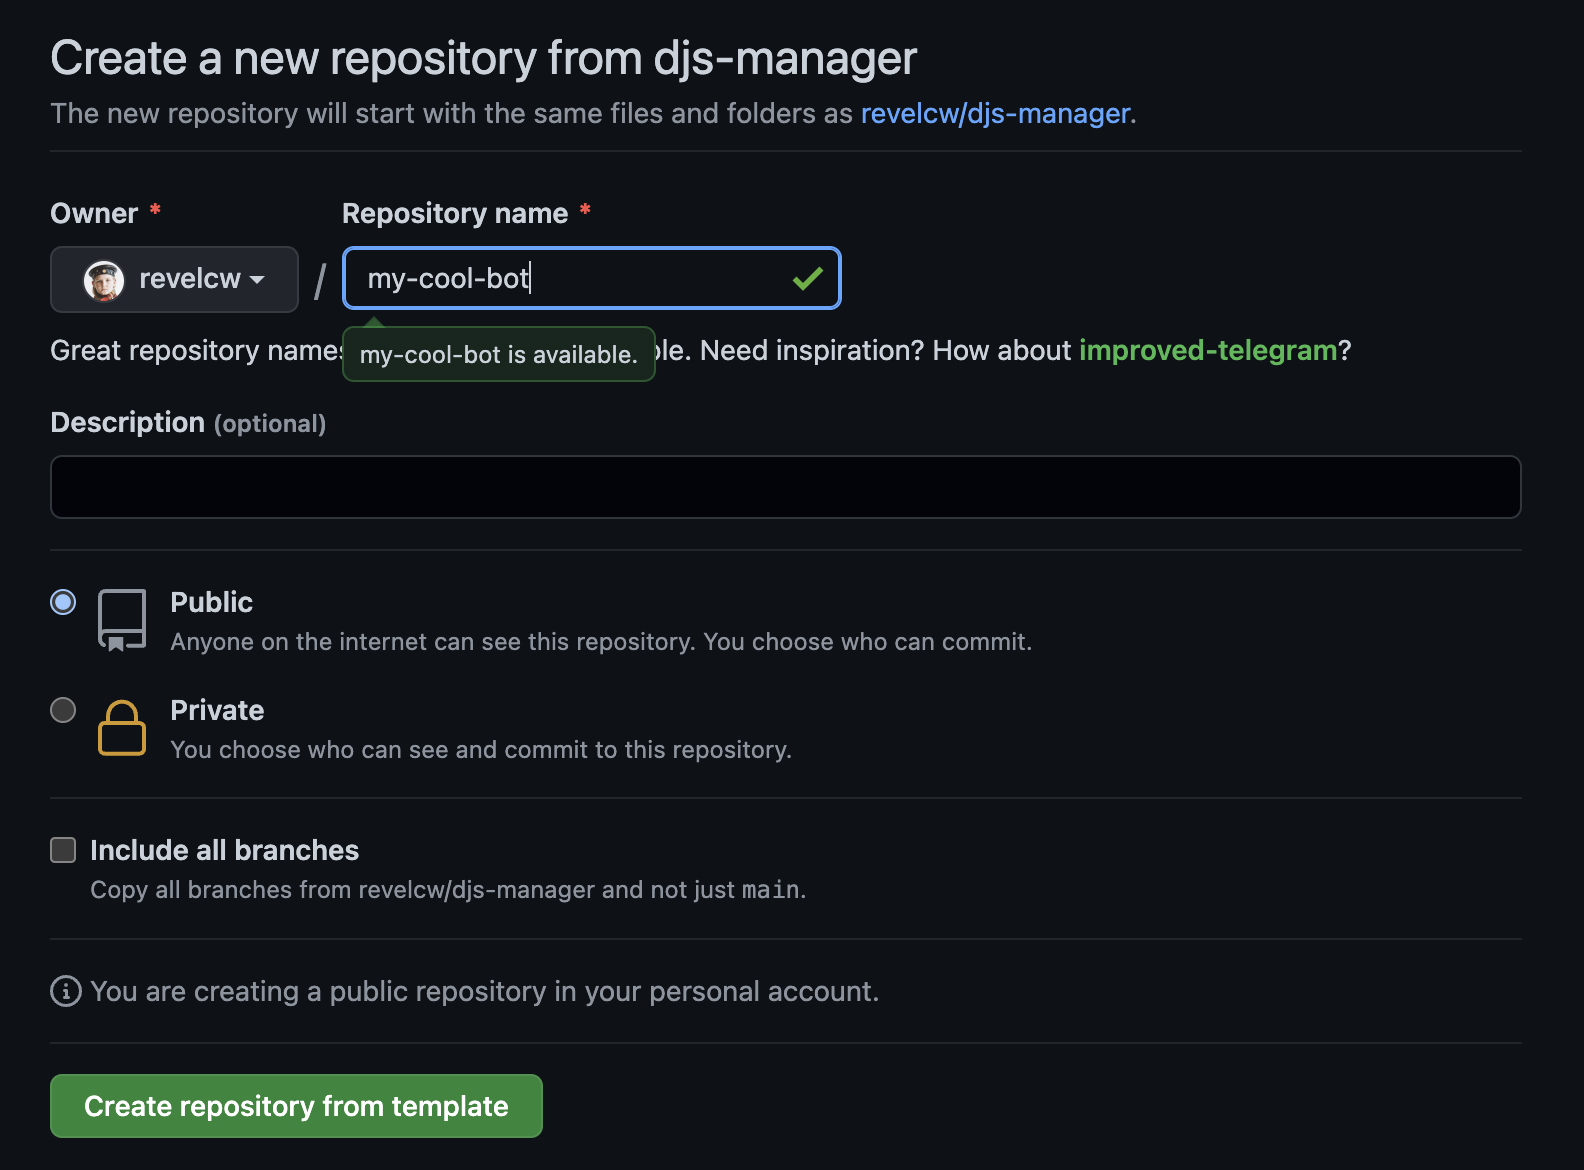
Give your new repository a name, and click "Create repository from template"
Now go to your newly created repo and click the code button.
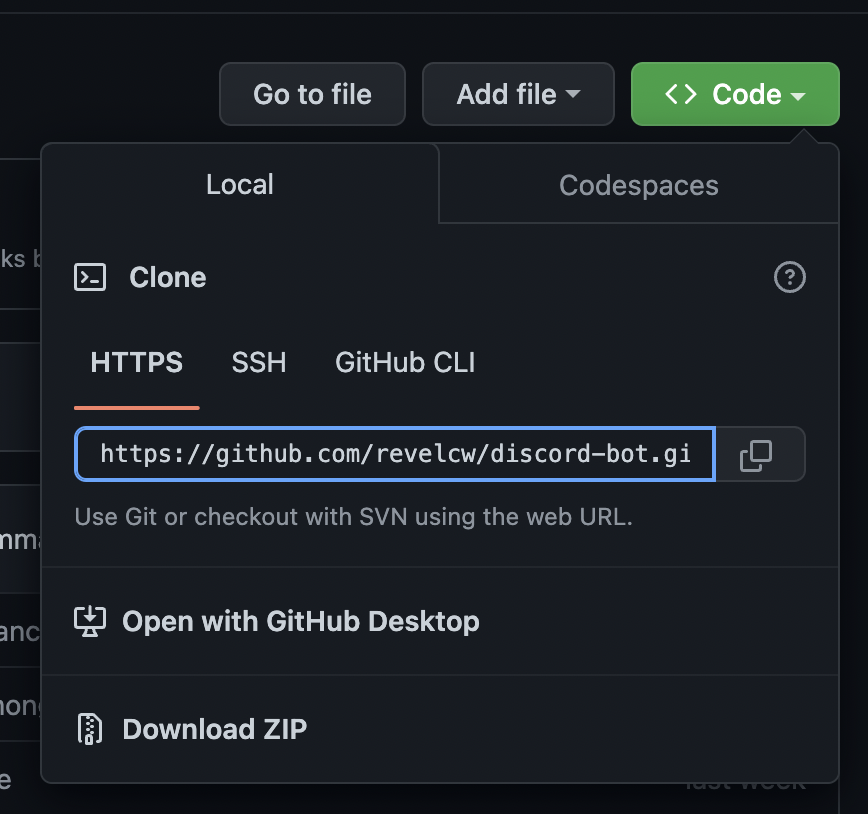
Copy the HTTPS link and then you can use it however you would like. You can use the git CLI to clone the repo (Scroll down to the cloning section) and make commits in VSCode or use an app like Git Tower to do it all for you.
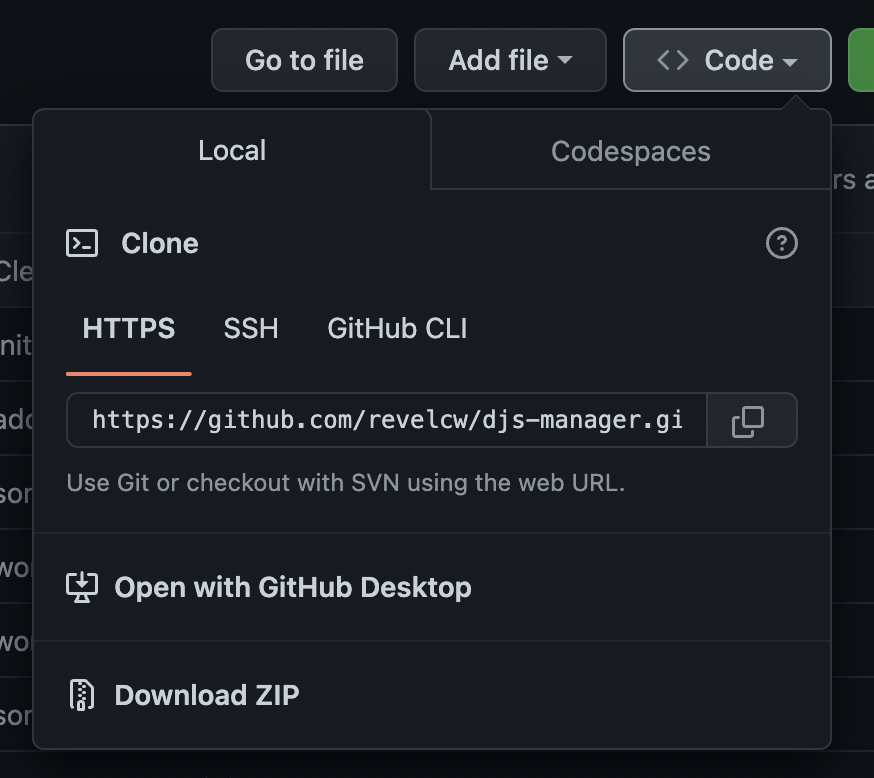
To just download a .zip, go to the main page of this template and hit the code button. Click on the "Download Zip" button. Save this zip file to a Documents or Project folder you have. Unzip it with something like 7 Zip (Win) or double-click it on mac. Now you should have the code ready!
In order to run your bot, you need to provide the code with some information about your bot. This information is stored in the .env file. Find the file called .env.example and rename it to .env. This file has all the values you need to fill in.
TOKEN= // Your discord bot token. Don't send this to anyone or they could access your bot.
CLIENT_ID= // The client ID of the bot.
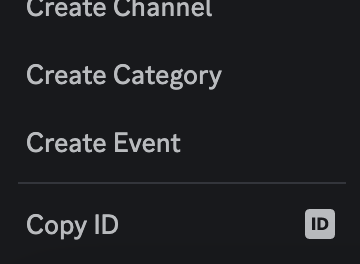
GUILD_ID= // The guild ID of the server you're testing commands in.To fill in the GUILD_ID, you must have developer mode enabled. Create or find a server (called a guild in coding lingo 😉) that you own for testing. Right-click on the server in the sidebar and click on copy ID
Paste this in after GUILD_ID=. Make sure there aren't any spaces in the file. To fill in the other two values, read the next part about creating a bot.
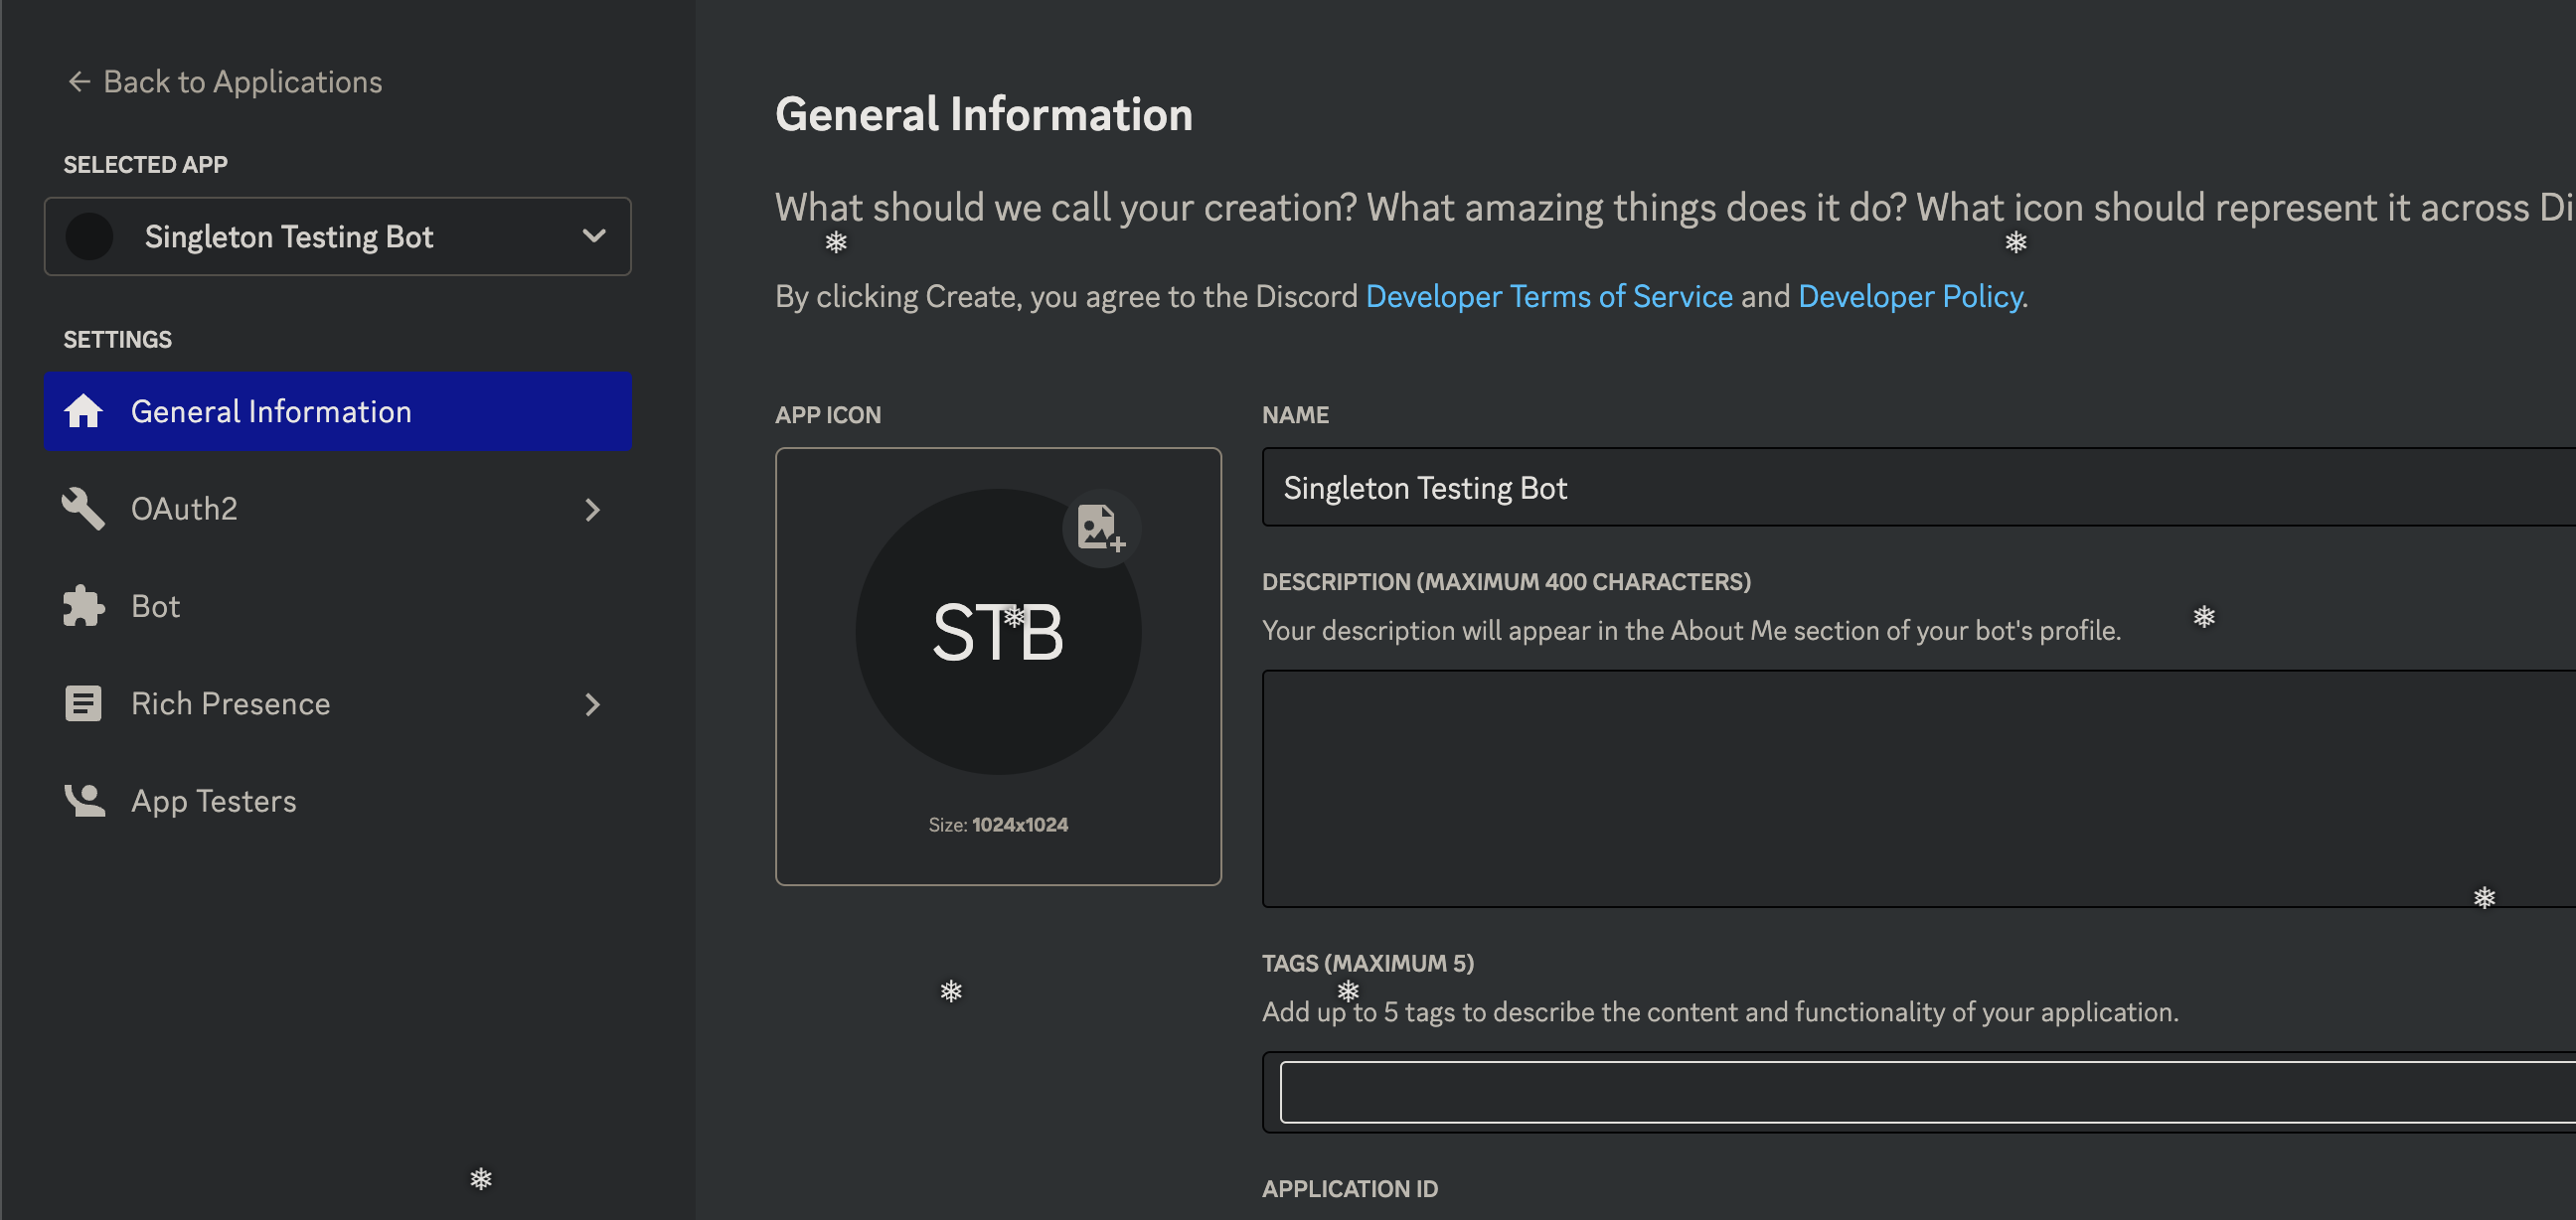
To create a discord bot for your code, head to the Discord developer portal, sign in, and click "New Application". Give your application a name, agree to the TOS, and click "Create". You will then be greeted with this screen.
In order to create an actual bot, click on "Bot" in the sidebar, then click on "Create Bot". In order to advance to the next step, you need 3 things.
To get your bot token, stay on the "Bot" page and click on "Reset Token" and grab the new token. Note that once you close the page, you cannot get the token back unless you regenerate a new one.

Copy this value and paste it after TOKEN= in the .env, again without spaces.
To find your client ID, go to the General tab of the OAuth page and copy the "Client ID" value.
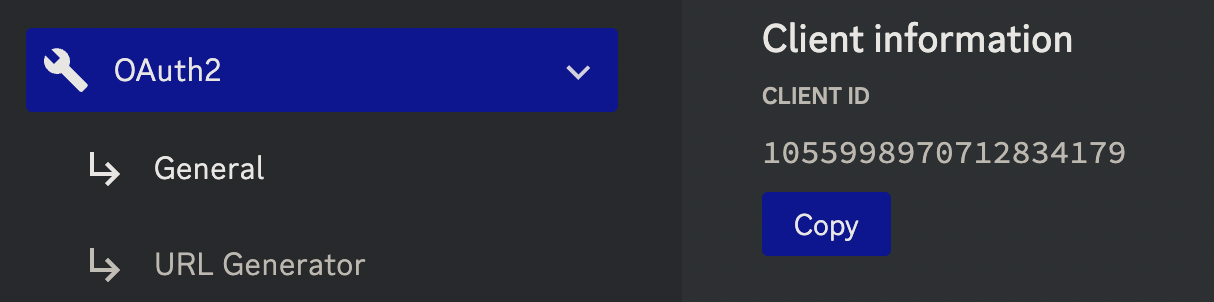
Paste this after the CLIENT_ID= field in the .env.
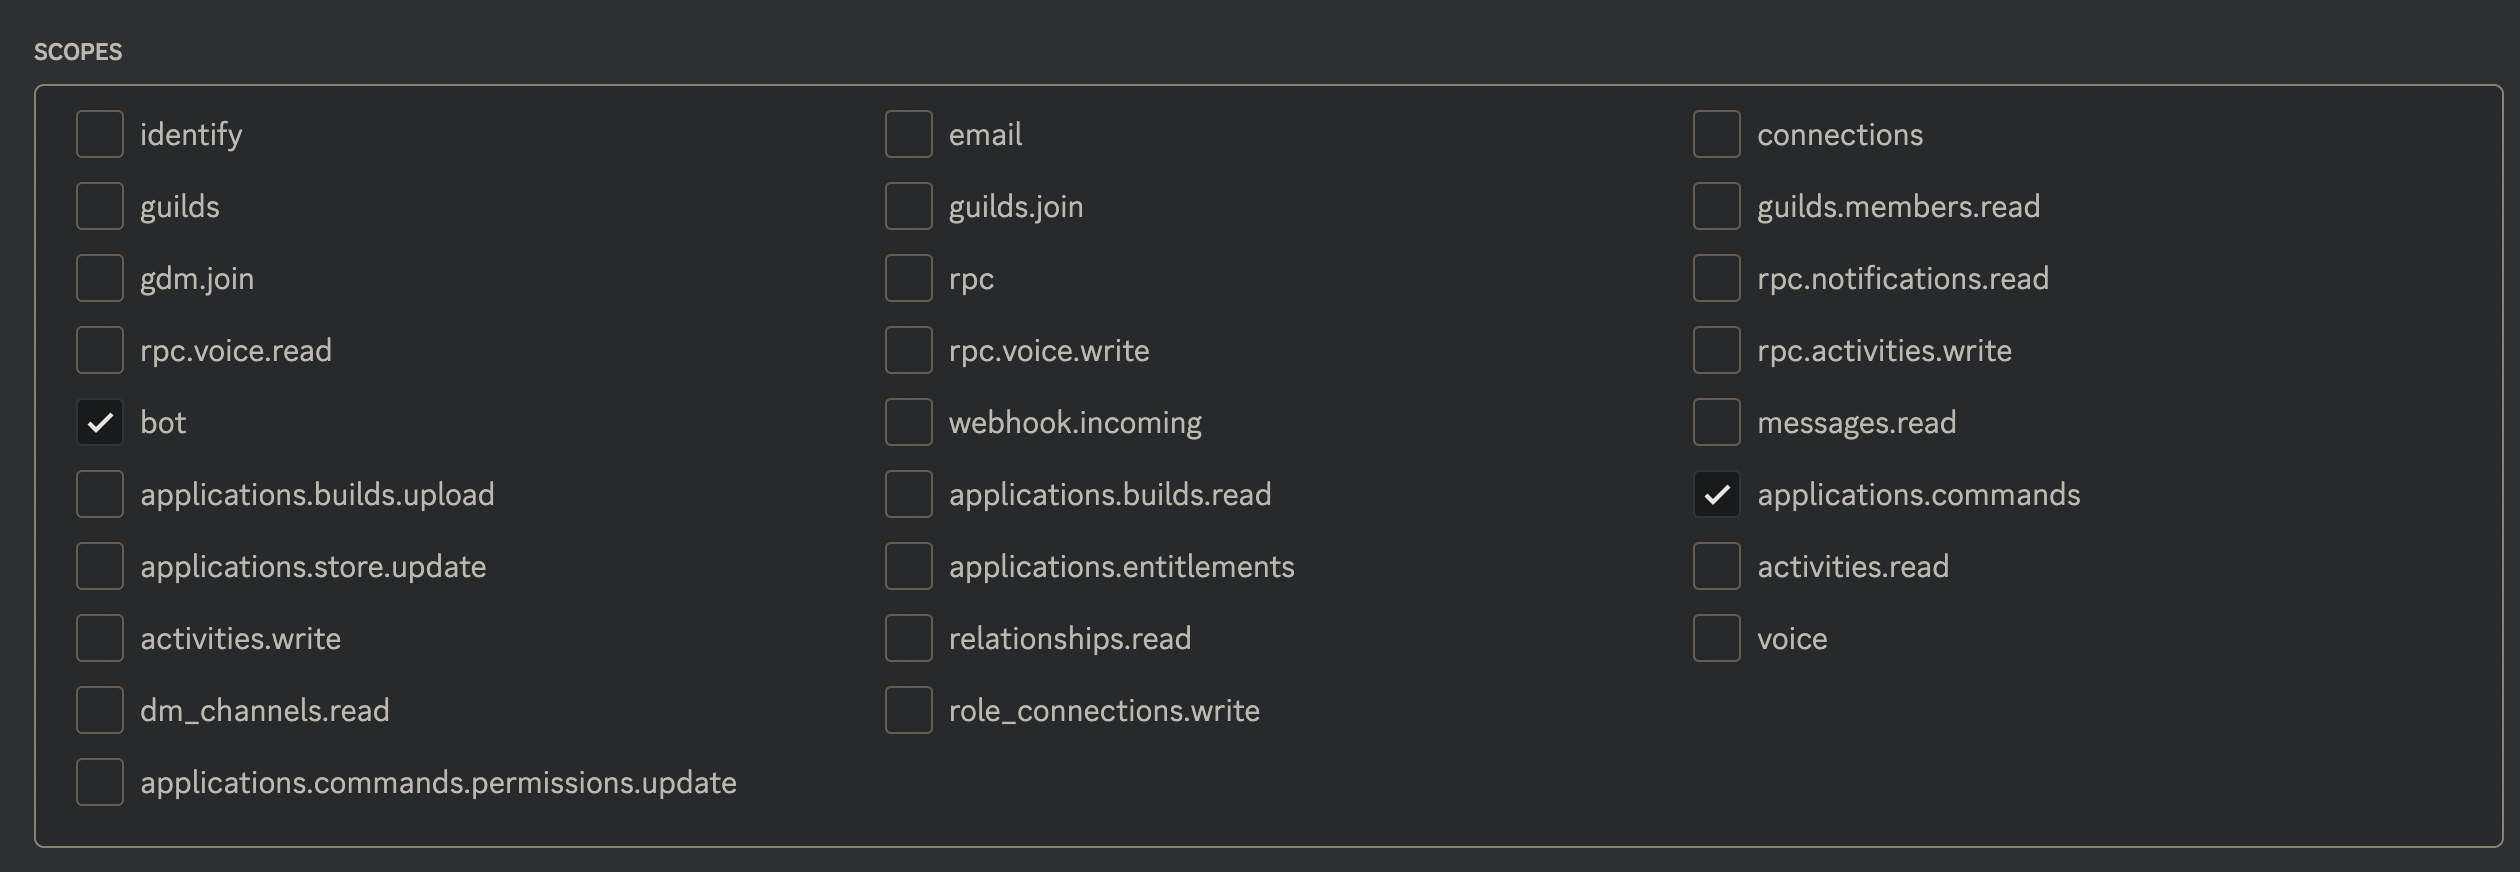
In order to actually invite your bot to your testing server, you have to make an invite link. To get to the generator, click on "OAuth", then "URL Generator". For scopes, select only bot and applications.commands
For permissions, select the permissions that you think your bot needs. I always chose "Administrator" when testing just to avoid issues with missing permissions, but eventually when releasing your bot, figure out what permissions your bot needs to function and select those when sharing your invite link. Once you've selected the scopes and permissions, to actually invite your bot to the server copy the link from the bottom of the page and paste it into a new browser page. Select the testing server you want to invite the bot to (probably the same one you copied the guild id from), click "Continue", and make sure the permissions look good. Then click "Authorize".
Make sure you have NPM and Node installed. Navigate to the folder in a terminal. You can use VSCode's terminal to make this easier. Install necessary packages, like discord.js by running npm i in the terminal. Once it's done installing, type npm start. If all goes well, your bot should appear online and respond to the example commands!