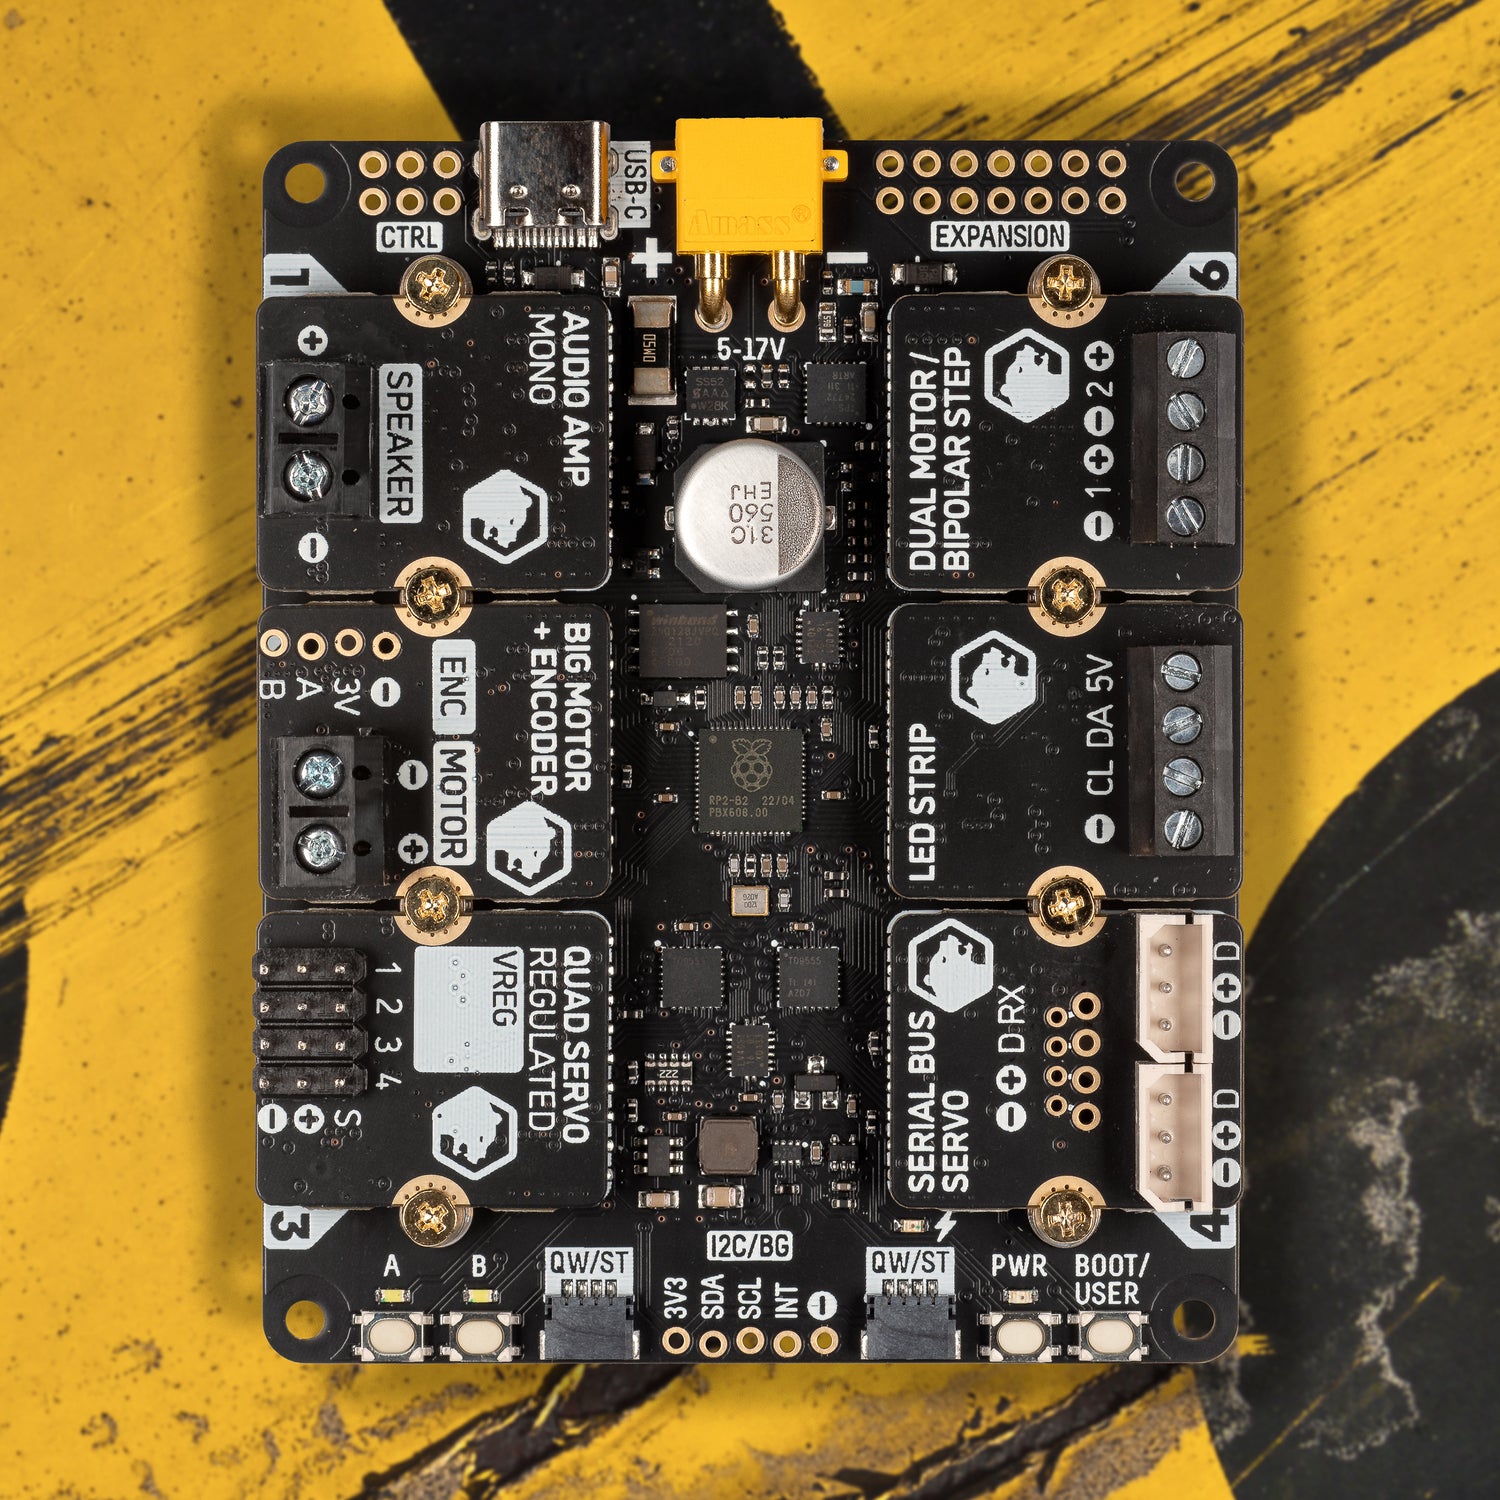
This repository is home to the MicroPython build, library, and examples for Pimoroni Yukon.
Yukon is a high-power modular robotics and engineering platform, designed to drive the most ambitious of robots, props and devices!
Powered by RP2040, Yukon leverages the chip's unique pin capabilities to offer six slots for attaching a range of interchangeable hardware modules for driving high-powered devices. This lets you drive unique combinations of motors, servos, steppers, speakers, LED strips, and more, all from a single Yukon board!
Powering Yukon is easy thanks to its XT30 connector, which enables you to attach 2 to 4 cell Lithium Polymer (LiPo) batteries (or any other source from 5V to 17V) to deliver up to 15A continuous for your high-power projects. An e-Fuse with switchable output is included to protect from accidental overvoltage and overcurrent events, along with internal sensors for monitoring voltage, current, and temperature whilst your programs run.
Yukon is supported by a comprehensive MicroPython library with a whopping 50 (!) examples to show you how to use the individual features of the board and all of its modules. There are even showcases of Yukon as a remote-controlled rover, spider tank, and pen plotter!
All Yukon boards come pre-flashed with MicroPython and the libraries needed to get you started. The instructions below are for if you wish to update your board to the latest firmware or restore it back back to a factory state.
Grab the latest release from https://github.com/pimoroni/yukon/releases/latest
There are two .uf2 files to pick from:
pimoroni-yukon-vX.X.X-micropython.uf2
This build includes only the firmware needed for Yukon to function. You will need to manually update the lib/pimoroni_yukon library afterwards to get the latest features and bug fixes.
pimoroni-yukon-vX.X.X-micropython-with-filesystem.uf2
This build contains both the firmware for Yukon and the library files needed to take full advantage of the hardware.
-
Connect Yukon to your computer using a USB A to C cable.
-
Turn off your board by pressing the PWR button. The green light should turn off.
-
Put your board into bootloader mode by holding the BOOT/USER button whilst pressing the PWR button to turn the board on. The green light should turn on, and the lights next to the A and B buttons should have a dim glow.
-
Drag and drop one of the
pimoroni-yukon-vX.X.X....uf2 files to the "RPI-RP2" drive that appears. -
After the copy completes your board should reset and, if you used the
with-filesystemvariant, should start playing a flashing pattern on the A and B LEDs.
ℹ️ Overwriting Yukon's filesystem can take multiple minutes to complete.
There are many examples to get you started with Yukon, located in the examples folder of this repository. Details about what each one does can be found in their respective sections:
To find out more about how Yukon works, the following documentation is available:
To take Yukon further, the full API for the library is described in the following documentation pages.
- Docs: Audio Amp Module
- Docs: Bench Power Module
- Docs: Big Motor + Encoder Module
- Docs: Dual Motor / Bipolar Stepper Module
- Docs: Dual Switched Output Module
- Docs: LED Strip Module
- Docs: Quad Servo Direct Module
- Docs: Quad Servo Regulated Module
- Docs: RM2 Wireless Module
- Docs: Serial Bus Servo Module
- Docs: Yukon Module
- Docs: Custom Module


