-
Notifications
You must be signed in to change notification settings - Fork 535
Fork and Clone Oppia Android
For a detailed explanation of the fork-and-clone process, please see this GitHub help page.
To make code changes, please follow the following instructions
-
Make sure that you are in the
opensource/folder on your local machine. -
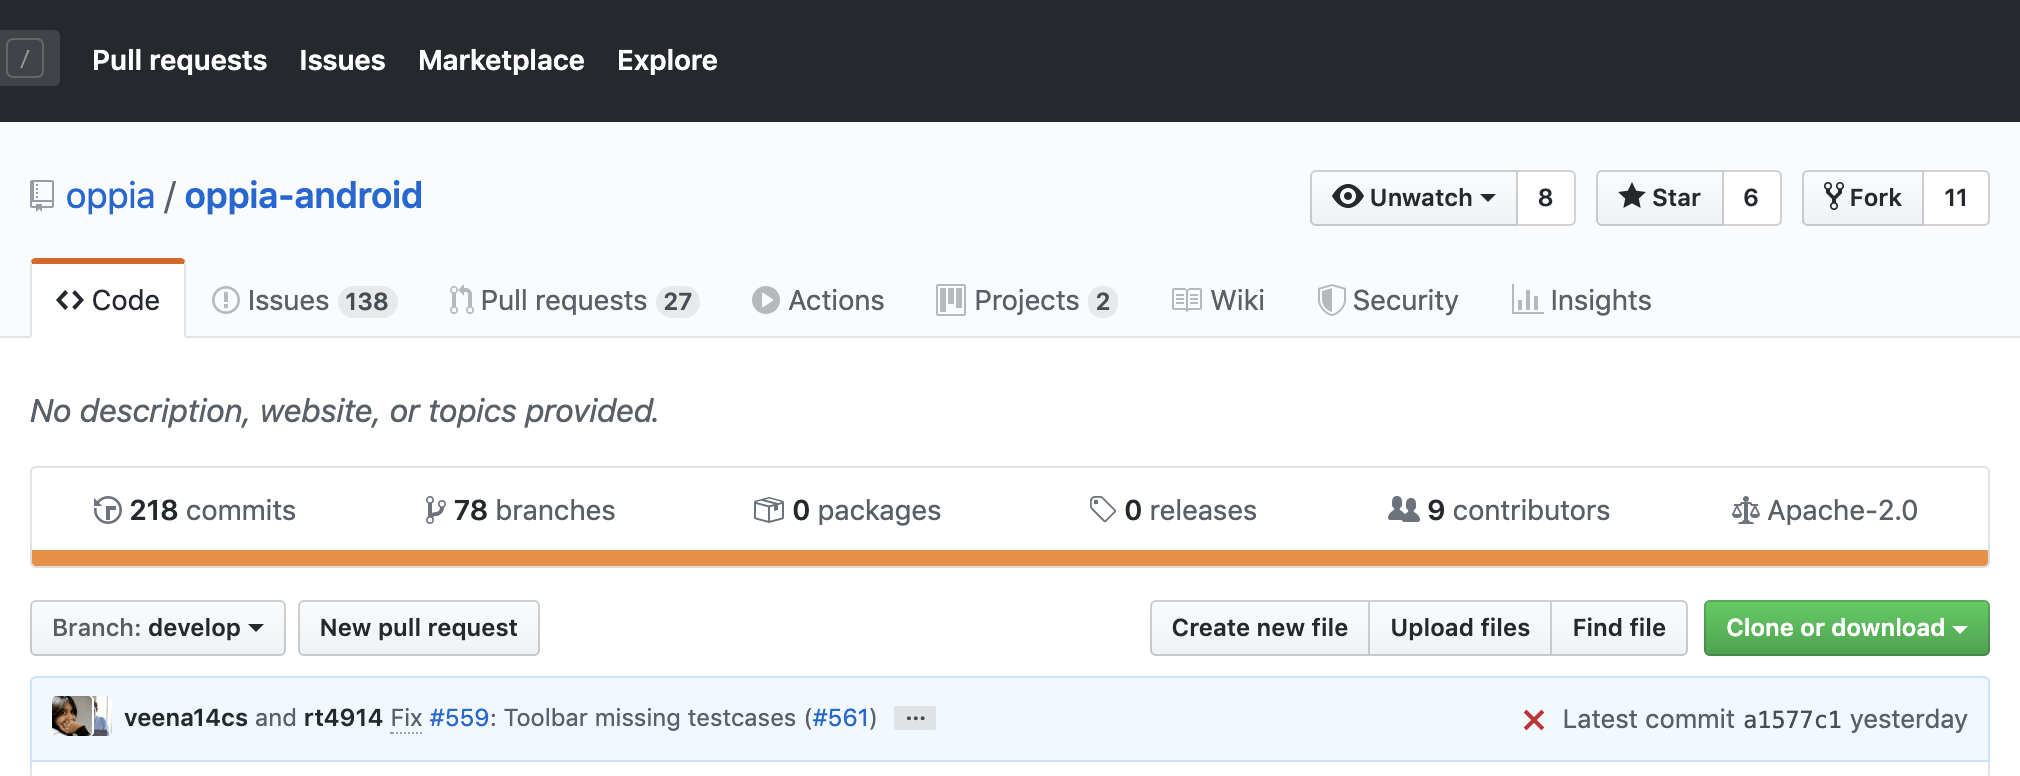
Click on the "Fork" button on the top-right corner (at the same level as the oppia/oppia-android repository name):
-
You can now see Oppia-Android under your repositories. It will be marked as forked from
oppia/oppia-android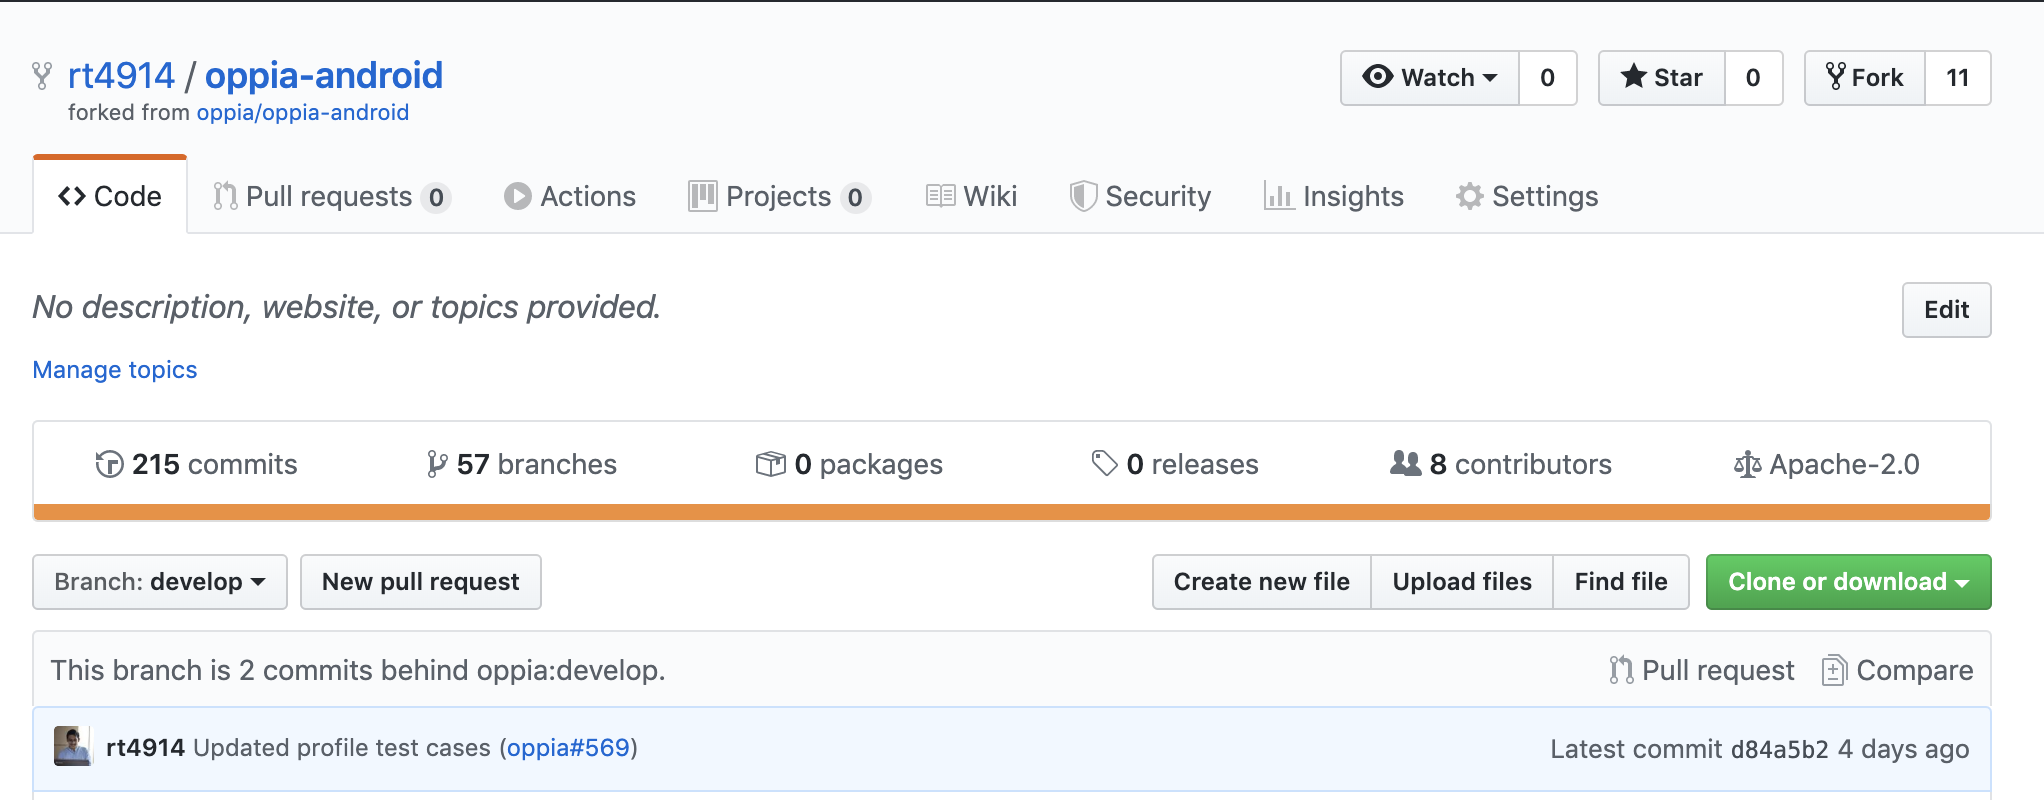
-
Clone this repository to your local computer by running
git clone https://github.com/USERNAME/oppia-android.gitin a terminal. -
To keep your local repository, forked repository and main oppia-android repository in sync, configure your remote repositories by running the following two commands in a terminal:
-
git remote -v(this lists your current remote repositories) -
git remote add upstream https://github.com/oppia/oppia-android(this adds oppia/oppia-android as an upstream repo)
-
- Navigate to your fork, e.g.
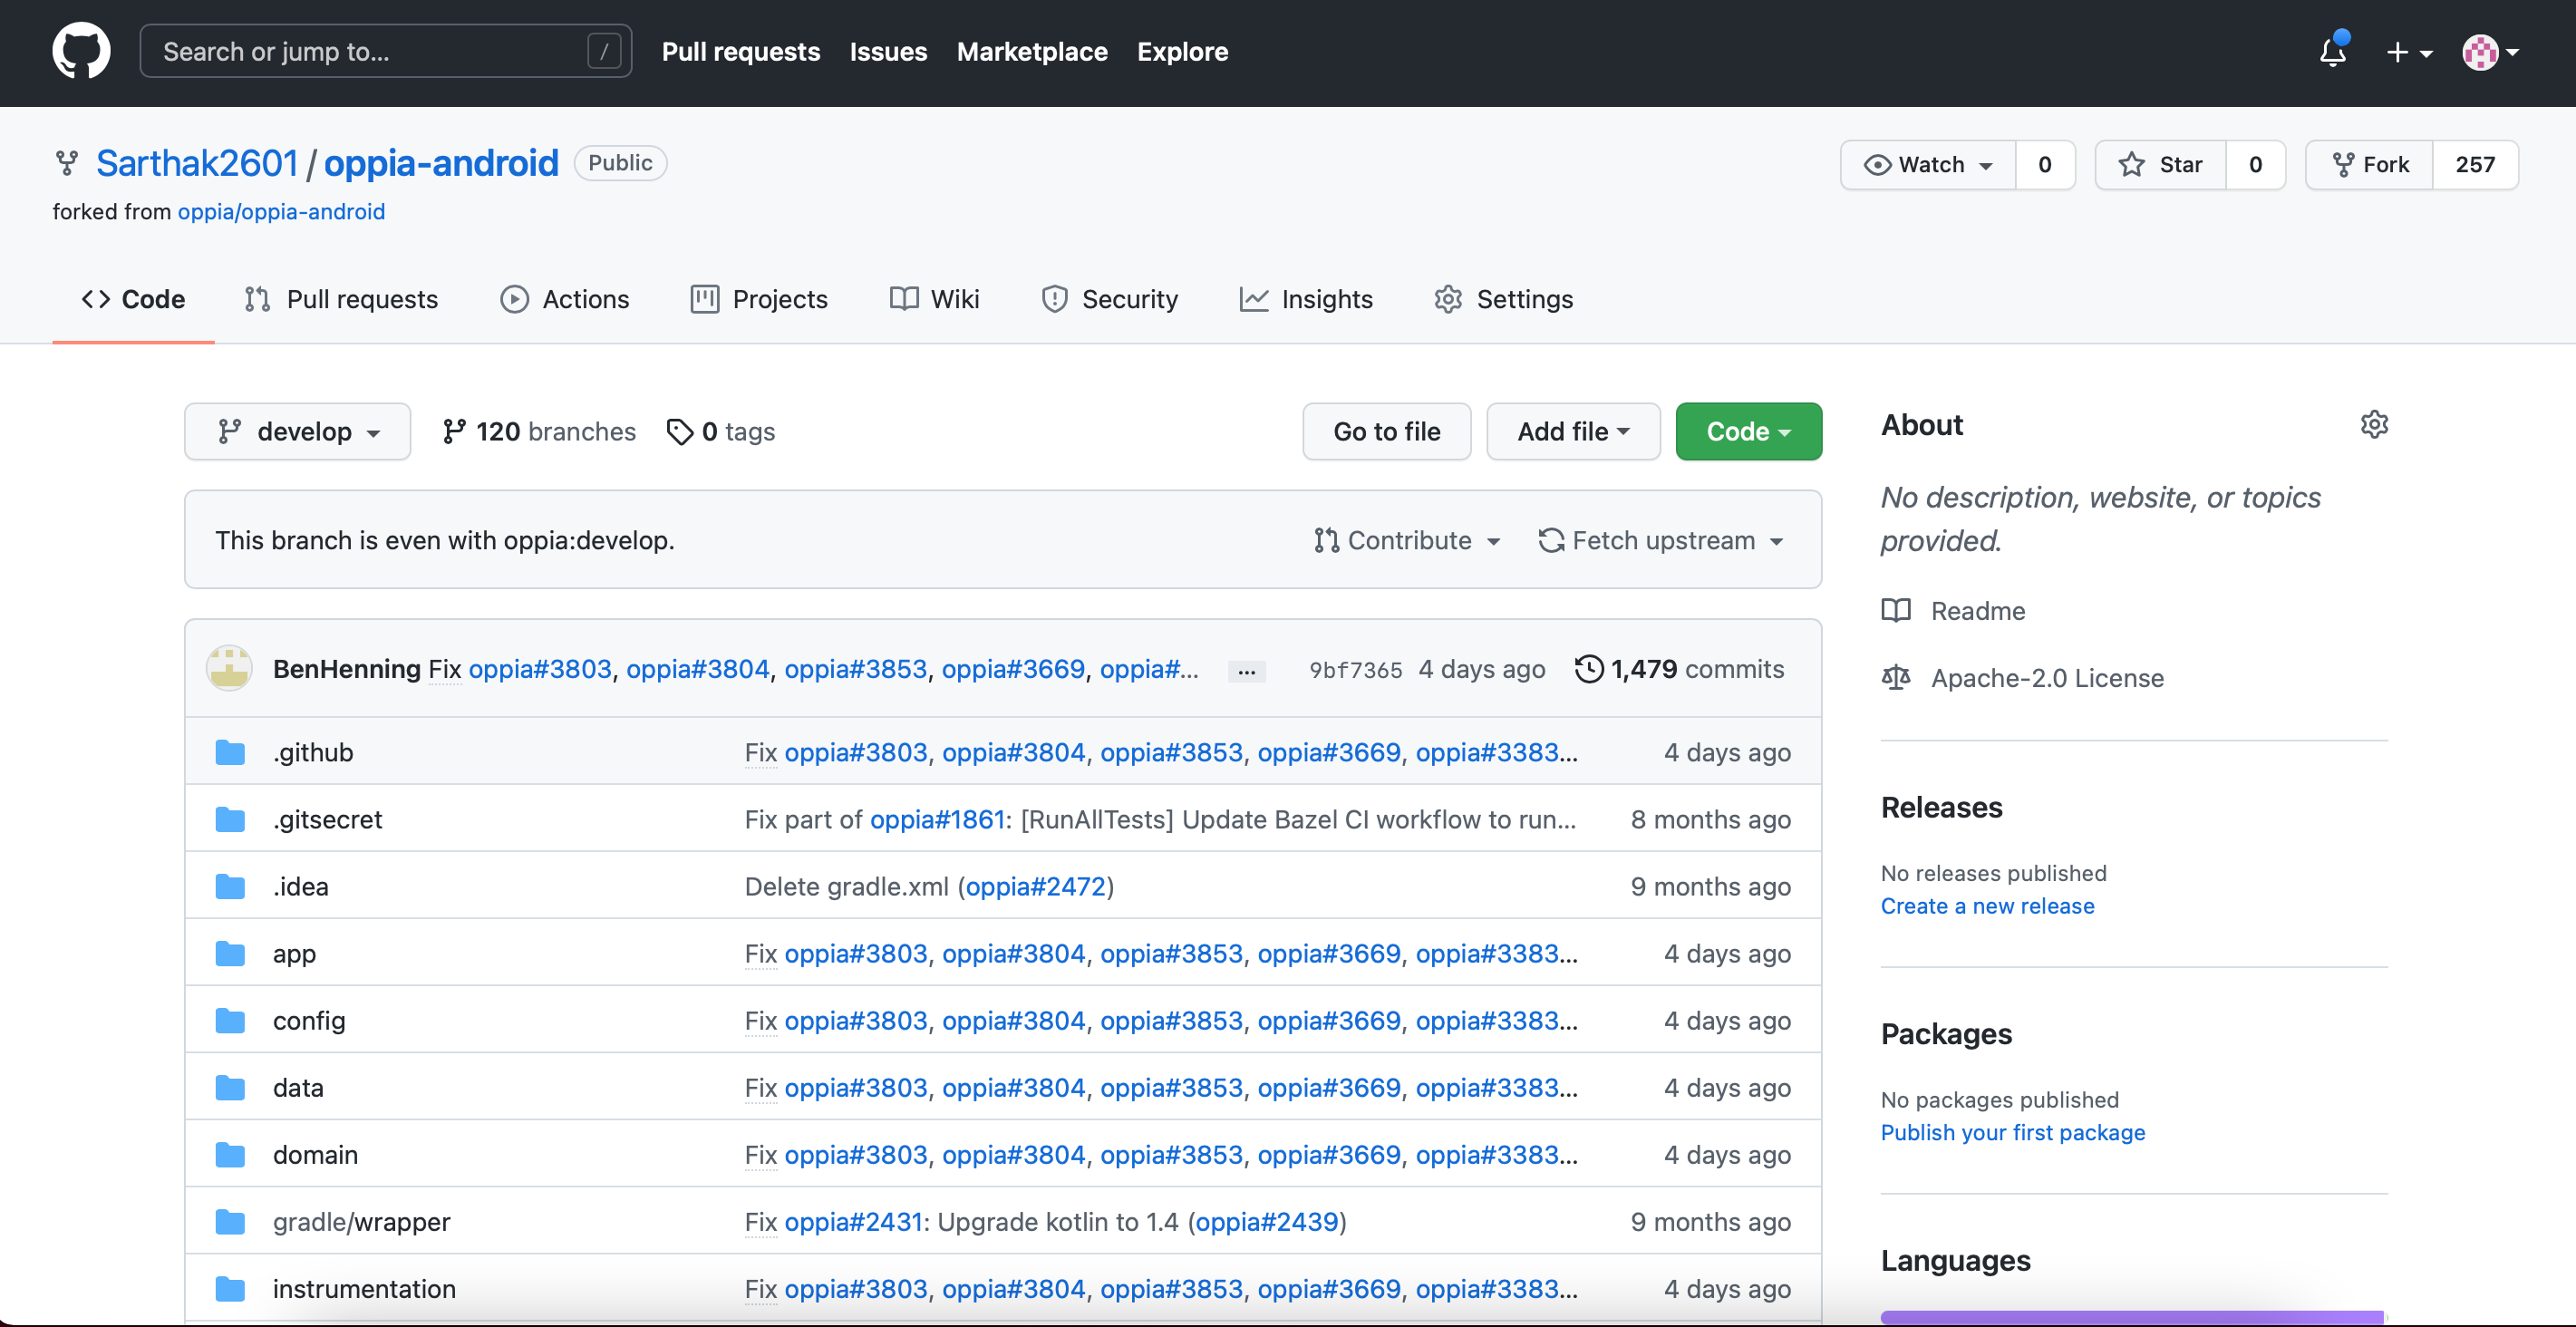
https://github.com/<your_username>/oppia-android. Click on Clone or download and copy the link (the URL will look different since you should be using your fork, not https://github.com/oppia/oppia-android).
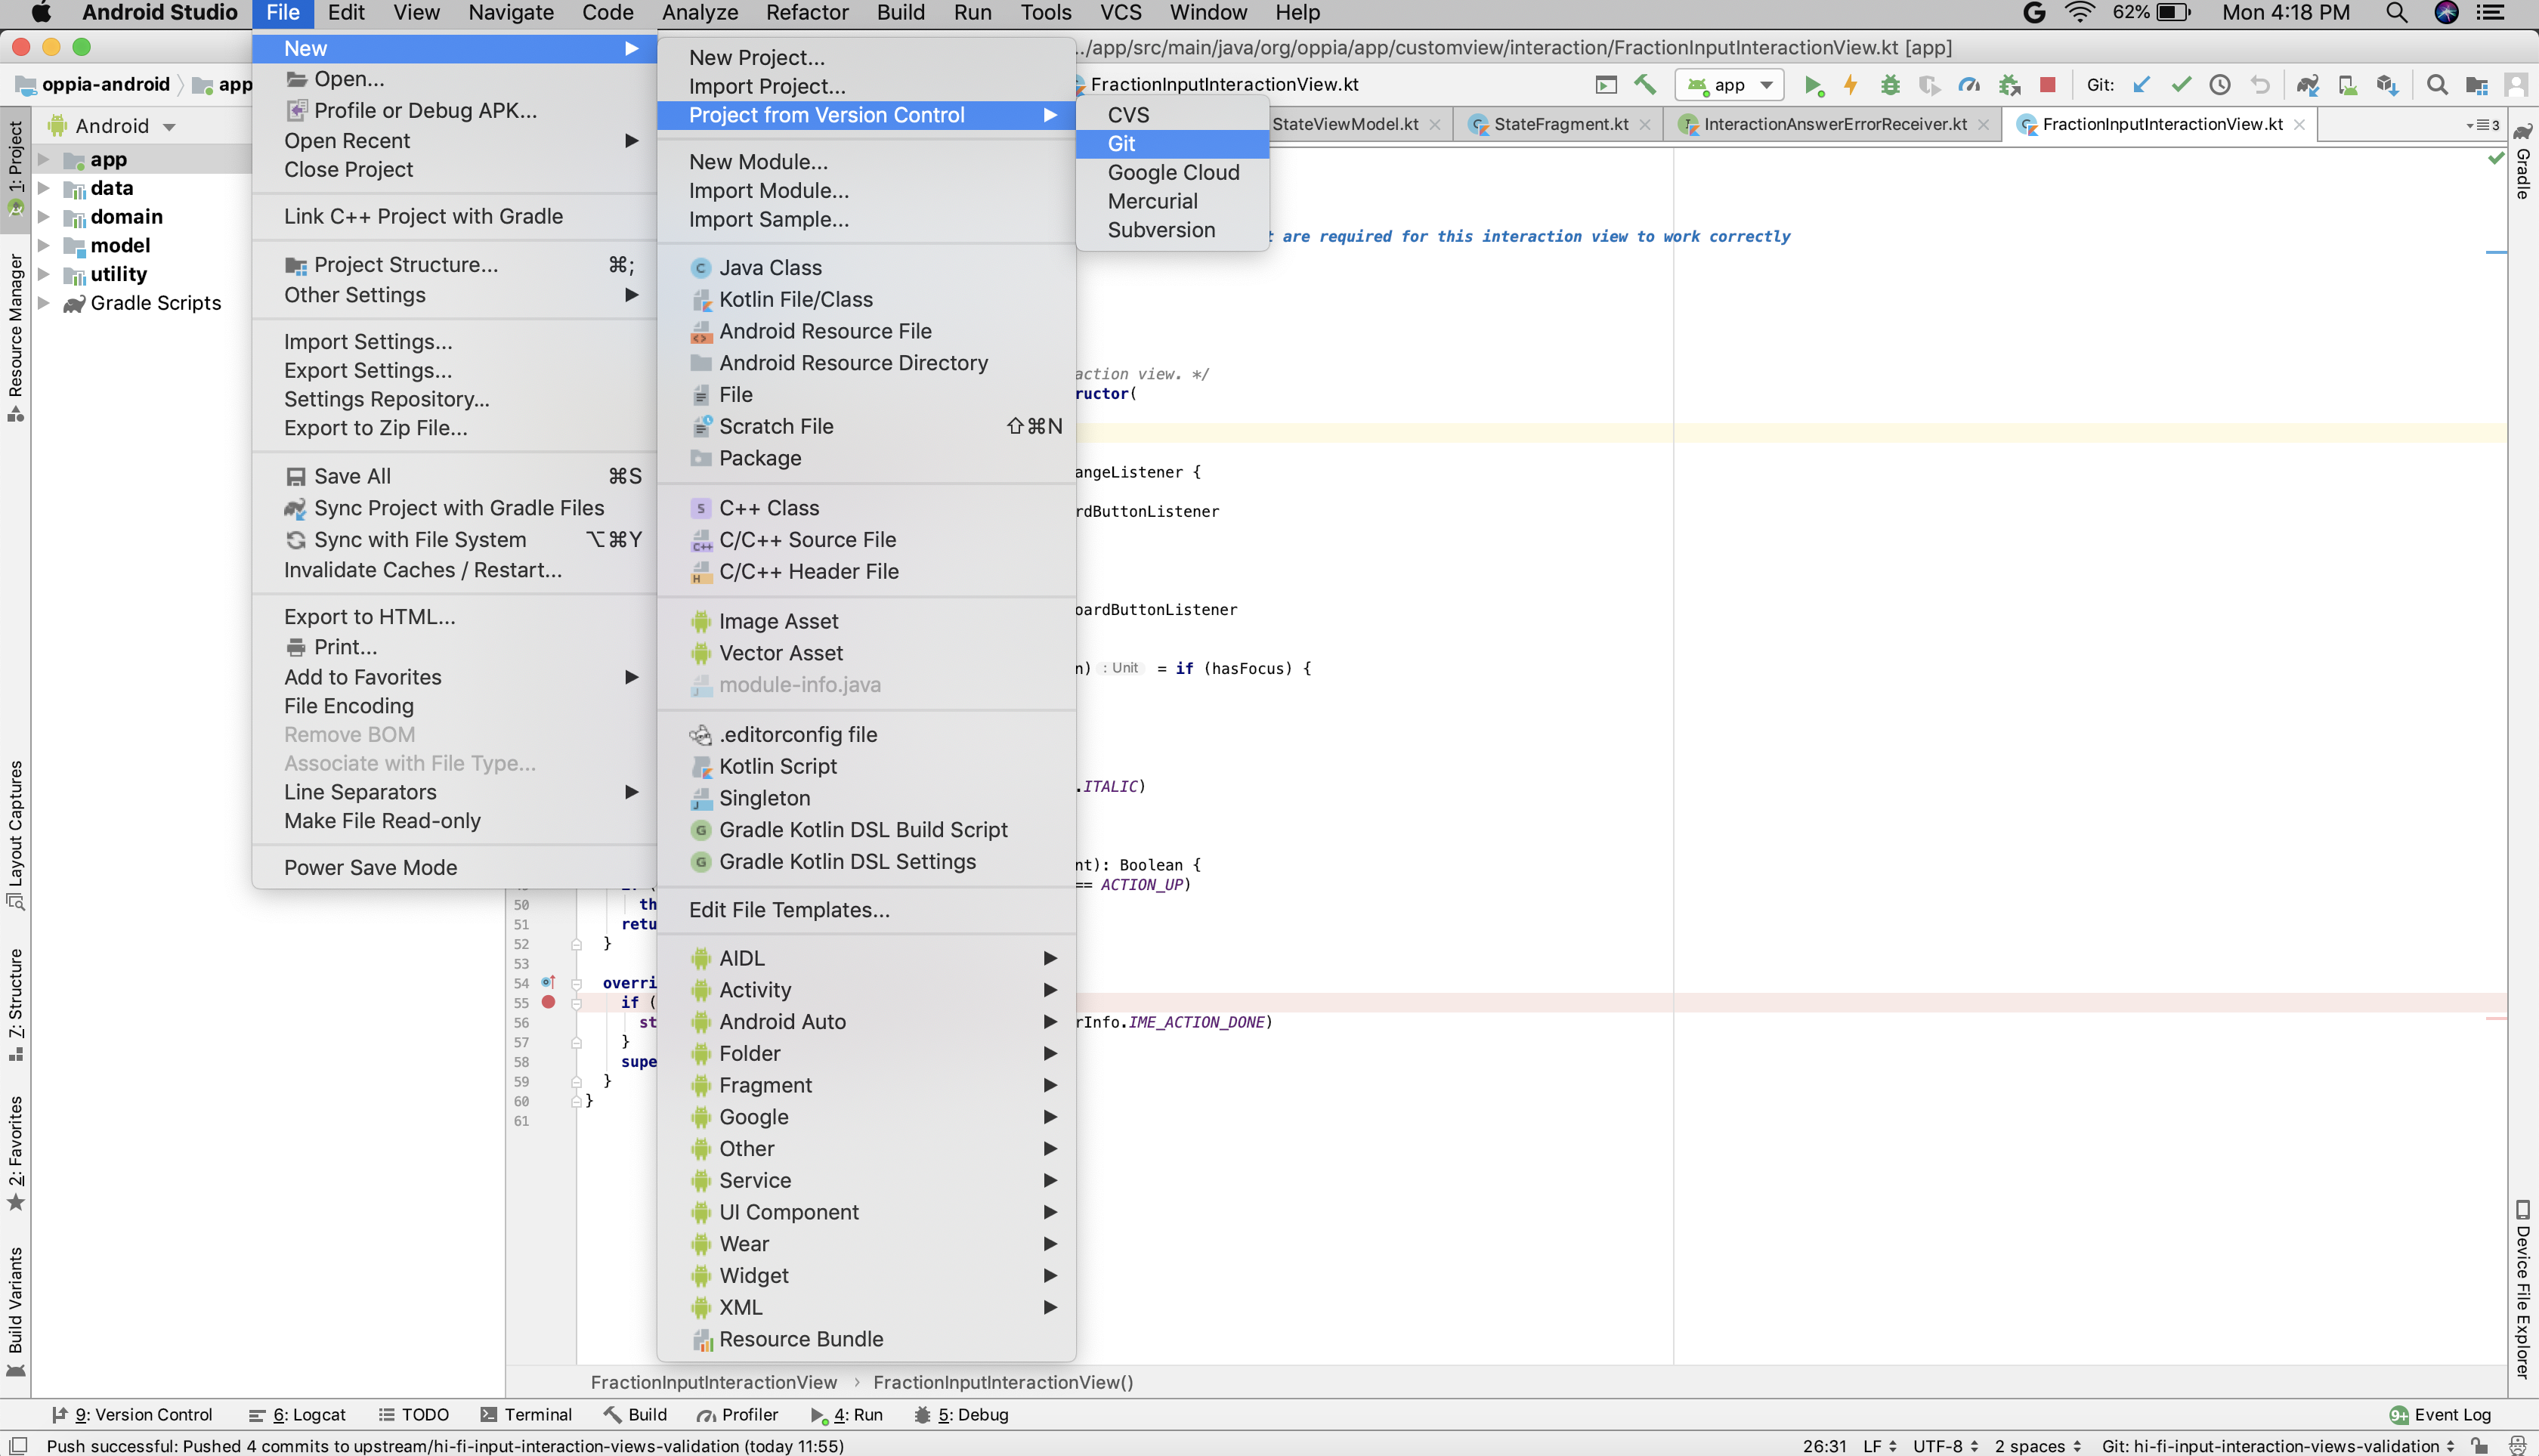
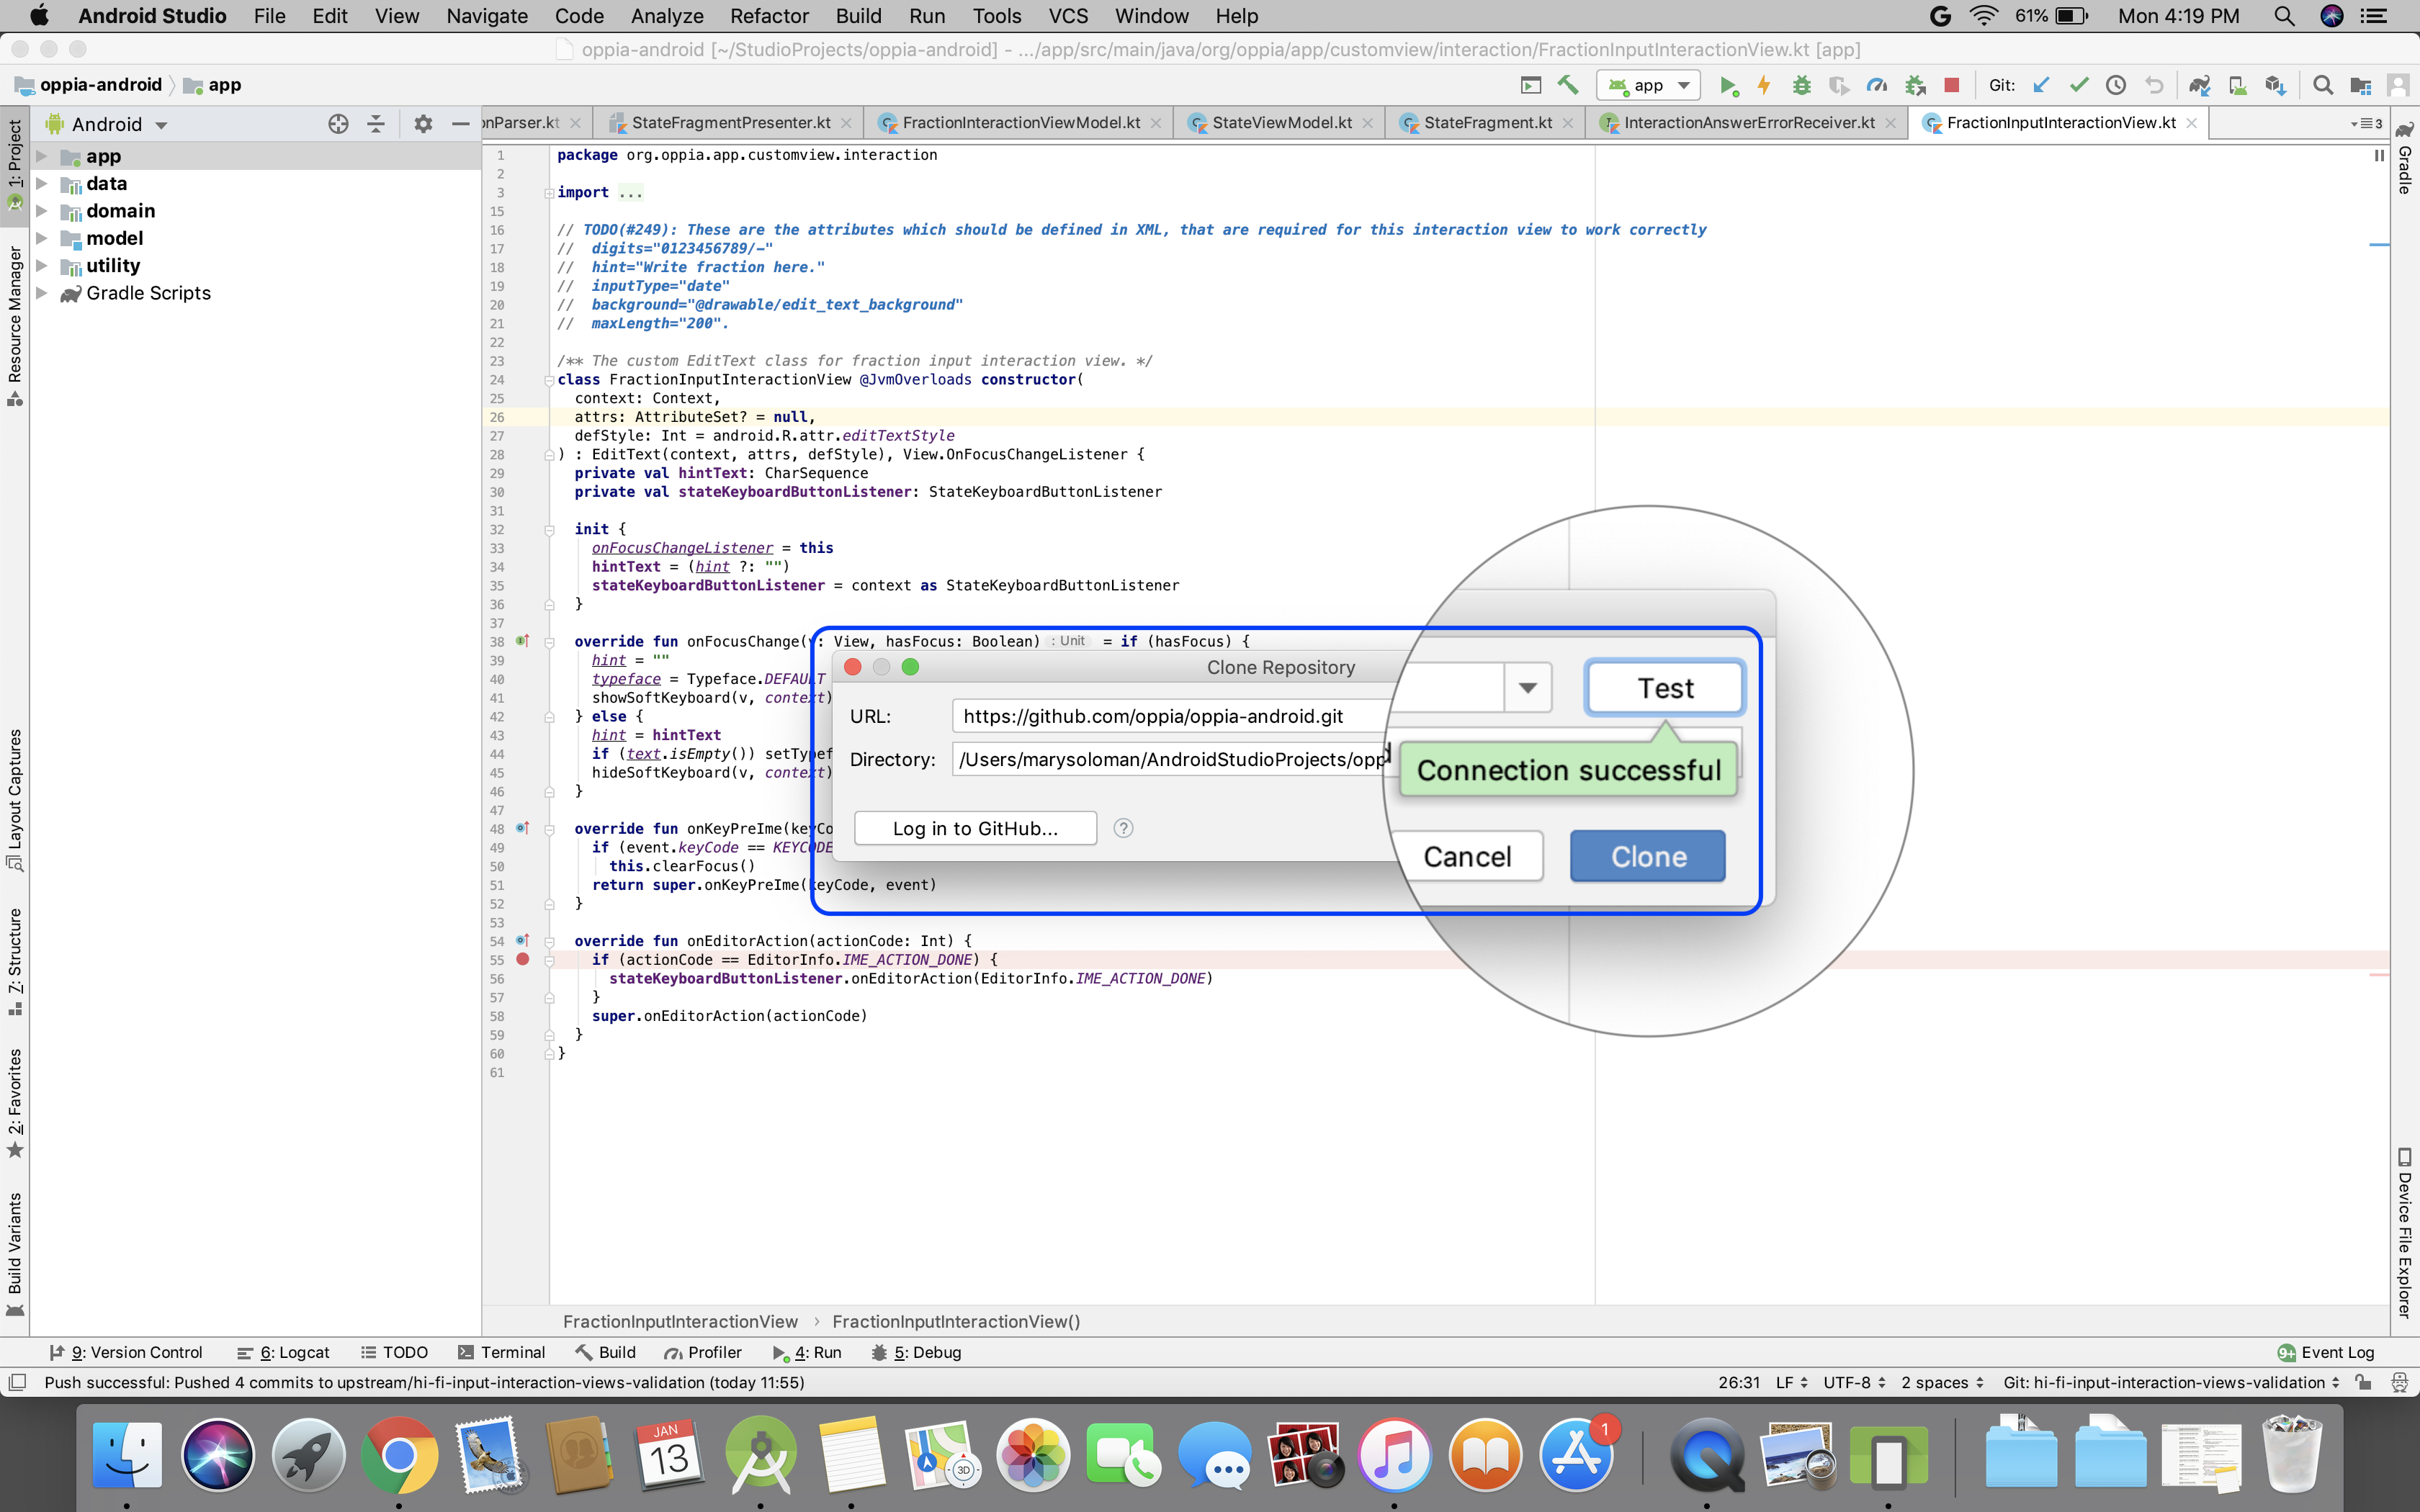
- Now, go to Android Studio>File>New>Project from Version Control>Git
-
Log in GitHub with your credentials.
-
Paste the URL and click on Clone button. Wait for a few minutes until Gradle build completes.
Have an idea for how to improve the wiki? Please help make our documentation better by following our instructions for contributing to the wiki.
Core documentation
Developing Oppia
- Contributing to Oppia Android
- Bazel
- Key Workflows
- Testing
- Developing Skills
- Frequent Errors and Solutions
- RTL Guidelines
- Working on UI
- Writing Design Docs
Developer Reference
- Code style
- Background Processing
- Dark mode
- Buf Guide
- Firebase Console Guide
- Platform Parameters & Feature Flags
- Work Manager
- Dependency Injection with Dagger
- Revert & regression policy
- Upgrading target SDK version
- Spotlight Guide
- Triaging Process
- Bazel
- Internationalization
- Terminology in Oppia
- Past Events