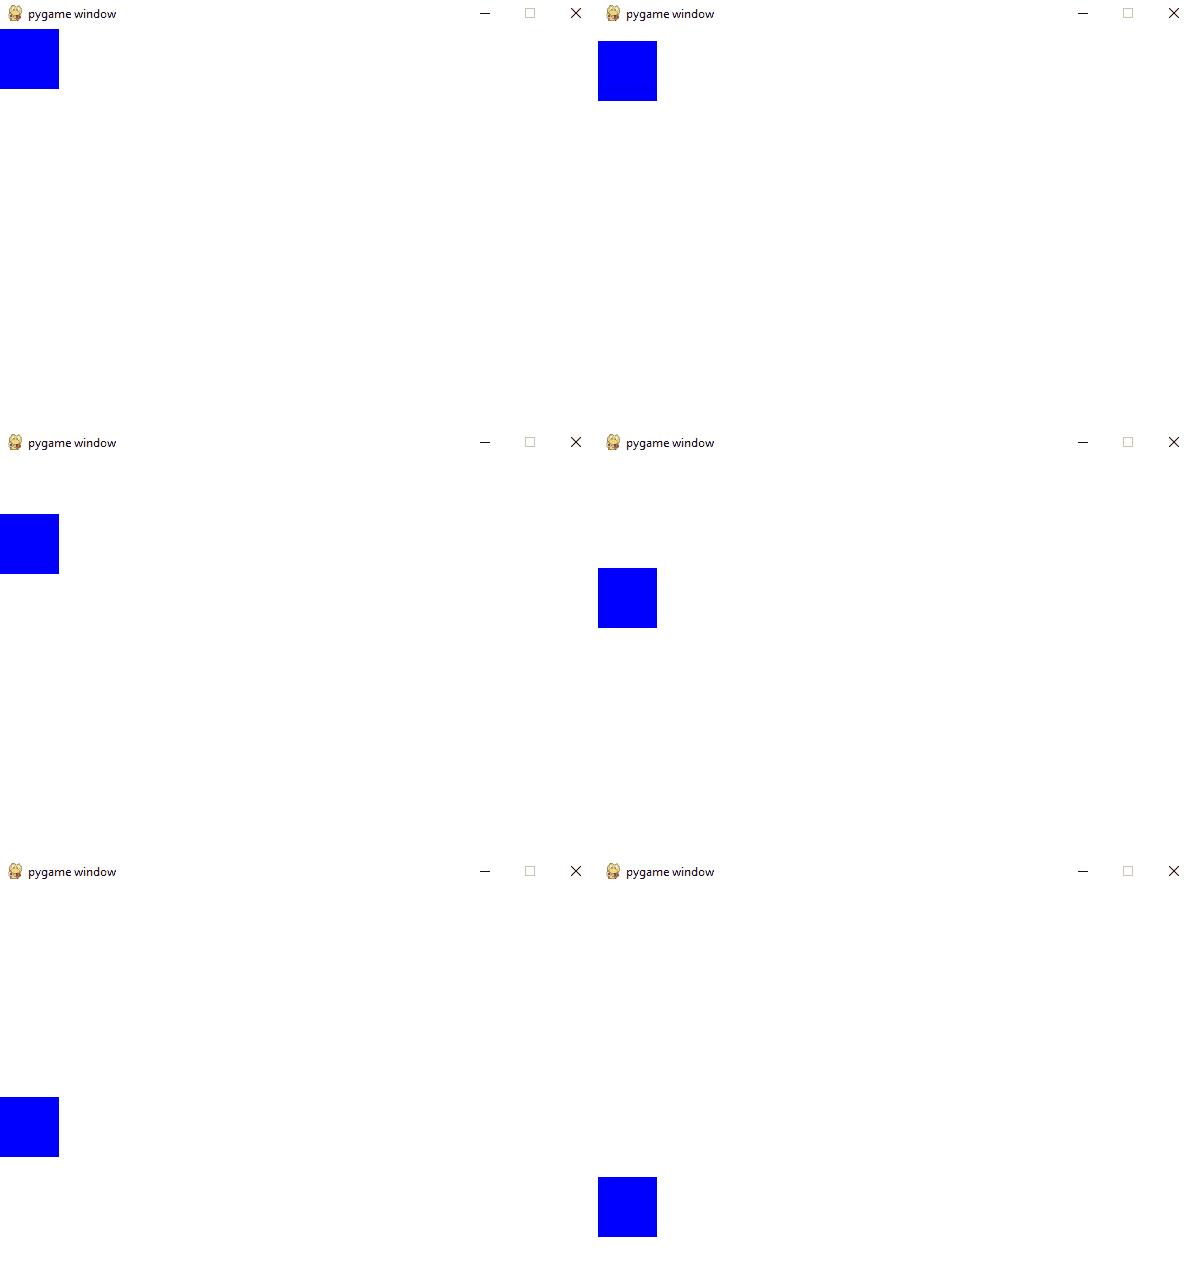
To start, we will import the pygame library and initialize it, and import the random library. We will also set 3 constants: the width and height of the screen in pixels, and the framerate (number of times the screen updates in one second).
import pygame
import random

pygame.init()

width = 600
height = 400
fps = 30
Next we will create a clock and surface. To create a surface we need to input the dimensions we want (as defined earlier). The surface will appear as a window on your computer, and it is how the game is displayed. The clock keeps track of the time and makes sure that the surface updates according to the framerate we set.
clock = pygame.time.Clock()
surface = pygame.display.set_mode((width, height))
Finally we will create the game loop, where all of the actual code for the game will run. The game loop will run as long as the variable running stays set to true.
Each time the loop runs, it first checks all of the events. In pygame, events are how the game registers input like key presses, mouse movement, or mouse clicks. In order to check all of the events, we will iterate through a list of them given by pygame.event.get(). For now we are just going to check if the "X" button on the window has been pressed. When this happens, pygame will detect an event of the type pygame.QUIT. So in the if statement below, when we detect this event, running will be set to false causing the game loop to exit and the window to close.
After checking for events, we will fill the surface with the color white. The surface.fill() function takes a list of 3 numbers ranging from 0 to 255, corresponding to the red, green, and blue components of the color. For white it will be (255, 255, 255). (Try changing the color too!) Then we update the display to show the next frame that was rendered, and "tick" the clock to wait until it is time to generate the next frame.
running = True
while running:
    for event in pygame.event.get():
        if event.type == pygame.QUIT:
            running = False

    surface.fill((255, 255, 255))

    pygame.display.update()
    clock.tick(fps)
Try running this code now! A black window should pop up that is the size we specified, and if you click the "X", it should close. On Windows, it will look like this:
Now it's time to add the player! We're going to make a simple player class that has functions to render (display) it to the surface, update it's position, and check its state. But before we get into that let's quickly talk about rendering graphics. Unlike the convention you might learn in math class, the origin (0, 0) is in the top left corner. Keep this in mind as we continue because the y axis will the reverse of what you are used to. Moving down the screen is the positive y direction.
Let's make the player class! We'll just start with the init function defining our variables. First we will define a rectangle from pygame, giving it x, y, width, and height parameters. We will also keep track of the y velocity so that the player can jump.
class Player:
    def __init__(self):
        self.rect = pygame.Rect(0, 0, 60, 60)
        self.vel_y = 0
Next let's add a draw function to render the player to the surface. We wil pass in the surface and run pygame's draw rectangle function. We pass in the surface, the color (like discussed in Step 1), and the rectangle.
    def draw(self, surface):
        pygame.draw.rect(surface, (0, 0, 255), self.rect)
Let's make a player and try rendering it! Create an instance of the player class before our game loop.
p = Player()Now let's add the draw function into our game loop after the filling the surface, but before we update the display. Each render draws on top of the current screen, so the order in which you render different objects will determine how they overlap each other.
    surface.fill((255, 255, 255))

    p.draw(surface)

    pygame.display.update()
    clock.tick(fps)
After this step, try running the code again and you should see this screen:
Now let's try adding some physics to it! We want the player to be able to jump, so we need to add an update function that changes our y position and velocity without making the player fall off the screen.
Let's start by defining the rate of gravity and the y position of the floor before the game loop. To make our floor 50 pixels from the bottom of the screen, we take the height of the screen (400) and subtract 50 to get 350. (Again this is because y = 0 is at the top.)
gravity = 2
floor_level = 350
Now let's add an update function to our player class. Every time the game loop runs, we want to update the velocity by adding the gravity to it, and the position by adding the velcoity to it. This is a simple physics model of acceleration to make a realistic jump.
Finally we want to make sure that the plapyer doesn't pass through the floor. If the bottom of the rectangle is below the floor (greater y value), then we will set the bottom equal to the floor, and set the velocity back to zero.
def update(self):
    self.vel_y += gravity
    self.rect.y += self.vel_y

    if self.rect.bottom > floor_level:
        self.rect.bottom = floor_level
        self.vel_y = 0
Now we just need to add this to our game loop. Place it right before the surface fill function so it updates the position of the player before the rendering starts. Your game loop should now look like this:
while running:
    for event in pygame.event.get():
        if event.type == pygame.QUIT:
            running = False

    p.update()

    surface.fill((255, 255, 255))

    p.draw(surface)

    pygame.display.update()
    clock.tick(fps)
Now when you run the game, the player should fall and land near the bottom of the screen like this:
Now we just need to make the player jump when you press the space bar! The player should only be able to jump when they are on the ground, so let's add a function to the Player class that checks the y position against the ground level.
def on_ground(self):
    return self.rect.bottom == floor_level
Next let's add a variable for our jump "strength" before the game loop. This will give the player an upward velocity when the jump button is pressed.
jump_strength = 30Finally we are going to add the jump button to tie everything together. In our event loop we are going to check for the pygame.KEYDOWN event, and then check if the key was the space bar. Then we will add the jump velocity to the player if they are on the ground.
if event.type == pygame.KEYDOWN:
    if event.key == pygame.K_SPACE:
        if p.on_ground():
            p.vel_y = -jump_strength
We'll also quickly move the player a little to the right. We can do this by changing the center of the rectangle. In the Player __init__() function, add this line after we define self.rect.
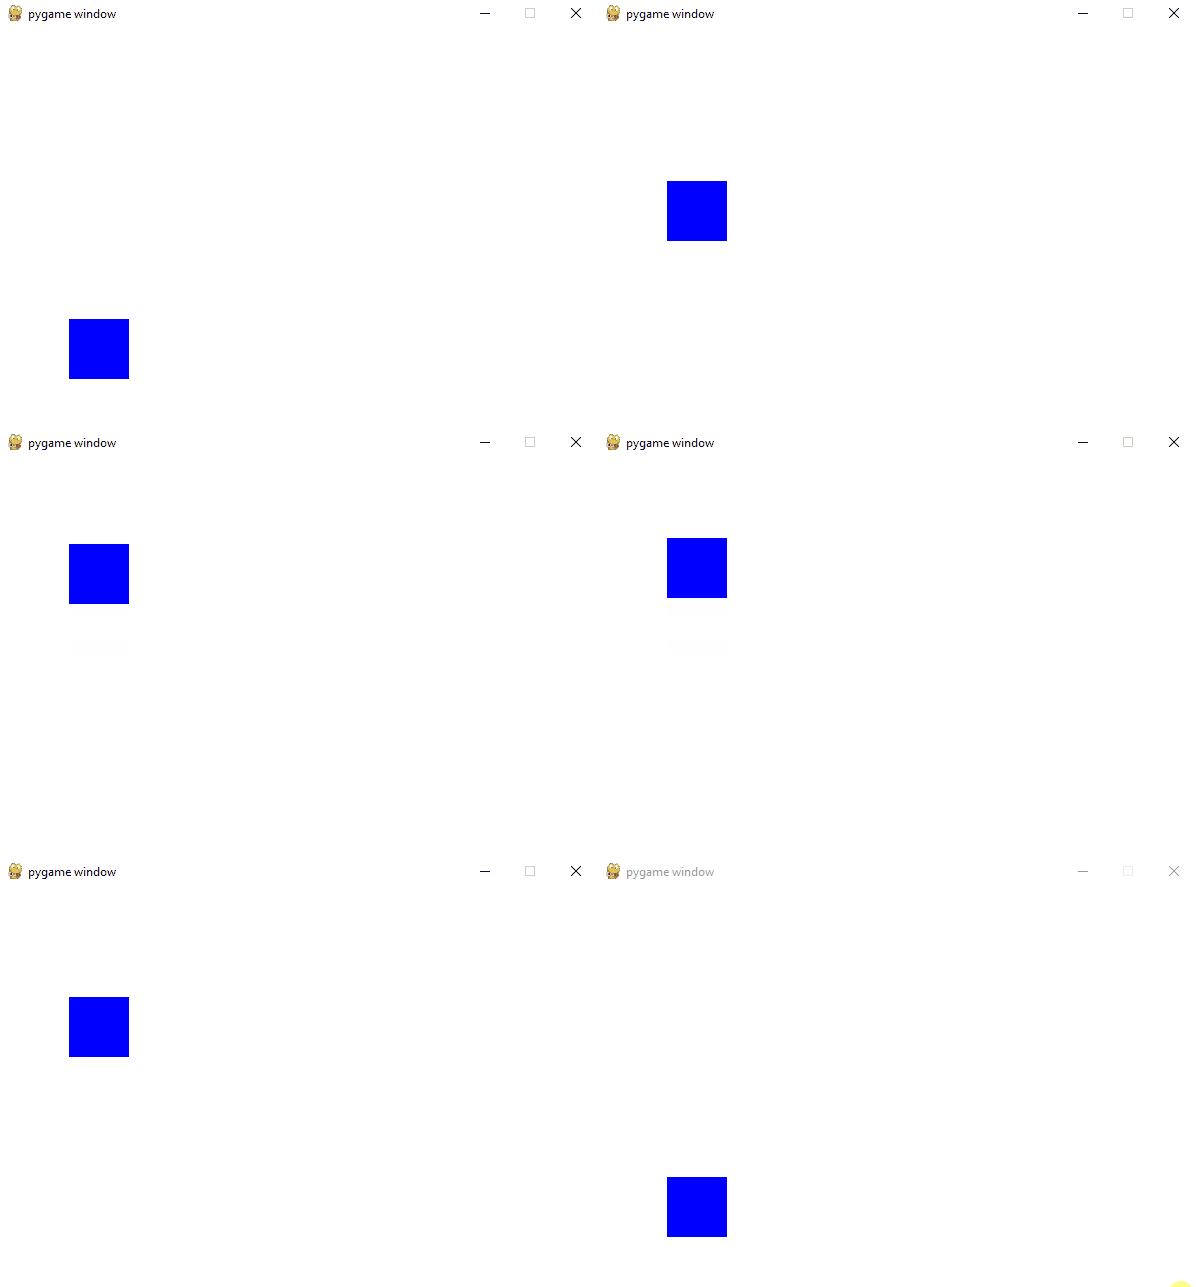
self.rect.center = 100, -20At this point, we are now done with the Player class! You should now be able to jump by pressing the space bar:
We are now going to add the enemies, which the player will jump over. Here is what the Enemy class looks like:
class Enemy:
    def __init__(self):
        self.rect = pygame.Rect(width, floor_level - 50, 50, 50)
        self.vel_x = -10

    def draw(self, surface):
        pygame.draw.rect(surface, (255, 0, 0), self.rect)

    def update(self):
        self.rect.x += self.vel_x

        return self.rect.right < 0
It is pretty similar to the Player class but I'll point out a few differences. We set the initial position to be just off of the screen in the x direction, and on the floor in the y direction. The x velcoity will be a constant -10, moving left towards the player. Because there is not acceleration, the update function is pretty simple. This time, the update function returns True or False. This will let us know when an enemy has gone of the left side of the screen and is safe to delete.
Because we are going to want multiple enemies, we are going to create a list to keep track of updating, rendering, and deleting them automatically. We also want to create a counter and wait time variable to know when to add new enemies, as well as variable to keep track of the player's score.
enemies = []
counter = 0
wait_time = 0
score = 0
Next let's add all of the logic in the game loop. The wait time will be the number of frames until we create a new enemy. The counter will keep track of the frames that have passed. When the value of counter exceeds that of wait time, it is time to make a new enemy. We will reset the counter back to zero, and randomly pick a new wait time, 60 to 120 frames. At 30 frames per second, this is 2 to 4 seconds in between enemies. Then we'll add the new enemy to our list and increment the counter.
if (counter > wait_time):
    counter = 0
    wait_time = random.randint(60, 120)
    enemies.append(Enemy())

counter += 1
After this we want to update all of the enemies. This function is a little bit more complicated. Every time we run the loop, we will run this code for every enemy. If we update an enemy and get back a True value, we know it has left the screen. If this happens, we remove the enemy from the list, and increase the players score.
Then we want to check if the player has hit any of the enemies. We are checking if the player's rectangle intersects with an enemy rectangle using the colliderect() function. If this happens we want to restart the game. We reset the player's position, clear the enemies, set the score back to zero, and send a message. Add this code after we update the player.
for enemy in enemies:
   if enemy.update() == True:
       enemies.remove(enemy)
       score += 1
       print(score)

   if p.rect.colliderect(enemy.rect):
       p.rect.center = 100, -20
       enemies = []
       score = 0
       print("You died! Restarting...")
Now we just need to draw the floor and the enemies in. We will use a simple green rectangle with the proper dimensions for the floor.
pygame.draw.rect(surface, (0, 153, 0), pygame.Rect(0, floor_level, width, height - floor_level))To draw the enemies we will simply iterate through each of them and call their draw function:
for enemy in enemies:
   enemy.draw(surface)
Your game should now look like this:
Congratulations you just made your first game with pygame!


