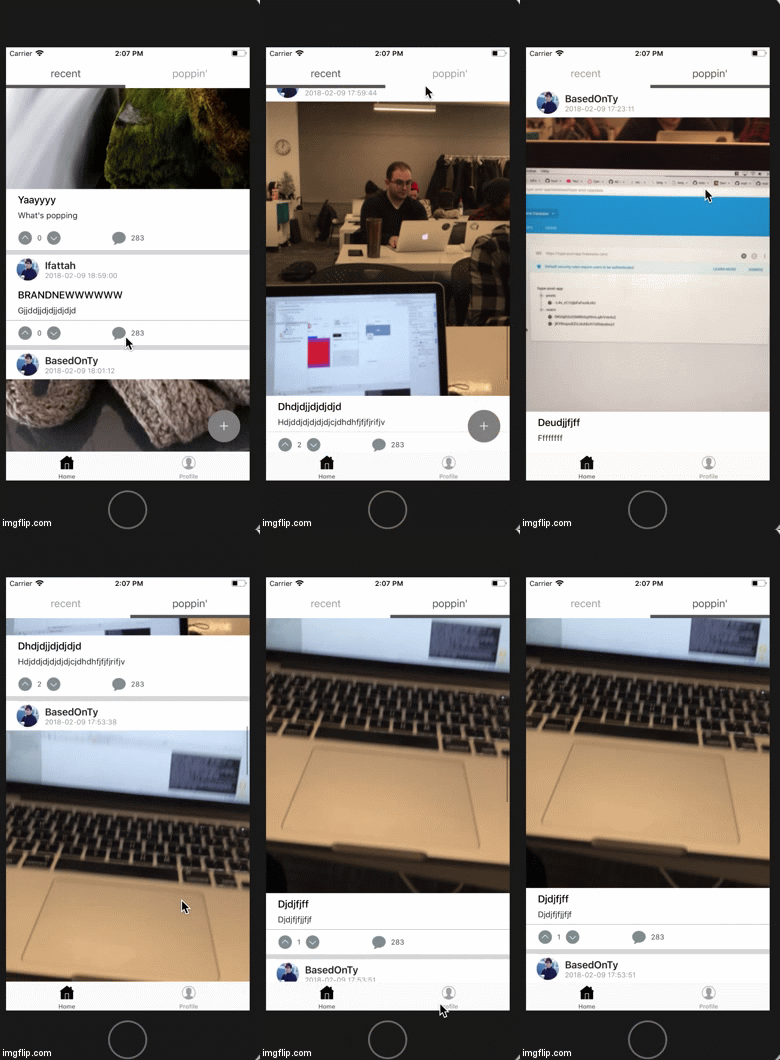
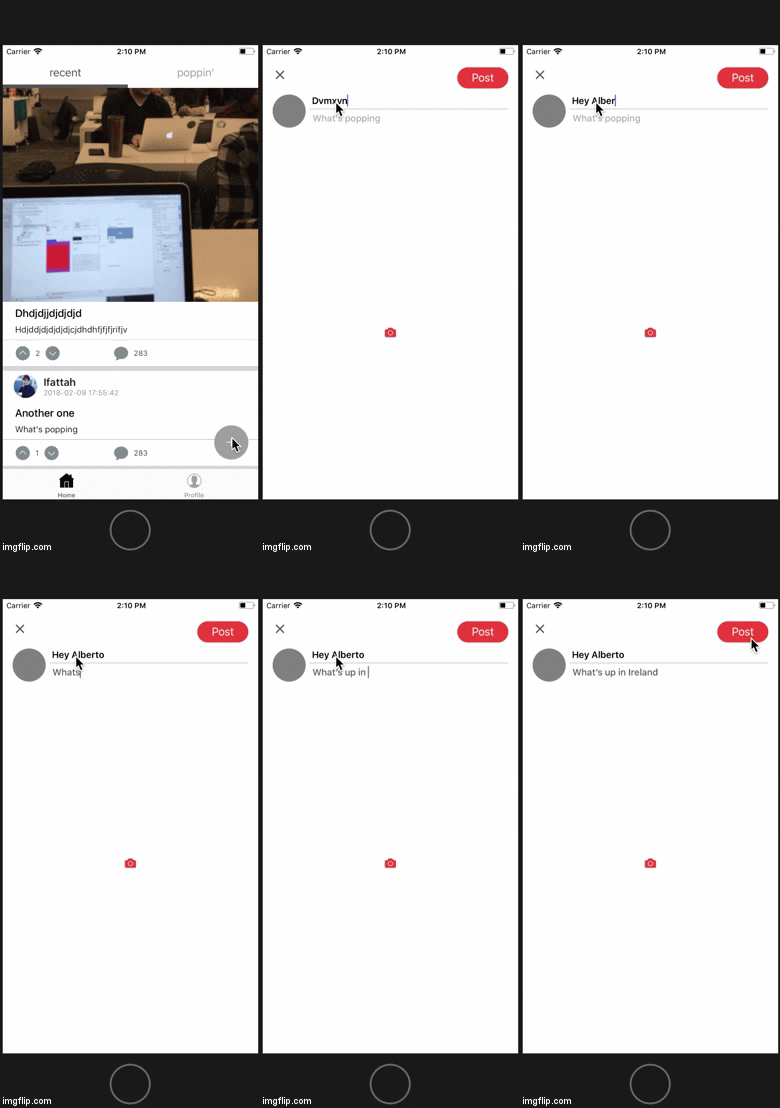
An app that allows you to share and hype up the post of people when you want.
- Xcode and CocoaPods is needed to run this project. Make sure you have Xcode and CocoaPods installed on your local machine.
- Clone/ download the zipfile of this app project
- Open Terminal
- cd to the folder of where the project has been cloned/ downloaded
- All necessary cocoapods needed for this project are included(AlamoFire, Firebase, Firebase/Auth, Firebase/Database, Firebase/Storage, SnapKit, KingFisher, SVProgressHUD, Material, HMSegmentedControl, ImagePicker)
Install the cocoapods needed by entering the below after cding into the project folder
pod install
-
Open the Hype-Post-App project and open the file that says “Hype-Post-App.xcworkspace“.
-
Xcode will load the project for you. Click on “Hype-Post-App” in the left sidebar.
-
On the upper left of Xcode is a play button, click to run project, a iphone simulator will popup and take a few minutes to load.
-
Hype Post entry screen will appear, you have the option of signing in or creating an account.
It is possible to sideload this project app into your iOS device by following these instructions :
-
Open the Hype-Post-App project and open the file that says “Hype-Post-App.xcworkspace“.
-
Xcode will load the project for you. Click on “Hype-Post-App” in the left sidebar.
-
You’ll need to change a couple of settings in order to install the app on your iPhone. First, go to “Xcode -> Preferences“, and click on the “Accounts” tab. You’ll have to add your Apple ID here. You can simply click on the plus icon in the bottom of the screen and add your Apple ID. It doesn’t need to be a developer ID, you can use your free Apple ID, as well.
-
Once you have done that, you will need to change a couple of settings for the Xcode project. Firstly, change the value next to “Bundle Identifier“, and make it anything that is unique, and looks like tyzhaoac.Hype-Post-App. In my case, I’ve replaced “tyzhaoac” with my name.
-
Next, you’ll have to add a “development team” for the project. Simply click on the drop down box next to “Development Team”, and select “Your Name (personal team)“.
-
You’re all set to install Discover Venue on your iPhone. Simply connect your iPhone to your Mac. Then, go to “Product -> Destination“, and select your iPhone from the list.
-
Now, click on the “Run” button in Xcode. Xcode will then begin compiling the app for your iPhone. If you get warnings (yellow triangle signs), don’t worry about them.
-
Xcode will prompt you with an error saying that you need to trust the developer on the iPhone. On your iPhone, go to “Settings -> General -> Profiles and Device Management“.
-
Tap on the entry under “Developer App”, and tap on “Trust”.
-
You can now go to your homescreen, and look for HypePost. Tap on the app to launch it. Allow location services. DiscoverVenue is ready to use!


