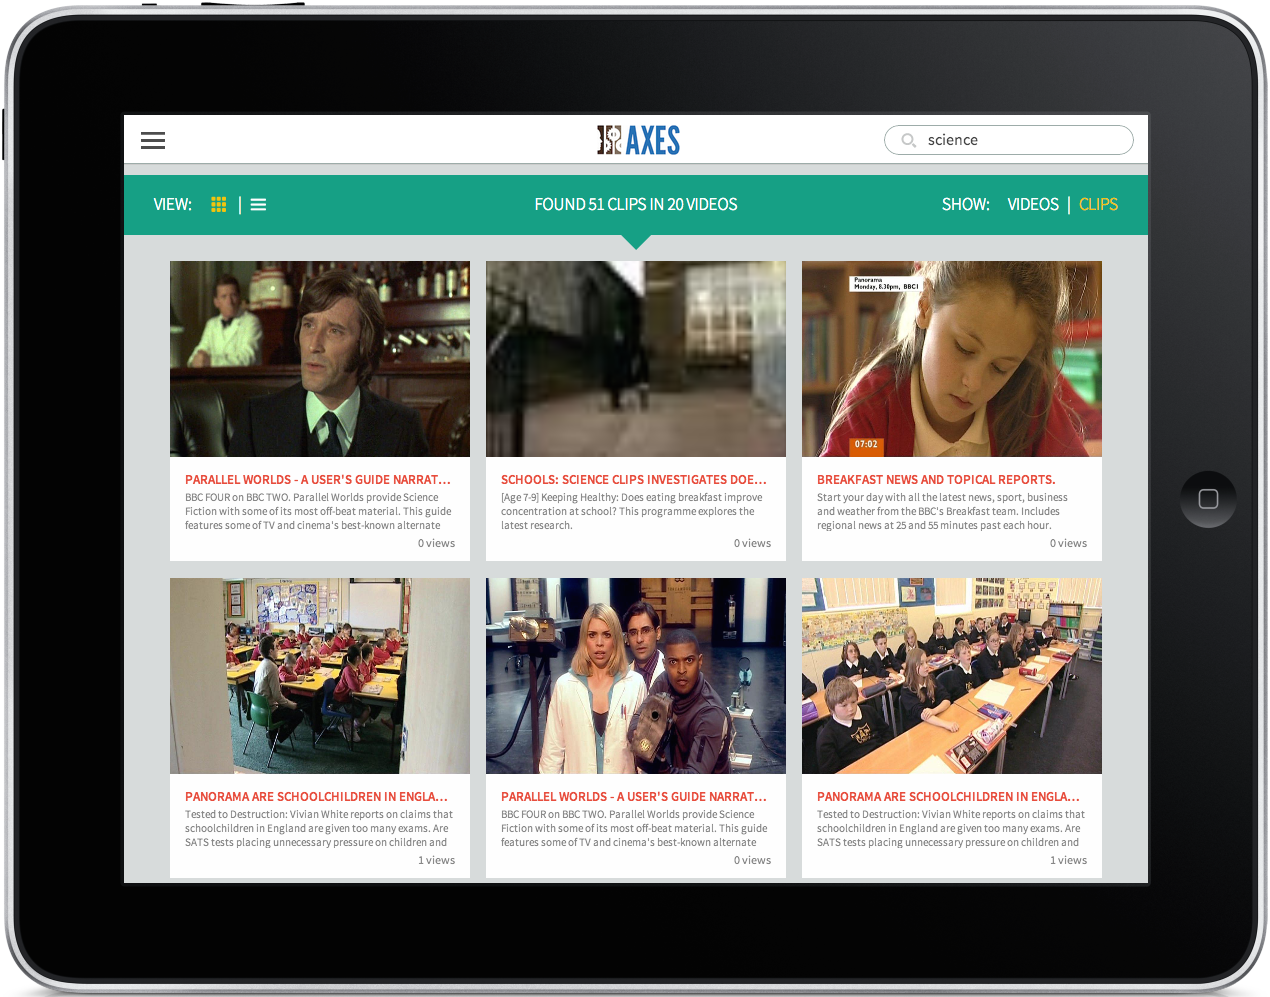
Client and server-side code for AXES home.
This is the front end to the AXES home system. This software was developed as part of the AXES EU FP7 project. This front end needs to be used in conjunction with the link management and search system developed by AXES. This software is licensed under the Apache 2 license.
Server-side:
- MongoDB
- pymongo
- flask
- flask-restful
- jsonrpclib
- Gunicorn for deployment.
Install Python dependencies with:
$ cd server
$ pip install -r requirements.txt
You can also use a Python virtual environment to install these locally:
$ virtualenv venv
$ . ./venv/bin/activate
(venv) $ cd server
(venv) $ pip install -r requirements.txt
You'll need to launch the gunicorn server (see below) with the virtual environment activated for this to work.
Configure the application by creating a settings.cfg file that overrides
any settings that you want to change from axeshome/settings.py. A template
settings file settings.cfg.template is provided for reference. The
settings.cfg file is just a standard python file that defines the relevant
variables. Here's an example:
DEBUG = False

# LIMAS JSON RPC service
SERVICE_URL = 'http://<server>:<port>/json-rpc'

# Location for user media
MEDIA_URL = '/axes/home/media/'
MEDIA_PATH = '/home/axes/servers/wp7/axes-home/client/media/'
The media path is where the server will store user uploaded images. The media
URL is the corresponding URL where this media can be accessed via HTTP. Other
settings can also be configured: see axeshome/settings.py.
You can tell the application where to find the settings file by setting the
environment variable AXESHOME_SETTINGS:
$ export AXESHOME_SETTINGS=settings.cfg
In the following, I assume you have nginx installed and that MongoDB is installed and running. If you must use Apache instead of nginx then something similar can be achieved using mod_proxy and the Alias directive (see: here).
Add a section to your nginx.conf to for hosting the static client code. The
following will map URLs starting with /axes/home to static files in
/home/axes/servers/wp7/axes-home/client:
# AXES home client side
location /axes/home {
    rewrite ^/axes/home$ /axes/home/ permanent;
    rewrite ^/axes/home(.*)$ $1 break;
    root /home/axes/servers/wp7/axes-home/client;
    index /axes/home/index.html;
}
Add a section to your nginx.conf to so that requests to /axes/home/api
are passed to the flask server. The following assumes the flask server will run
on port 5002:
# AXES home server side
location /axes/home/api/ {
    rewrite ^/axes/home/api(.*)$ $1 break;
    proxy_pass http://localhost:5002/axes/home/api;
    proxy_set_header Host $host;
    proxy_set_header X-Real-IP $remote_addr;
    proxy_set_header X-Forwarded-For $proxy_add_x_forwarded_for;
    proxy_set_header X-Forwarded-Protocol $scheme;
    client_max_body_size 50M;
}
Restart nginx or tell it to reload the changes:
$ nginx -s reload
Run the flask server with gunicorn. For example, the following command runs the server in debug mode:
$ cd server
$ gunicorn axeshome:app --debug --log-level DEBUG --bind :5002
You'll probably want to use supervisor to start and stop the the gunicorn process in production. You can just use a screen session to keep it alive in development.
If the video files are being hosted on a different server or port than the UI, then they will need to be proxied locally for similarity search using an arbitrary video frame to work. This is due to browser security policies on accessing image pixel data from untrusted sources.
The following example shows how to setup a local proxy in nginx from
/collections/ to http://<server>/collections/:
location /collections/ {
    proxy_pass http://<server>;
    proxy_set_header Host $host;
    proxy_set_header X-Real-IP $remote_addr;
    proxy_set_header X-Forwarded-For $proxy_add_x_forwarded_for;
    proxy_set_header X-Forwarded-Protocol $scheme;
}
Depending on how limas is setup, you may also need to rewrite some of the
returned URLs to point them to the proxied source. This can be achieved by
adding something like the following to you settings.cfg:
# Rules for transforming responses from limas
LIMAS_RESPONSE_POSTPROCESSING_RULES = {
    'videoSources.url': [
        (r'^http://<server>/collections(.*)$',
         r'/collections\1')
    ]
}
The above tells the response post-processor to process key paths ending with
videoSources.url with the given list of rules. Each rule is a pair, the
first containing a regular expression to match, and the second containing the
replacement to use if the regular expression matches. The patterns are
processed by Python's re.sub function, so the same
rules apply.
You can use the server/run.py script to launch a flask development server
during development. The following runs a debug server on port 5002:
$ cd server
$ ./run.py 5002
You'll need a slightly different nginx.conf in development mode because
gunicorn treats the SCRIPT_NAME header a little differently. Use the
following in the server side setup:
proxy_pass http://localhost:5002/;
If you change any .scss files in the client-side code, you'll need to
recompile the css with sass. Assuming you have sass
installed, you can recompile the css with the following:
$ cd client
$ sass sass/index.scss css/index.css
