Home
This is a step by step guide on using the Options Manager, refer to it in case something is not clear while working with it.
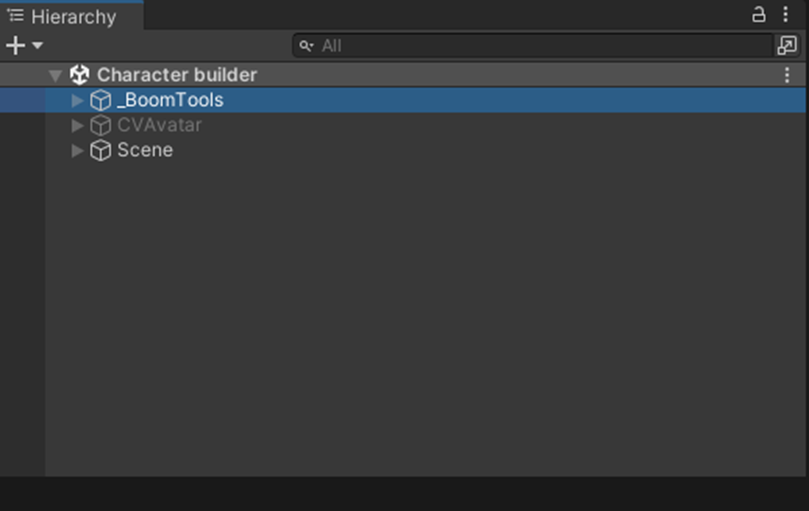
Open Scene "Character builder" to start character randomization for boombox.
In the scene hierarchy select _BoomTools to start the process:
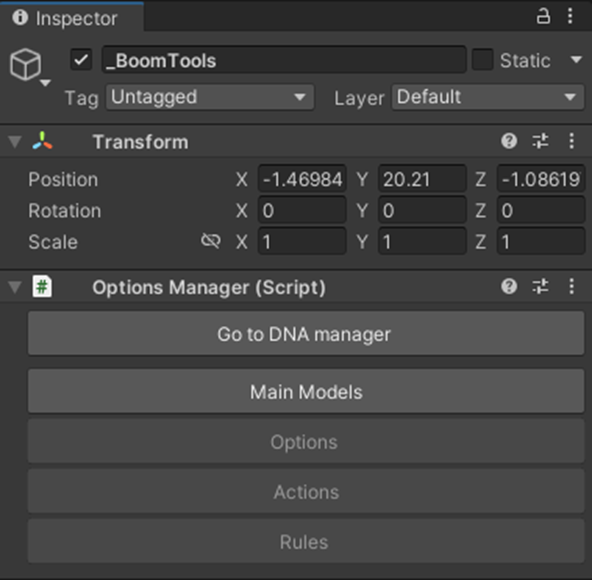
Once selected you will see the options manager to the right in the Inspector view.
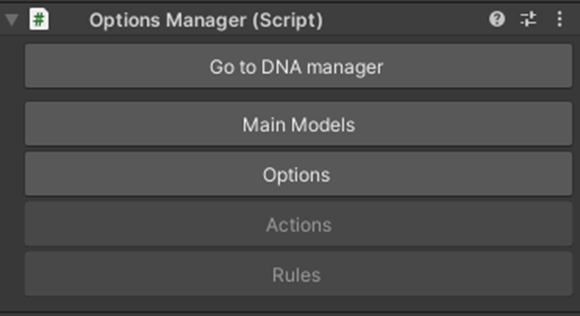
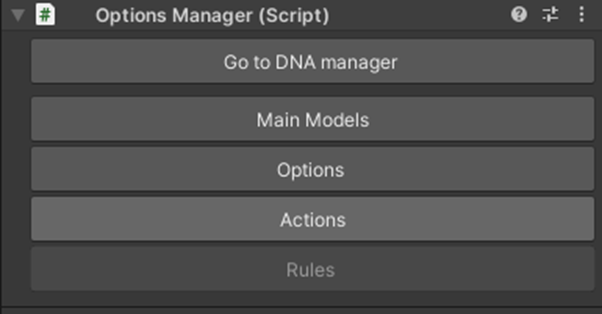
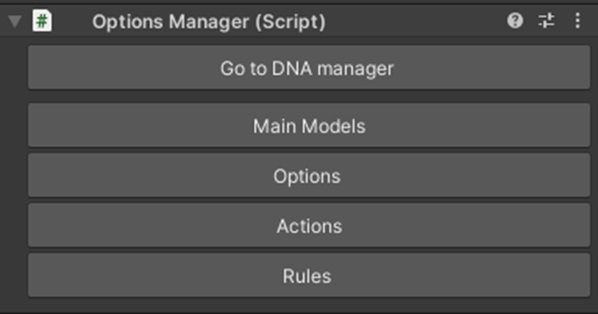
Clicking Go to DNAManager will take you to a full overview of the final exporter, Use this Option at the end.
Notice most of the options are grayed out, this is simply to prevent on getting lost in the manager. For a correct setup you must first add the main models, then add options, then choose what happens to selected options, and finally add additional rules.
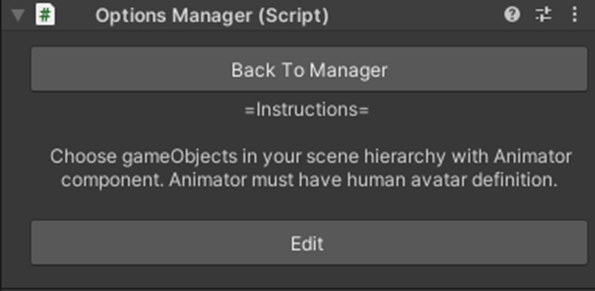
Main Models are defined as your main skinned mesh humanoid characters in the scene, they will be treated as the base of your export.
To start editing go to Main Models. In this section we will be selecting all the models that have correct humanoid avatar setup, Once cliked the button select edit to start adding humanoid models.
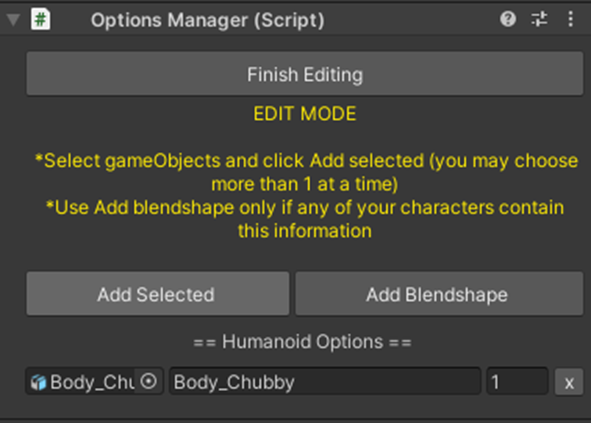
You will enter “EDIT MODE”, In this mode you will be able to select models without losing focus on the manager, this helps to add multiple models at once, make sure too click "Finish Editing" to exit this mode.
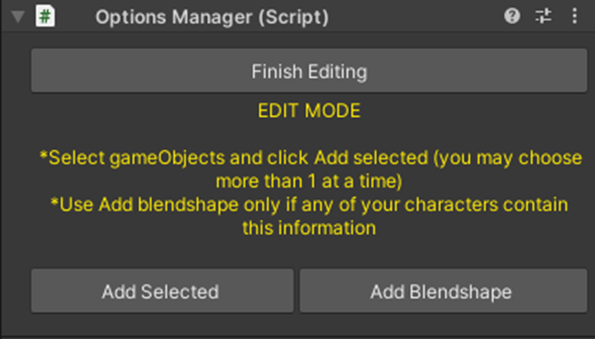
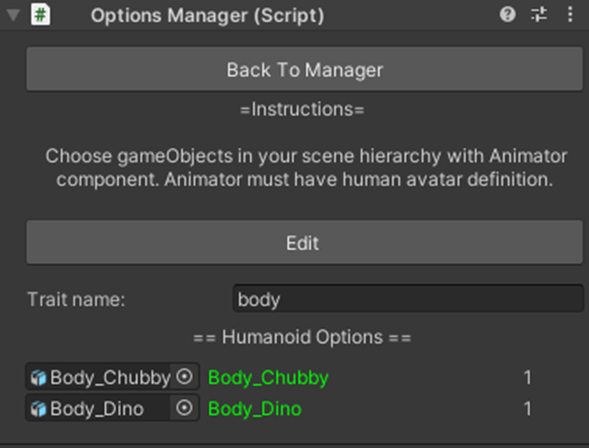
Now, select the character models from the scene and click “add selected”.
This will add all the selected models to the manager as possible options.
First value is the object selected, Second value is the name of the trait (more useful when multiple options are selected), third value is the weight of selection (how often is this value to compared to others), and finally the x button is to remove this element.
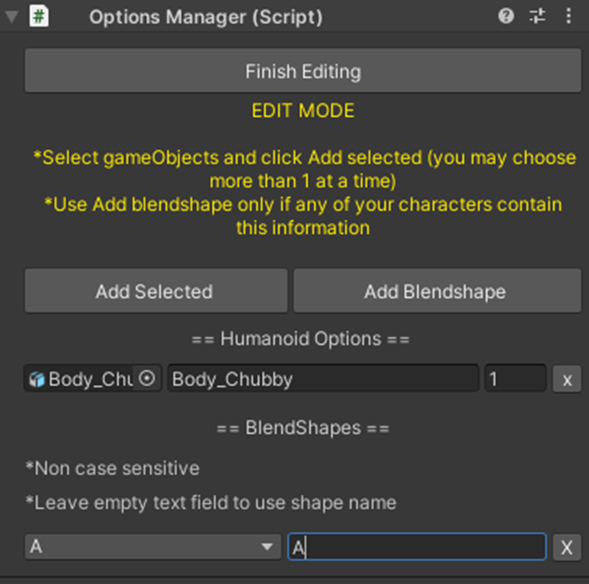
Add blendshape button will create a “blendshape search” for every option added. If the any of the options contains a blendshape with the name provided in the text container, it will map it to vrm’s preset blendshape.
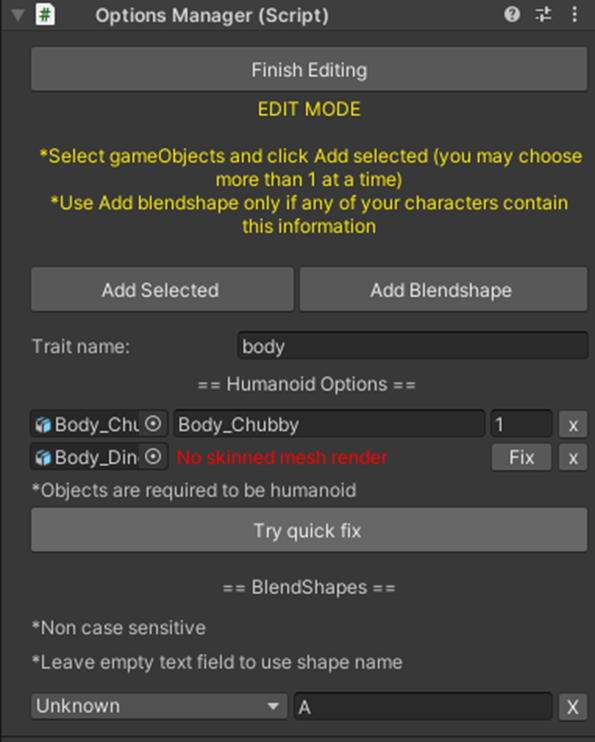
Lets add an additional model...
An error is marked in this option... exports for vrm, require to have an animator, with a valid humanoid avatar to work, Options manager do an internal check to detect if something will not work when exporting, sometimes you have do a manual fix, but most of the times this errors can be corrected automatically by clicking fix, or try quick fix (fix all options).
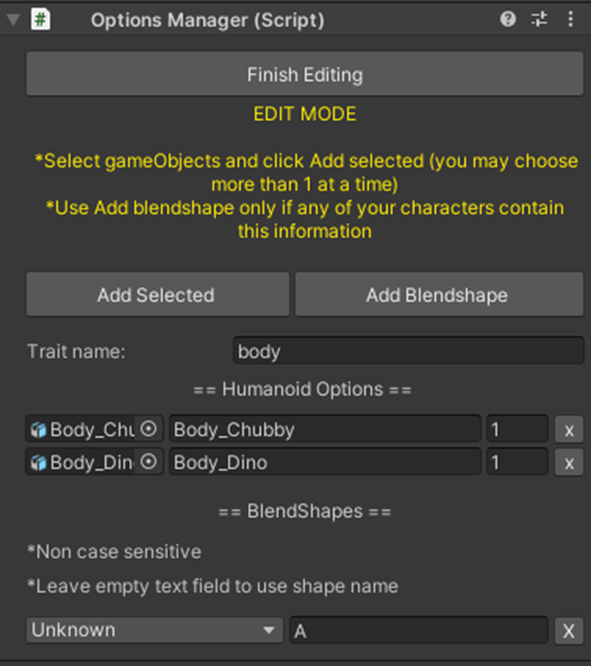
Once Corrected, options manager should not be displaying any red text message.
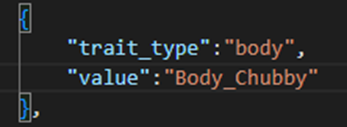
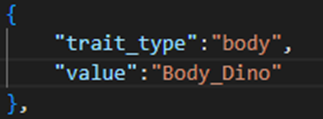
Adding more than one value in the options will let you change the name of the trait for the final json exported file, in this case we set it as body, so out final json might come as either of the 2 options in the following way:
Once Everything is setup correctly click on finish editing, this will display all the added options in either red color (something needs to be fixed) or green color (everything is correct)
Going back to manager will now have the options button enabled, you can start editing the options for your added models now
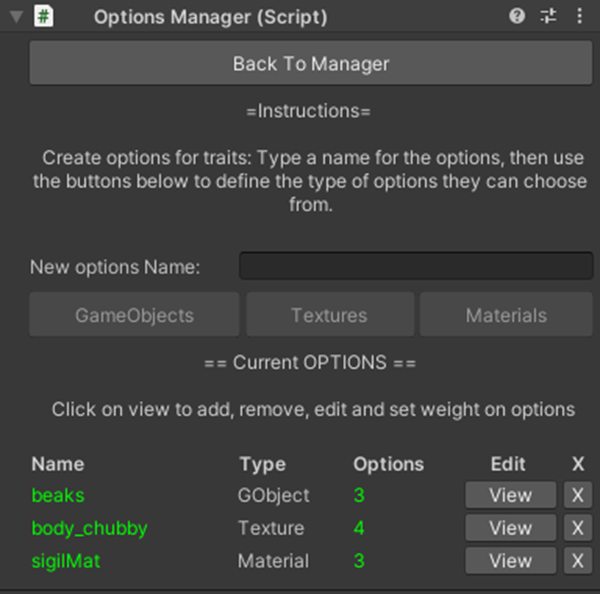
Options are just lists of all the options that the program can choose from, but no action happens here.
To start, just type a name to identify the option and hit the button type you wish to create the options for.
 1-	Gameobject: choose from gameObjects in scene hierarchy.
 2-	Textrures: Select Textures from project files textures.
 3-	Materials: Selecte Materials from project file materials.
Choose wisely the option you require, as you may not choose a different type of object in each group.
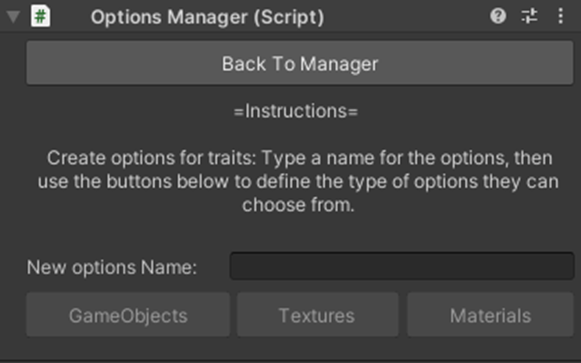
Buttons will become enabled once you type the options name.
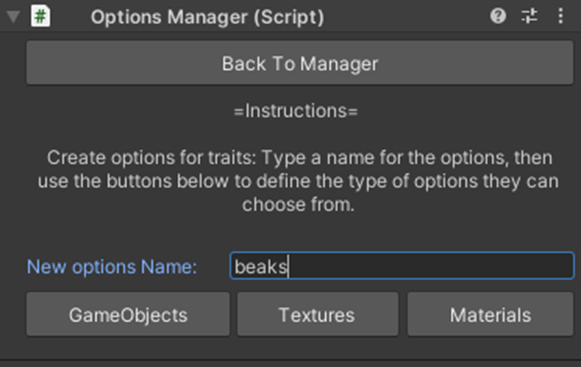
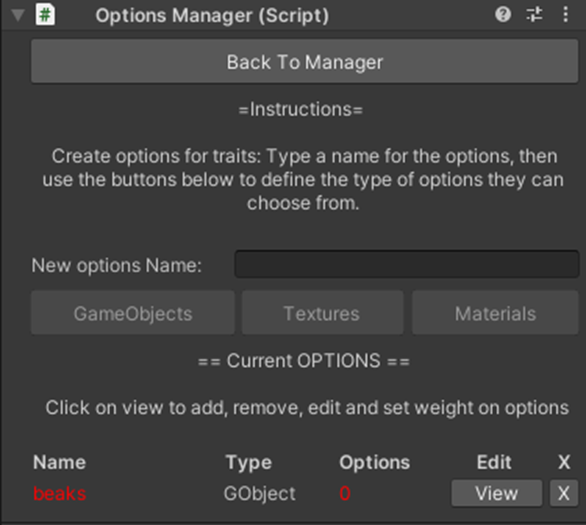
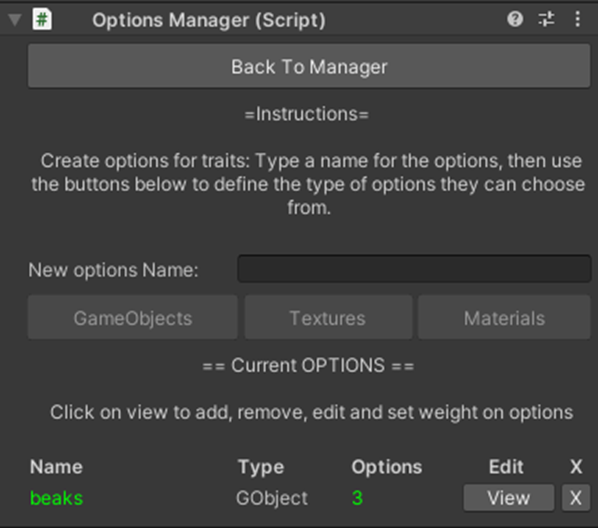
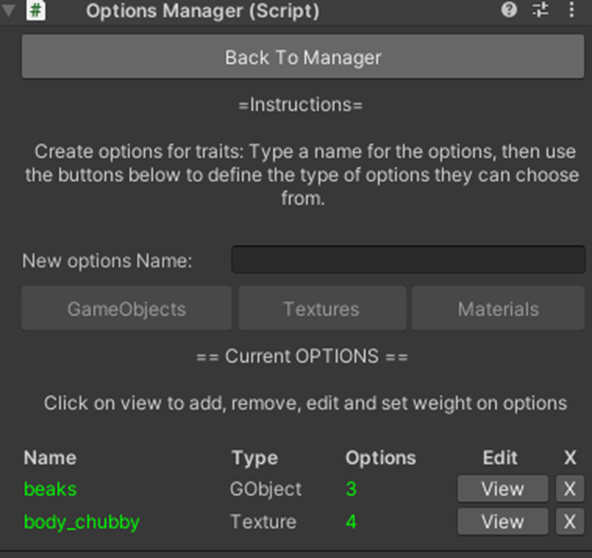
Clicking GameObjects in this case will create a new set of options called “Beaks”
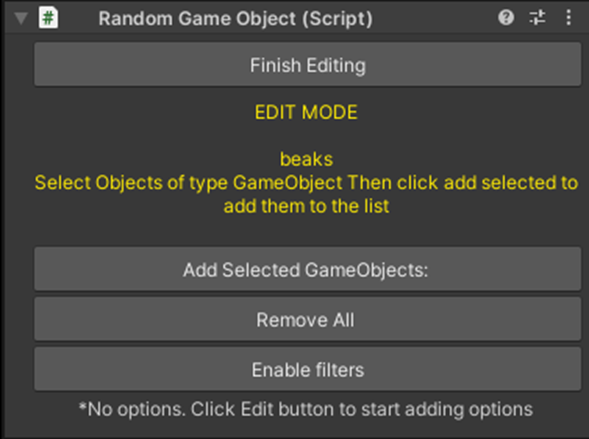
Notice that when created, the name will be red and the Options value says ‘0’, red means it sstill needs to be edited to have it working correctly.
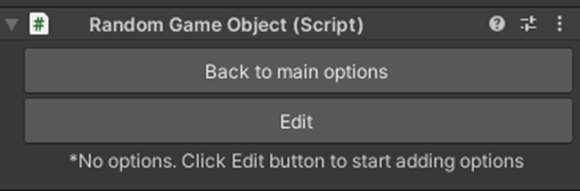
Clicking on view, will let us edit end preview the options for the this current set:
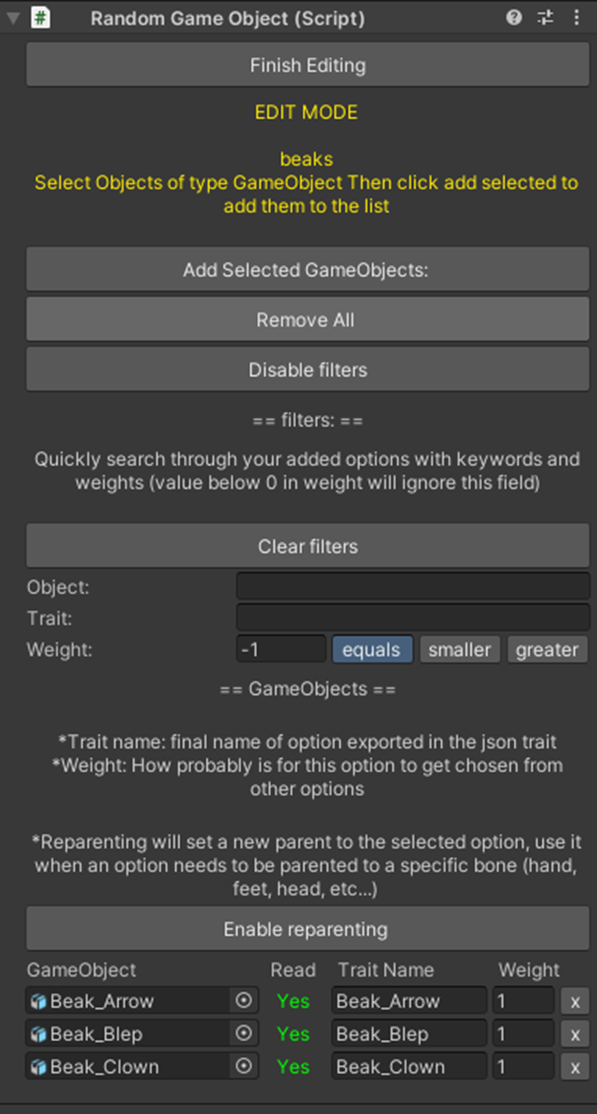
When first time editing, everything will look empty, go ahead and click edit to start adding options same as before.
Just like before, we enter "edit mode", meaning we wont loose focus on the Inspector option manager editor, select the gameobjects in your scene and click add selected.
In this case we added 3 options of beaks, and we have 4 info columns:
 1-	Selected gameObjects
 2-	Read/write enabled on the selected gameObject source model
 3-	Trait Name: The name that will be added in the json when the options I chosen
 4-	Wight: how regular is this option to be chose.
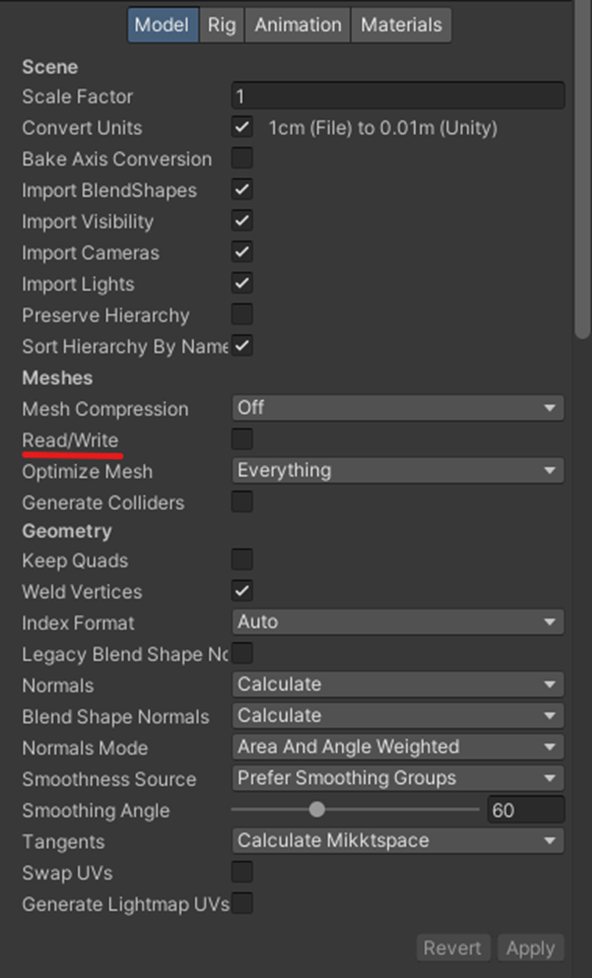
Second column just detects if your model has read/write enabled when imported or not, VRM requires that all exported models have this option turned on. Most of the times this will be as easy to fix as clicking the fix button.
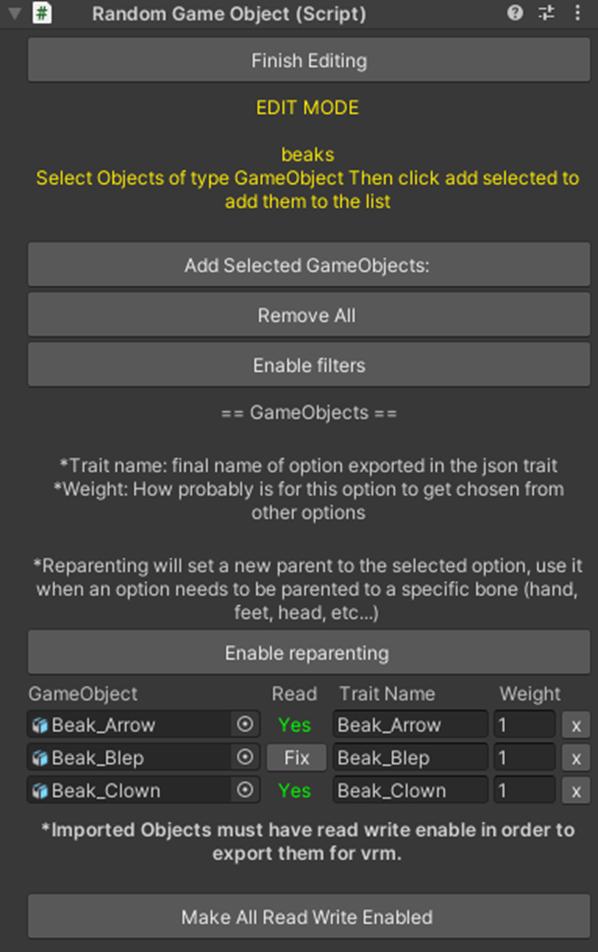
But sometimes you will need to go to the source model in the project folder and manually set your models to be “read write enabled”.
After clicking Fix, or setting manually to read/write enabled, everything should be looking now correctly
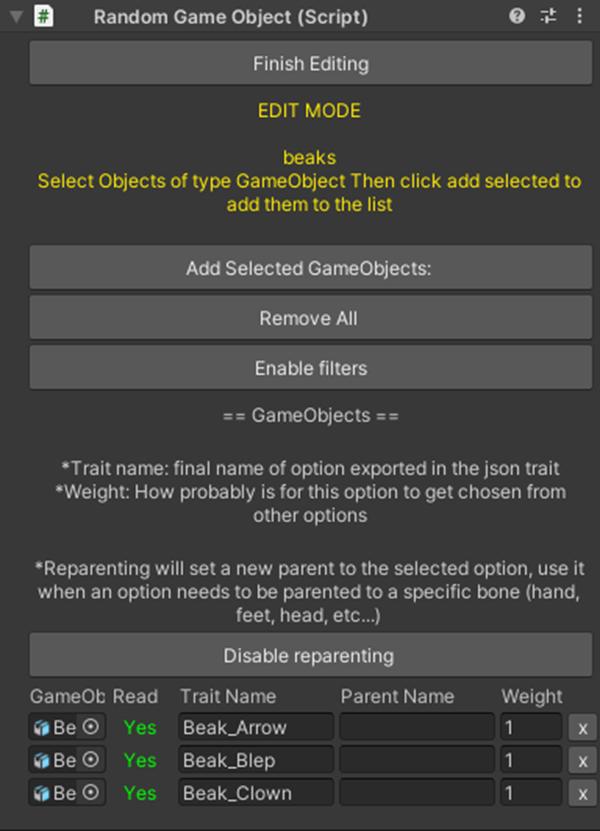
Now there is another button called “Enable reparenting”, clicking this button will allow you to choose the new parent PER object of the target option.
This name must match a name from the bones of the main character chosen in step 1 (main character) .
In the case of the beaks, since all the beaks will be added to the head bone, it is not necessary to set it up here (we will set it up later in the actions menu), this is only meant in case options can be parented to different bones.
Note: you may also leave blank options if one of the options is not required to be parented to a specific bone.
Clicking filters will help you find options with filter options, this wont remove any option, and is helpful when there are a lot of options in a single set of options.
Once editing is finished, you can go back and check for everything working right, in our case it is.
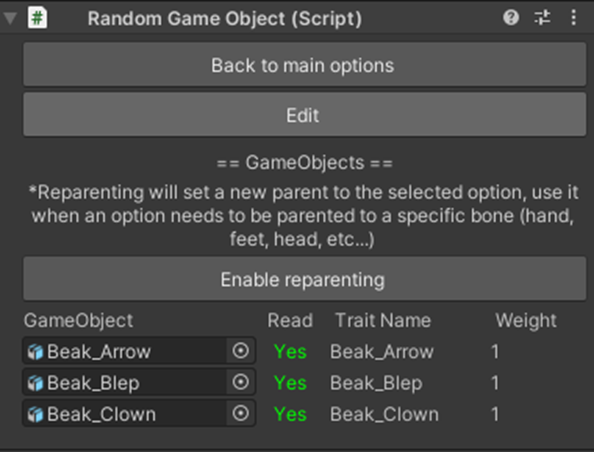
And going “back to main options”, everything should be looking good too:
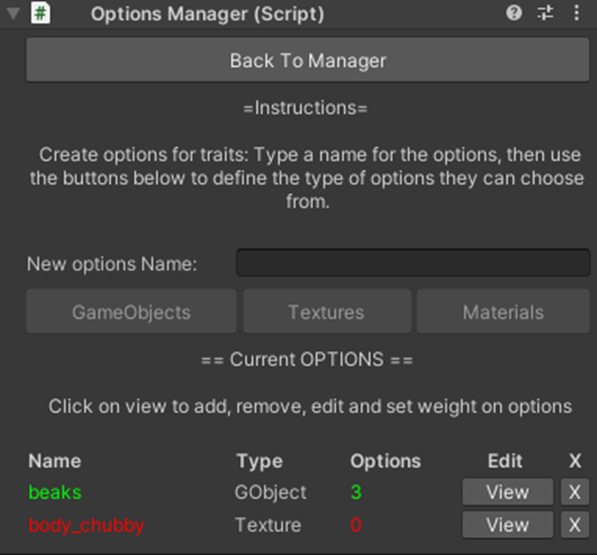
Same as before, add an input to the text field and hit the Textures button, you now have a new set of textures that will have textures as options.
Clicking view:
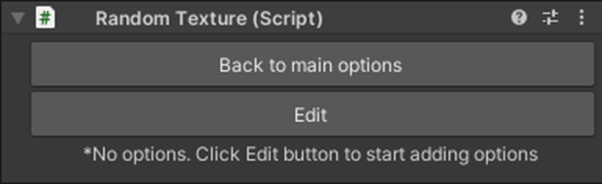
Clicking edit:
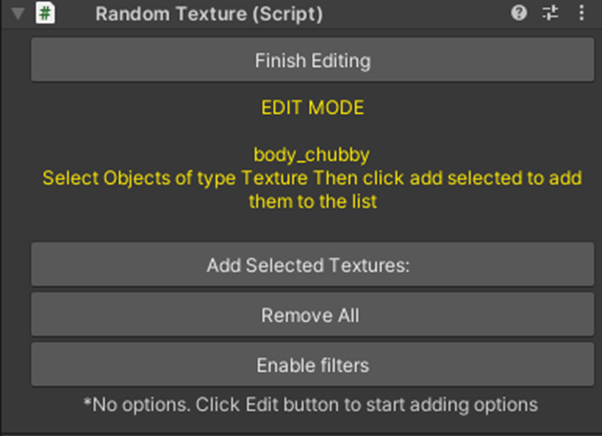
For Textures we are required to select in project folder the desired textures and click add.
Doing so will add all the selected options:
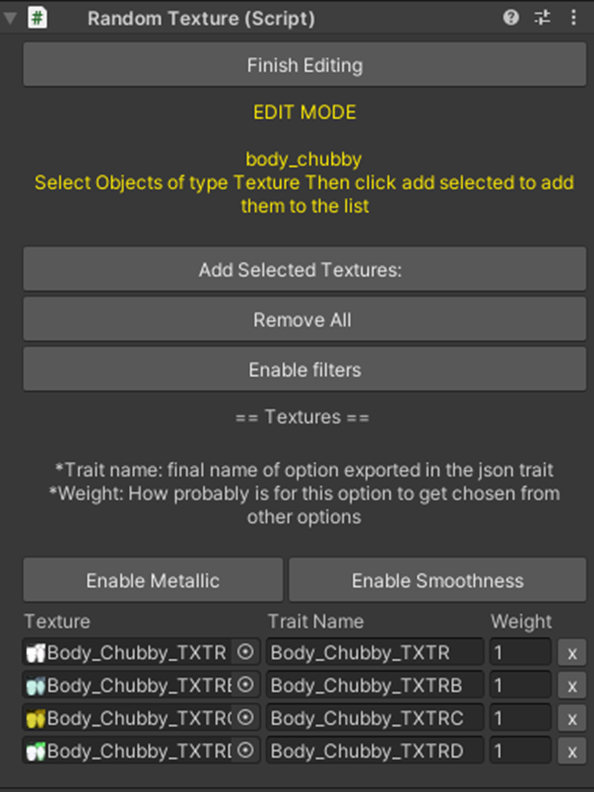
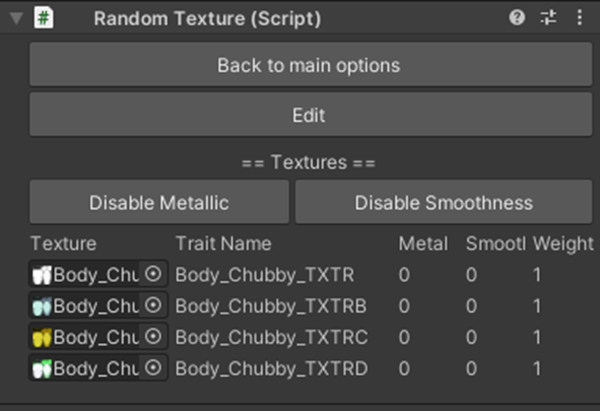
In Texture Options we have 3 main info columns:
 1-	Texture: target selected texture.
 2-	Trait name: the name to be exported in the json file
 3-	Weight: how often can this option be chosen.
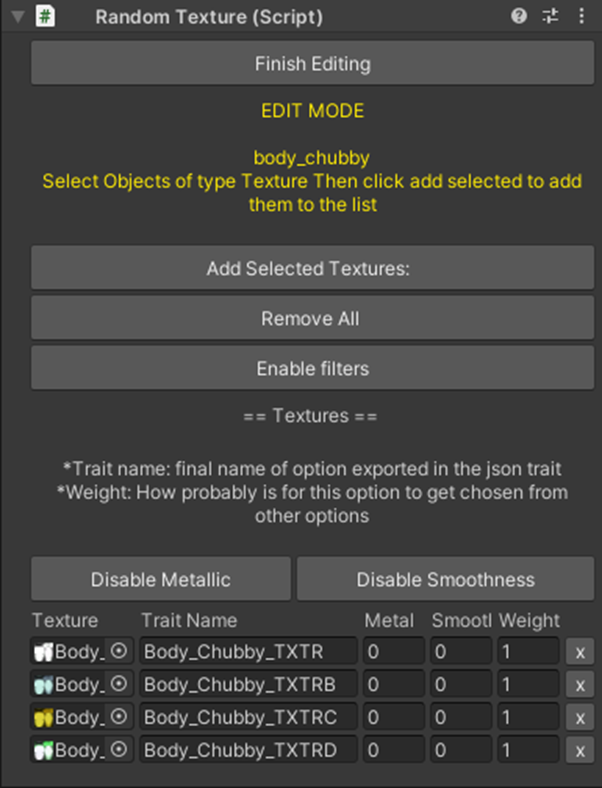
Also clicking “Enable Metallic” or “Enable Smoothness” will trigger additional options:
 1-	Metal: change the material metalness (0 non metallic, 1 full metallic)
 2-	Smooth: change the material smoothness (0 rough, 1 smooth)
Finish editing:
And go back to main options, Everything should be looking correct now.
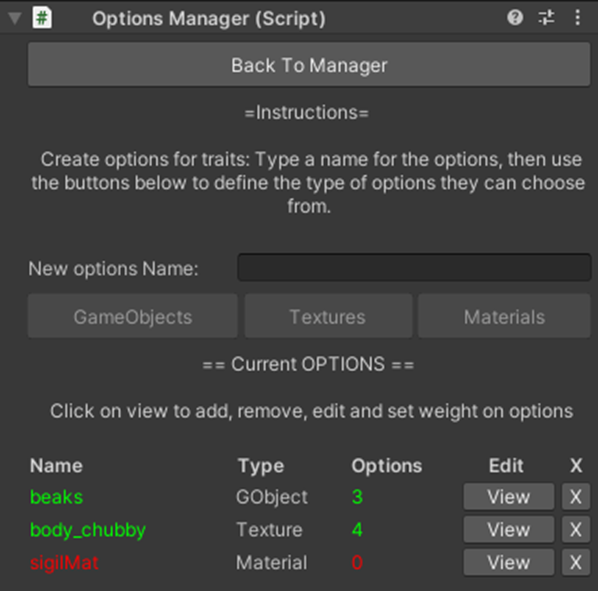
Same: add input and create a new material options set:
Click on view:
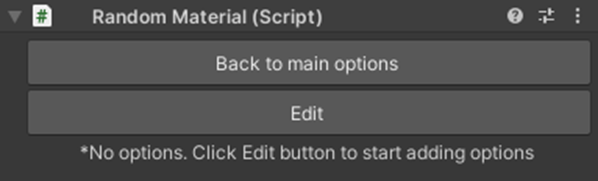
Click on edit:
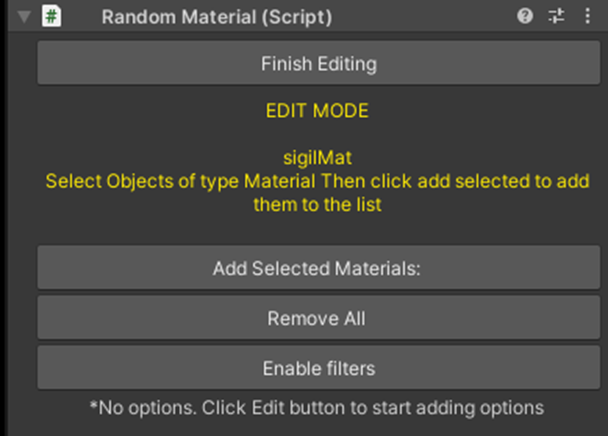
Same like textures we are just required to select materials from project materials and hit add button.
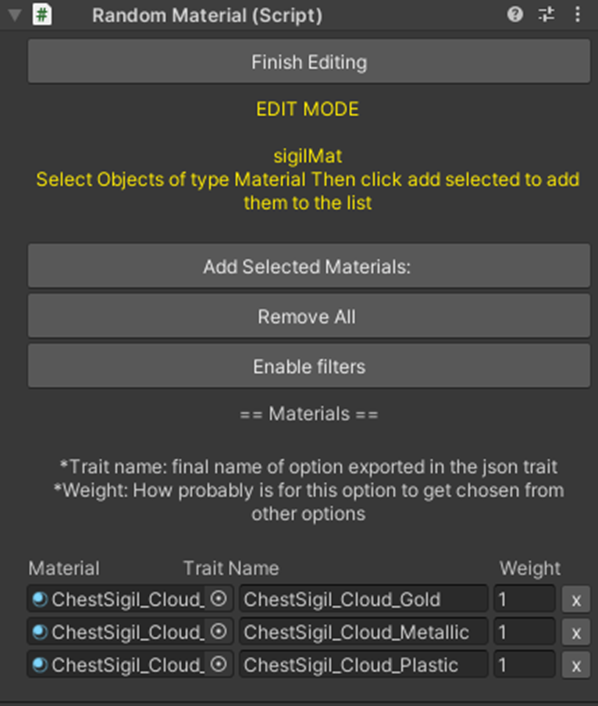
Materials, different from textures, will only require the target material object, the trait name, and the weight.
Once finish adding just click finish to go back.
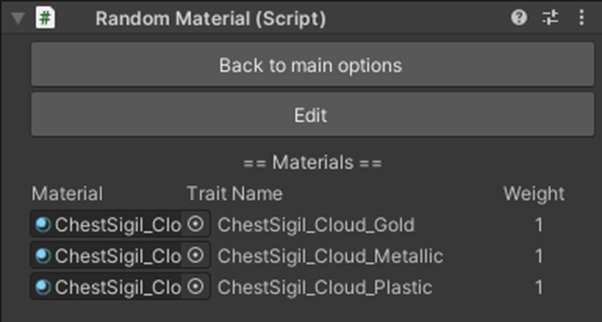
And then back top options again, everything should be on green now
End options sections
We’ve setup one of each, but it is not necessary to have one of each every time, sometimes we wont be using materials, some other textures or gameObject, but we do require at least 1 option of any to proceed to the next step.
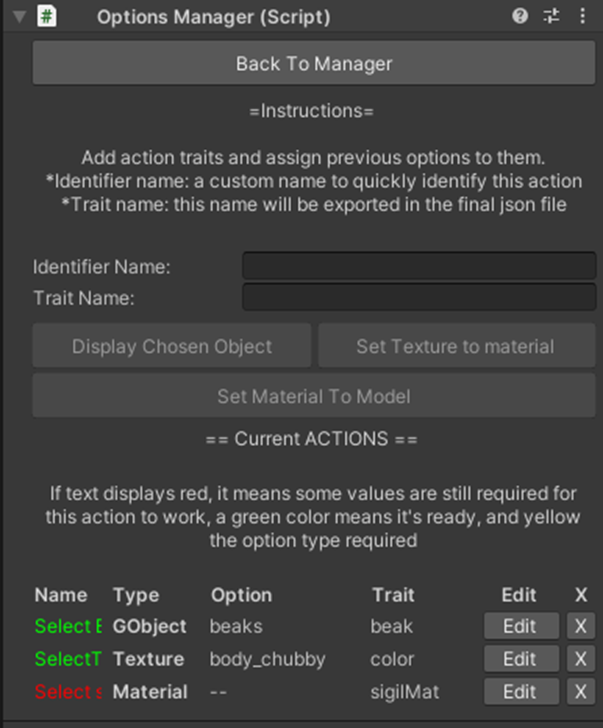
Actions are defined as what happen to the options provided in the step before.
Click on Actions button to start adding custom actions.
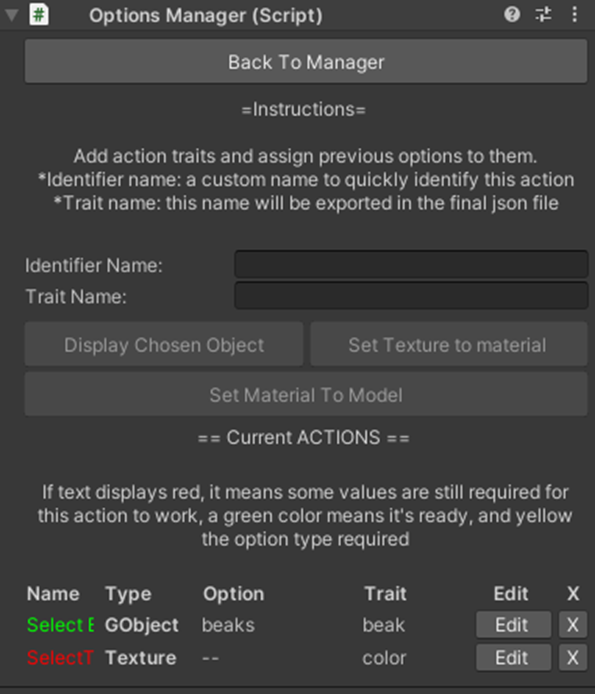
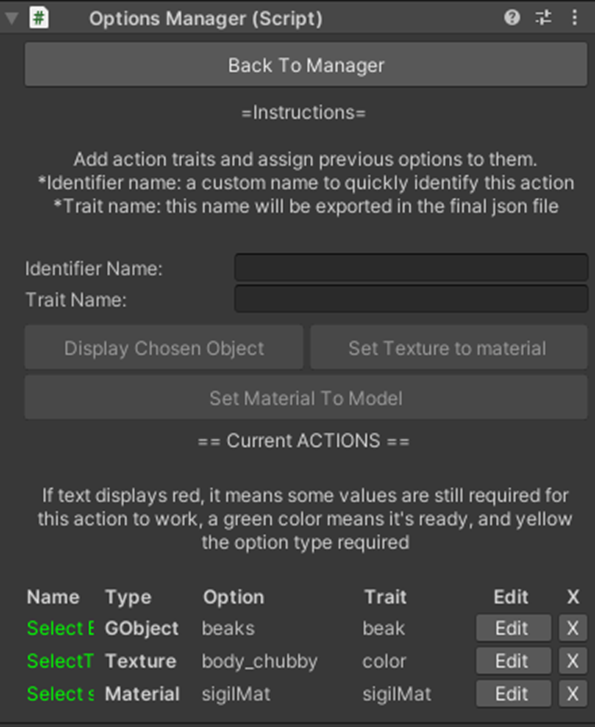
To create a new “Action”, we must set an identifier name (a name we will identify this action with) and the Trait Name: the name of this option, similar to main character setup, were adding more than 1 value displayed the trait name, this will be the json trait option name.
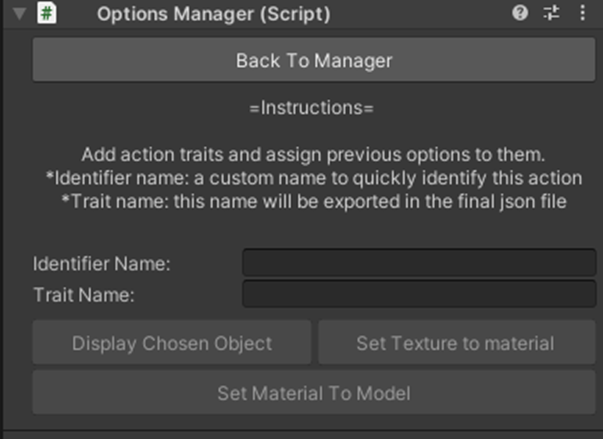
To enable the buttons below we must set the value on each input boxes:
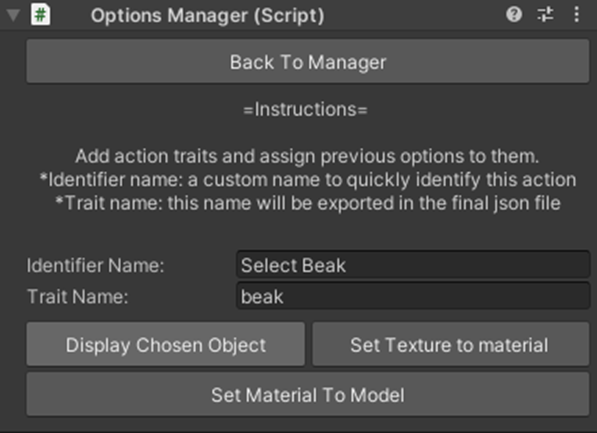
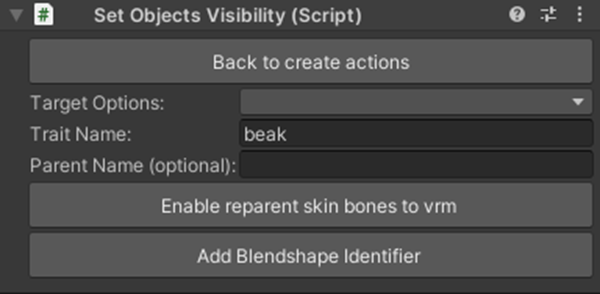
Setting to display chosen object will create our new action, this action will display only the selected object of the chosen options and turn off all other options, when first creating this action the setup is still required to indicate which is the target options set that will choose from.
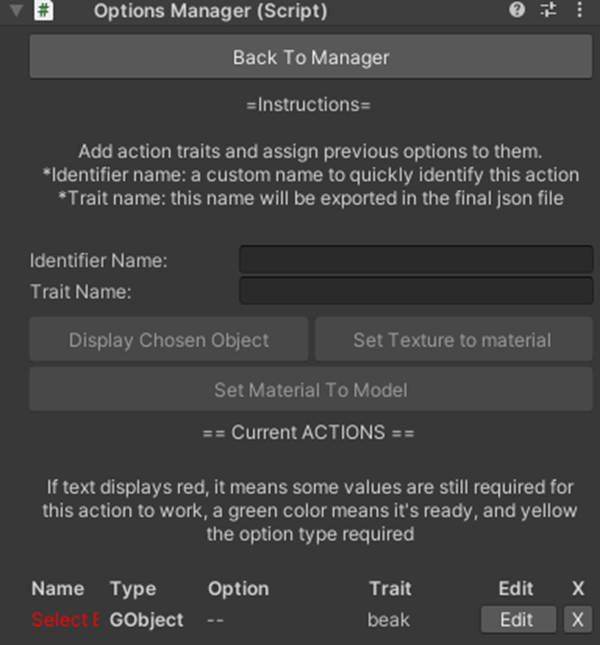
Clicking Edit Button in our new action will bring us the options:
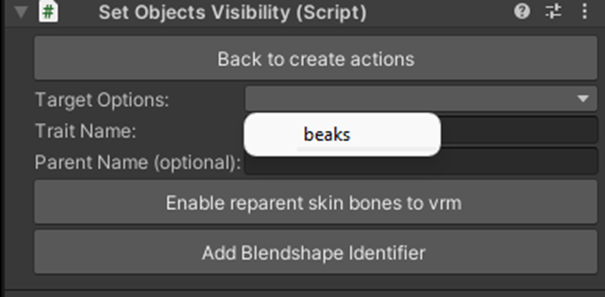
Target options Popup:
This popup will let us choose ONLY from options of type “GameObject”, set from the previous step
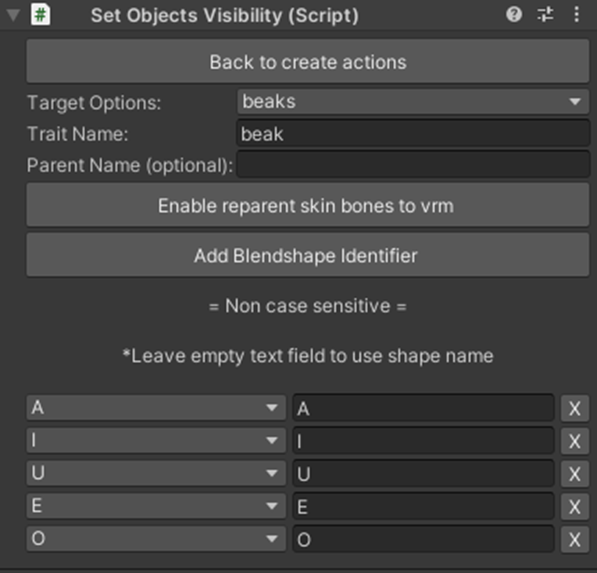
Trait Name:
We can change the trait name that we set up at the beginning if required.
Parent Name:
For the chosen option, are we reparenting to a specific bone (this will apply for ALL options, if required per object, it should be set from the gameobjects options)
Enable Reparent skin bones to VMR:
When having GameObjects with skinned mesh renderer and bones (clothes for example), we can turn on this option, and it will reparent the bones of the selected option, to the bones of the main character option that was chosen. It is important that they share the SAME BONE NAME, as this process is based on the naming convention of the models.
Add Blendshape Identifier:
This final Option is similar to the Main characters, for the selected option, if it has blendshapes, map it to the presets of vrm by name.
When finish, go back to the action manager to check everything is working correctly, It should be displayed green.
This action will change the texture of an existing material, it can also change the metallic and smoothness of that material if chosen option set includes that description.
Clicking Edit:
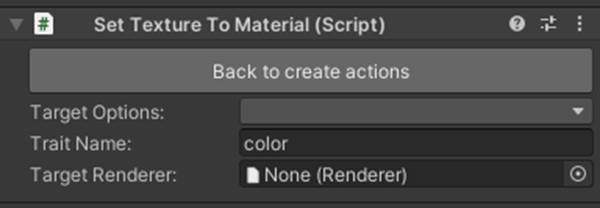
Target Options Popup:
An option of type “Texture”, must be chosen in target options.
Trait Name:
The name of this trait.
Target renderer:
Differently to gameobject display action, in this case, at least one target renderer is required for this action to work, the target object with mesh renderer should be dragged here for the program to know where the chosen texture option will be applied to.
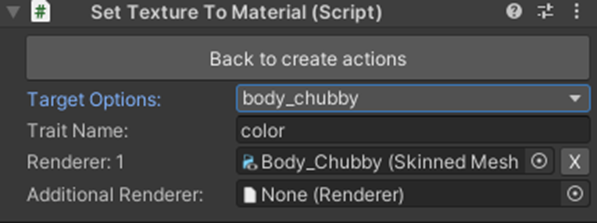
Set the Identifier name, the trait name and click set texture to material to start working with the last type of action:
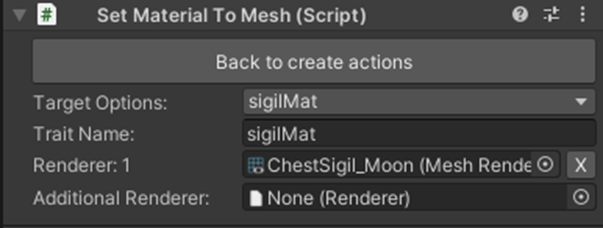
Set material to model is very similar to set texture to material, but it requires a material option in atget option set to work.
Just like texture, it also requires the target mesh renderer to work properly
We’re ready for the last set of options, super rules, Everything should be looking correct now.
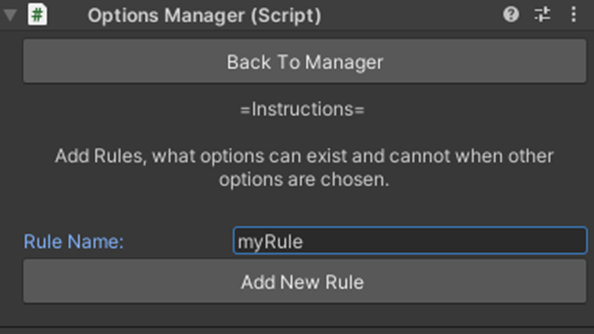
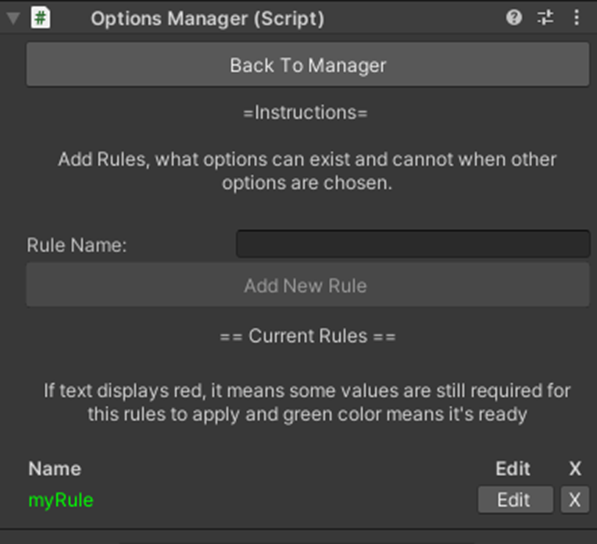
Rules can be defined as “modify certain action in case options are selected”
To setup a new rule simply add the name and click add new rule.
Clicking choose main character, the rule will be watching for the main character options, if there is another option to be required to be watched, use target Action instead.
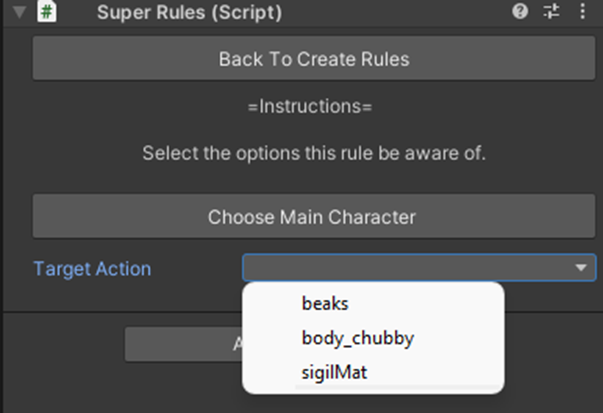
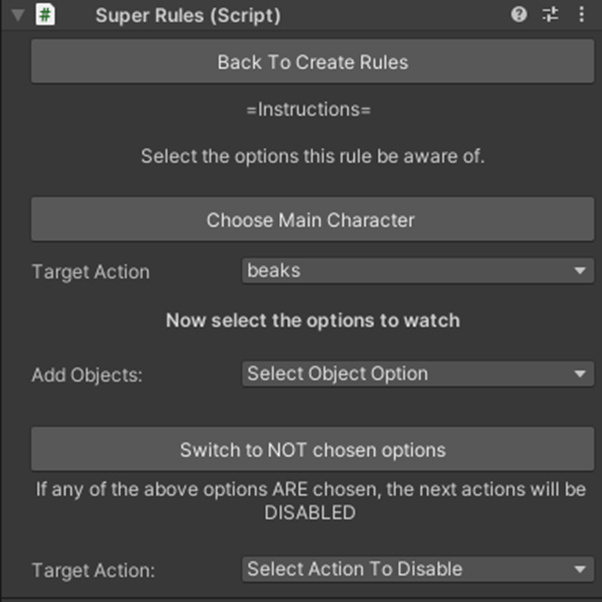
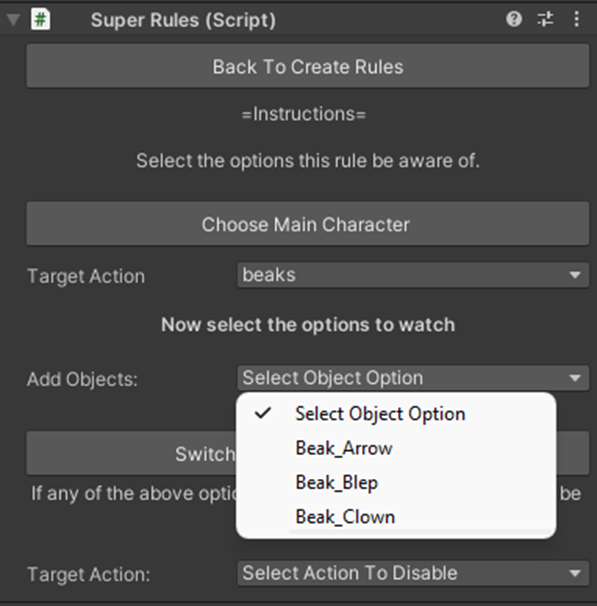
Once an action is selected, the options will grow to fine tune, First of all Select an Object (or more than one) from the options of this action.
Once an object option is added, you can no longer change the target action (unless you delete all added objects)
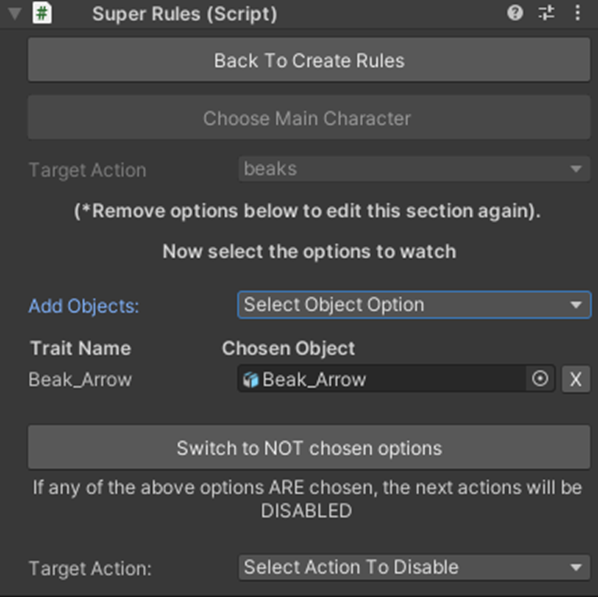
If any of the options you selected is chosen (or not chosen), you can a target action or multiple target actions will be disabled.
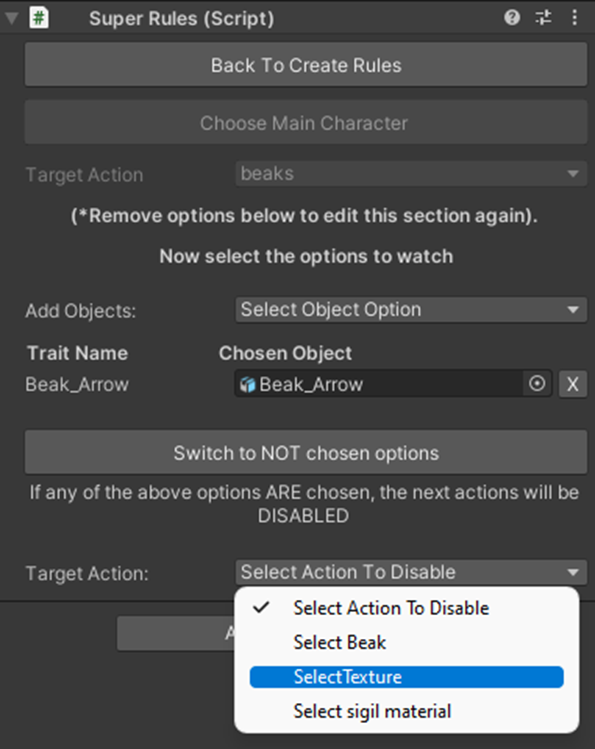
Disabling an action it means its not going apply any option for that specific action.
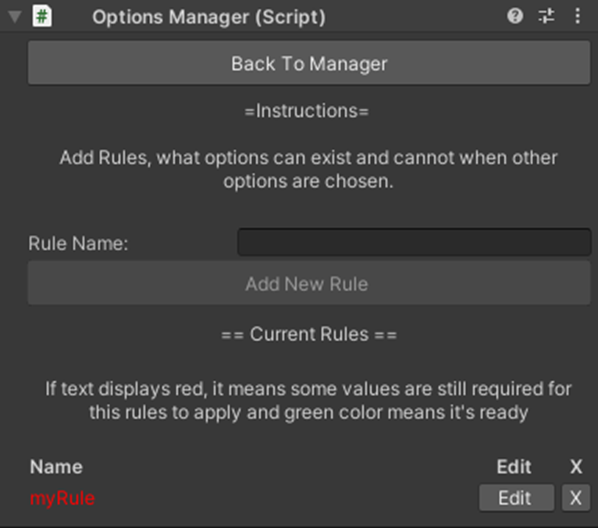
When all this setup is done, the rule should be working correctly now:
Options Manager setup is completed!!