Quick Links: Installation | Documentation | v5.0 Beta
Turi Create simplifies the development of custom machine learning models. You don't have to be a machine learning expert to add recommendations, object detection, image classification, image similarity or activity classification to your app.
- Easy-to-use: Focus on tasks instead of algorithms
- Visual: Built-in, streaming visualizations to explore your data
- Flexible: Supports text, images, audio, video and sensor data
- Fast and Scalable: Work with large datasets on a single machine
- Ready To Deploy: Export models to Core ML for use in iOS, macOS, watchOS, and tvOS apps
With Turi Create, you can accomplish many common ML tasks:
| ML Task | Description |
|---|---|
| Recommender | Personalize choices for users |
| Image Classification | Label images |
| Object Detection | Recognize objects within images |
| Style Transfer | Stylize images |
| Activity Classification | Detect an activity using sensors |
| Image Similarity | Find similar images |
| Classifiers | Predict a label |
| Regression | Predict numeric values |
| Clustering | Group similar datapoints together |
| Text Classifier | Analyze sentiment of messages |
If you want your app to recognize specific objects in images, you can build your own model with just a few lines of code:
import turicreate as tc

# Load data
data = tc.SFrame('photoLabel.sframe')

# Create a model
model = tc.image_classifier.create(data, target='photoLabel')

# Make predictions
predictions = model.predict(data)

# Export to Core ML
model.export_coreml('MyClassifier.mlmodel')
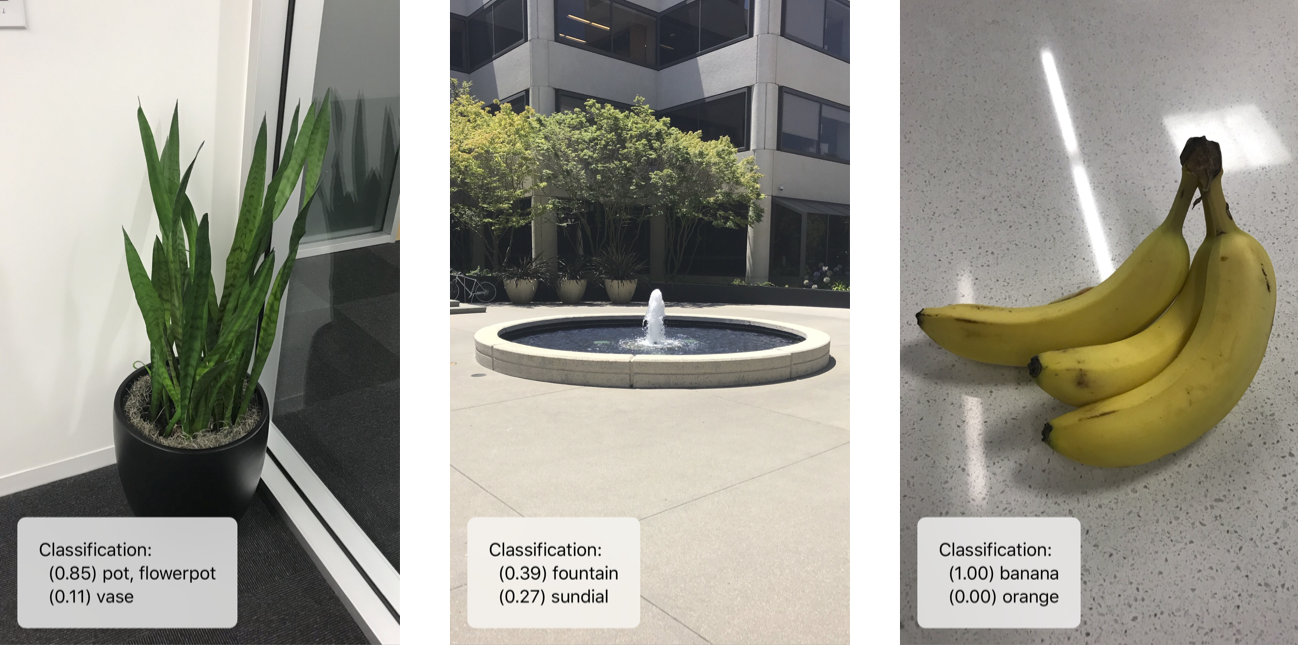
It's easy to use the resulting model in an iOS application:
Turi Create supports:
- macOS 10.12+
- Linux (with glibc 2.12+)
- Windows 10 (via WSL)
- Python 2.7, 3.5, 3.6
- x86_64 architecture
For detailed instructions for different varieties of Linux see LINUX_INSTALL.md. For common installation issues see INSTALL_ISSUES.md.
We recommend using virtualenv to use, install, or build Turi Create.
pip install virtualenvThe method for installing Turi Create follows the
standard python package installation steps.
To create and activate a Python virtual environment called venv follow these steps:
# Create a Python virtual environment
cd ~
virtualenv venv

# Activate your virtual environment
source ~/venv/bin/activate
Alternatively, if you are using Anaconda, you may use its virtual environment:
conda create -n venv python=2.7 anaconda
source activate venv
To install Turi Create within your virtual environment:
(venv) pip install -U turicreateTuri Create 5.0 -- now in beta -- includes:
- GPU Acceleration on Macs for:
- Image Classification (macOS 10.13+)
- Image Similarity (macOS 10.13+)
- Object Detection (macOS 10.14+)
- Activity Classification (macOS 10.14+)
- New Task: Style Transfer
- Recommender model deployment
- Vision Feature Print model deployment
To install the 5.0 beta into your virtual environment, use:
(venv) pip install turicreate==5.0b1 The package User Guide and API Docs contain more details on how to use Turi Create.
Questions? Ask the team on github issues.
Turi Create does not require a GPU, but certain models can be accelerated 9-13x when utilizing a GPU.
Turi Create automatically utilizes Mac GPUs for the following tasks:
- Image Classification (macOS 10.13+)
- Image Similarity (macOS 10.13+)
- Object Detection (macOS 10.14+)
- Activity Classification (macOS 10.14+)
For linux GPU support, see LinuxGPU.md.
If you want to build Turi Create from source, see BUILD.md.
See CONTRIBUTING.md.
