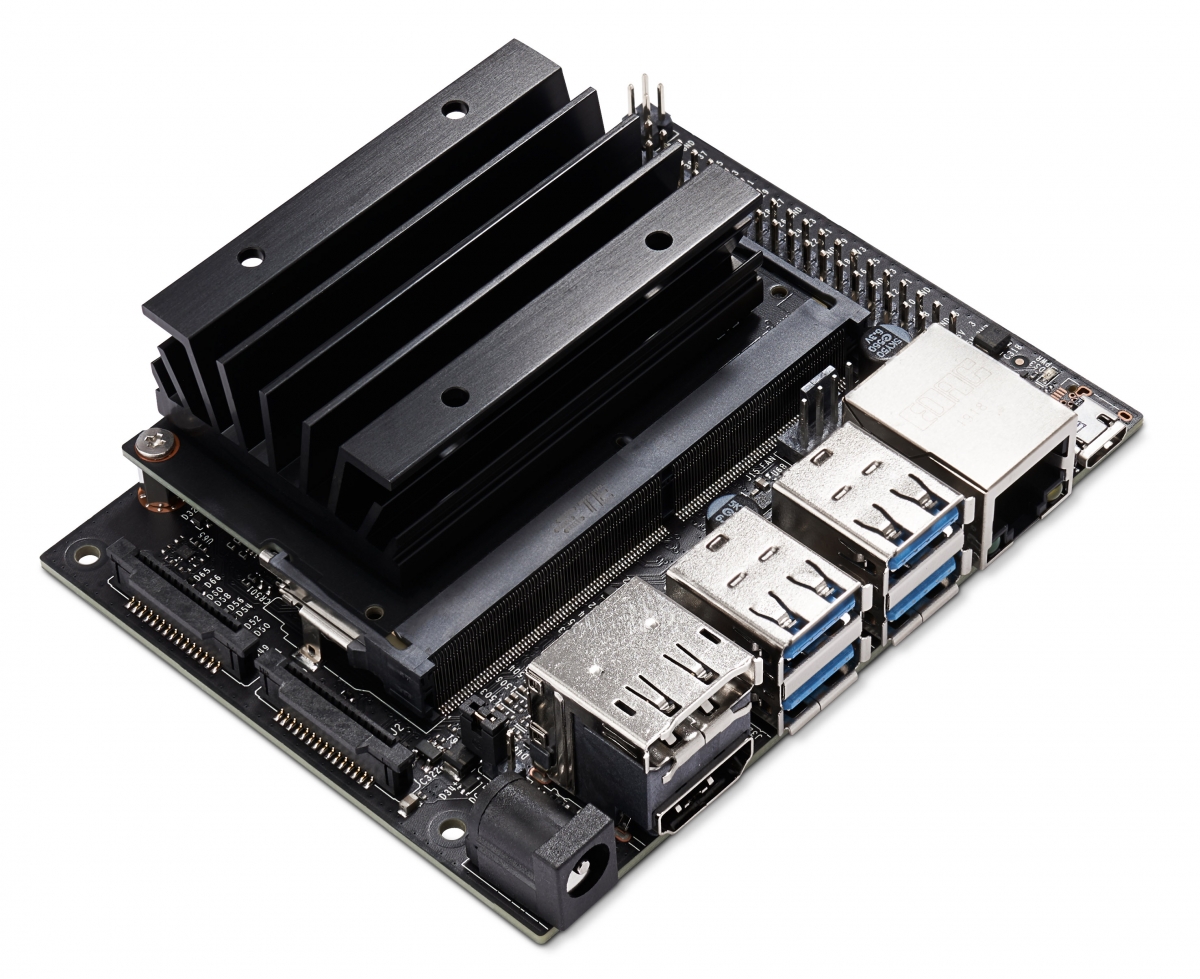
The Nvidia jetson nano is a small single board computer pairing a quad-core ARMv8 processor with a 128 core Nvidia Maxwell GPU. Fastai V2 is the latest development version of the fastai deep learning library, that adds function call-backs and GPU accelerated image transforms to fastai V1.
Fastai V2 presents some unique installation challenges for users of the Nvidia Jetson Nano. The GPU accelerated image transforms used by fastai V2 require pytorch to have been compiled with MAGMA support, and the default pytorch wheels provided by Nvidia are not built with MAGMA. Dusty_nv from Nvidia explains the reasoning behind this choice here. This means that to use fastai V2 on the jetson nano, both MAGMA and pytorch needs to be rebuilt from source on the nano.
With a reasonably fast SD card, following the process below should take about 12-14 hours. The build process is fully scripted, so it can be run unattended overnight. As compiling pytorch will utilise the nano's ARM cores to their limit, the nano will generate a significant amount of heat during the installation process. If you have a fan for your nano, you may want to fit it before starting the installation process, even though this is not technically necessary according to the testing performed by cnx-software. This work builds on the installation instructions for fastai V1 for the jetson nano written by Bharat Kunwar.
Flash an SD card with Jetpack 4.4 as described on https://developer.nvidia.com/embedded/jetpack and complete the initial setup of username and password using a screen and keyboard connected directly to the jetson. For initial configuration, an HD screen is known to work better than a 4K screen.
Compiling pytorch uses more memory than the 4GB jetson nano has available. To make compilation possible, we need to add some swap space that will use a large file on the SD card as a form of temporary RAM. Swapping to disk is very slow though, so to free as much memory as we can we also need to switch off the Graphical User Interface by telling the nano to stop booting when it reaches multi-user text mode during start-up. You can re-enable the GUI again later if you wish (using the script step4_enable_GUI.sh), but as you will likely access fastai through jupyter notebook from another computer, it may be advantageous to simply leave the GUI switched off, making the additional RAM available for your deep learning data instead.
Start by opening a text terminal and download the files you will need for the installation process from github with the command:
git clone https://github.com/streicherlouw/fastai2_jetson_nano
Next, execute the script to enable swap space, disable the GUI, and set the excution flag on the rest of the installation and startup scripts.
chmod +x fastai2_jetson_nano/step2_swap_and_textmode.sh
./fastai2_jetson_nano/step2_swap_and_textmode.sh
The nano should now reboot and present you with a text terminal to log into.
For the next part, you will either need to login to the nano by using ssh or the local console terminal. If using ssh, make sure the connection remains open for the entire time (12 to 16 hours) that the script is running. If your terminal disconnects (for example because the computer you are connecting from goes to sleep) the session will end and the installation will stop midway.
To start the fastai installation type:
./fastai2_jetson_nano/step3_install_fastai2.sh
If you are familiar with nohup, this repository also includes a helper script that starts the installation process in the background so that an interrupted terminal session would not stop the build. Using this background method has the added benefit of preserving the build log in a file so that it may be reviewed later. To start the installation process in the background, type:
./fastai2_jetson_nano/step3_install_fastai2_background.sh
For convenience, the installation process places two start-up scripts in the user's home directory that automatically starts jupyter notebook with the jetson nano's IP address.
To start the jypyter notebook server in the terminal that you are logged into, type the command below. This script will run jupyter notebook for as long as the terminal session remains open, but exit when the terminal session closes:
./start_fastai_jupyter.sh
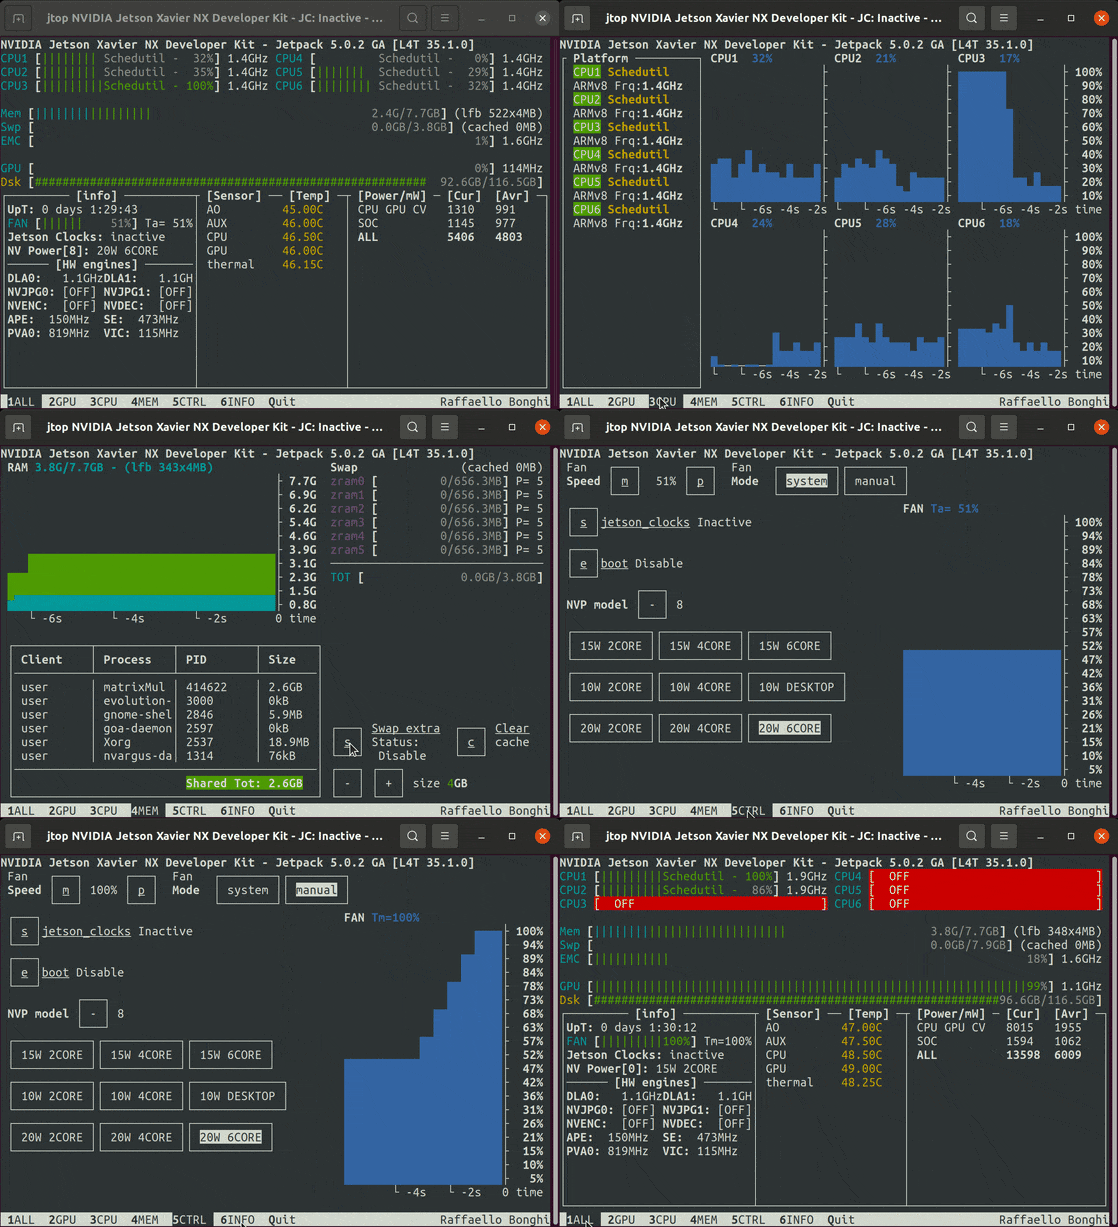
If you would like jupyter notebook to continue running after you log out, you can use tmux to host a virtual terminal session. The setup of tmux included in this package (based on Jeffrey Antony's tmux repository) creates three terminal sessions: Session 0 running jtop (an attractive resource manager for the jetson nano, seen below), Session 2 containing a Linux terminal, and Session 3 running jupyter notebook. To switch between sessions in tmux, press Control-b followed by 0,2 or 3. Control-b followed by x closes a session.
To start jupyter notebook in tmux, type the command:
./start_fastai_jupyter_tmux.sh
If you do not intend to work with large datasets in fastai, you may also also now re-enable the graphical user interface with the command:
./fastai2_jetson_nano/step4_enable_GUI.sh
The jetson nano has only 4GB of RAM shared between the operating system and the GPU. When training on large datasets, for example the pets dataset in 05_pet_breeds.ipynb, make sure to set the batch size to 8 or 16 when you call the dataloader as follows:
dls = pets.dataloaders(path/"images",bs=16)

