-
Notifications
You must be signed in to change notification settings - Fork 0
Hardware Archive
TOC
(colors of boards and components my differ)
| Name | Picture | Price | Tindie | More info |
|---|---|---|---|---|
| WLED mini shield board for addressable LEDs | /i/93057/products/2021-08-14T15%3A40%3A00.608Z-minishield_v1.2-1.jpg?1628930414) |
14 € | Serg74 | Mini fuse needed More |
| WLED universal shield board for addressable LEDs | /i/93057/products/2021-08-14T14%3A44%3A14.418Z-shield_v3-1.jpg?1628927139) |
21 € | Serg74 | Mini fuse needed More |
| Digital I2S microphone ICS-43434 add-on | /i/93057/products/2020-12-29T21%3A35%3A56.747Z-ICS-43434.jpg?1609248968) |
11 € | Serg74 | Header pins included More |
| Digital I2S PDM microphone SPM1423 add-on |  |
9 € | Datasheet | Header pins included More |
| MPU6050 Gyro Accelerometer |  |
3.50 € | Header pins included | |
| ESP32 16MB |  |
12 € | By Serg74 | header pins needed |
| Mini Fuse |  |
1 € | For shields More | |
| Header pins |  |
1 € | 2 * 2*9 pins. For ESP32 | |
| 0.91 inch oled display |
 
|
4 € | Including pin header and header pins. | |
| Rotary encoder |  |
2 € | ||
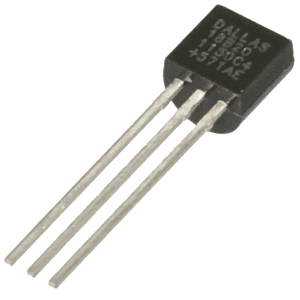
| Dallas temperature sensor |  |
1 € | ||
| Enclosure for the Mini Shield |  |
6 € | Serg74 designed by HBaas | Color white! More |
 |
||||
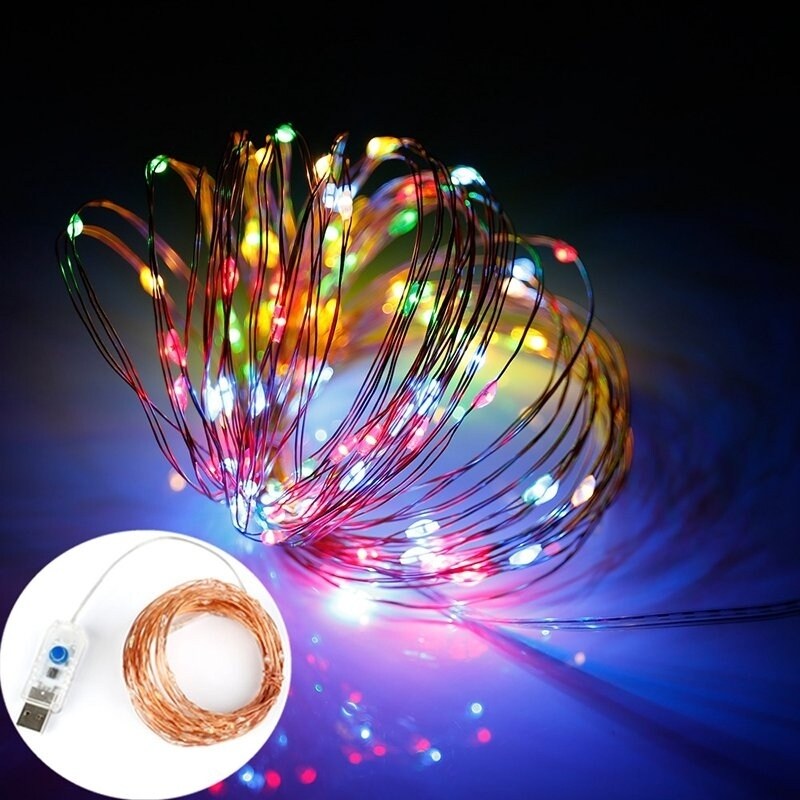
| Led strips / Matrices |  |
15 € | Check availability (currently some 16x16 panels and 100 Led / 10m string lights) |
To get the most out of this hardware install WLED MoonModules on it.
At the moment if writing it is highly recommended to install the latest 0.13 dev version as it is close to release for production and contains a lot of improvements compared to latest production release 0.12. Especially in the area of 2D. You can build the latest dev yourself (Compiling) or get prebuilds here: Serg74
When to choose for the universal shield:
- If you have a lot of leds and want the shield to be always on (and not the leds), the relay of the universal shield will save on energy: the relay takes about 60mA, each led which is off but connected takes 1mA so the break even point is about 60 leds. A 40A/5V power supply takes about 300 mA (1.5W), the shield + ESP32 about 200 mA (1W), a burning led about 50mA (0.25W).
- If you want to use WLED usermods, the universal shield has header pins to support them 'plug and play': the ics-43434 and a i2c display can be connected using a pin header. An ir-receiver or dallas temperature sensor can be soldered directly on the board
Connection guide: Connection guide
- layout of screw terminals
- add external button
- add external relay
Shield PCBs and schematic: Shield PCBs and schematic
- PCB shows layout of screw terminals. Be aware that layout is different than the Mini shield!!!
- Schematic shows gpio ports of button and relay and other devices (set this up in WLED preferences)
- Button = GPIO 17
- Relay = GPIO 19
- Dallas temp sensor = GPIO 23
Jumper is set to 12V per default. Change to 5V if your source is 5V.
More information: WLED Wemos shield wiki
Place on universal shield like this:
/i/93057/products/2020-12-29T21%3A31%3A56.229Z-shield_ics43434.jpg?1609248733)
Or create a 'scorpion' with a mini shield like this (by @SoftHack007)

Wiring on Universal shield (to setup in WLED):
ICS-43434
- Generic I2S Microphone
- SD = GPIO 32
- WS = GPIO 15
- SCK = GPIO 14
SPM1423
- Generic I2S PDM Microphone
- SD = GPIO 32
- WS = GPIO 15
- SCK = GPIO -1
The ICS-43434 is a bit more sensitive then the SPM1423 and noise floor a bit lower. WLED (First SR and MoonModules, later AC) will have specific profiles for both microphones to get optimal performance.
More information: TwilightLord-ESP32 16MB
- Sample partitions file
- Board definition file for PlatformIO
- Sample Environment definition for your platformio.ini file
Guideline: take your total led current +20%. In theory each led can take 20mA per color, that is 60mA in total. In practice, also depending on the type of LED (e.g. eco) much less, especially for indoors. You can also set the max current in WLED Led Configuration and align the Fuse to that value + 20%.
Mini Shield with 4 line display in enclosure (Added by @ThunderOwl)
