-
Notifications
You must be signed in to change notification settings - Fork 24
Usage
On this page, we'll explain the basic usage of react-advertising with Google Publisher Tags (GPT). If you are using Prebid, skip ahead to the Usage with Prebid page or if you are using Amazon TAM, skip ahead to the Usage with Amazon TAM page.
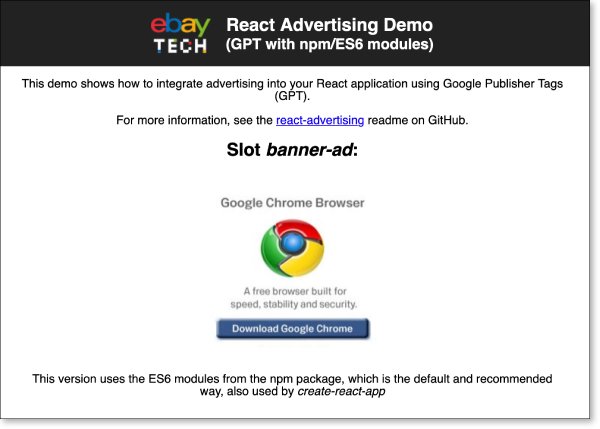
You can find the complete code of this tutorial online on CodeSandbox.
Assuming you already have an application that uses React, install the react-advertising package as a production dependency with npm:
npm install --save react-advertising
Note: Your React version should be at least version 16.3. Older versions of React are not supported.
You need to load an external library, gpt.js, just the same way you would do with a “classic”, non-React web page.
The script tags that load and initialize this library needs to be included in your static HTML code.
Example for including the snippets in an HTML file:
<!DOCTYPE html>
<html lang="en">
  <head>
    <meta charset="utf-8" />
    <title>Demo</title>
    <script async src="//securepubads.g.doubleclick.net/tag/js/gpt.js"></script>
    <script>
      var googletag = googletag || {};
      googletag.cmd = googletag.cmd || [];
    </script>
  </head>
  <body>
    <!-- rest of your HTML code goes here -->
  </body>
</html>The basic handling of initializing your ad slots and managing the bidding process is done by an AdvertisingProvider component.
You pass your ad slot configuration to this provider, which then initializes GPT when the page is loaded.
The provider should wrap your main page content, which contains the ad slots.
Example:
import React from 'react';
import { AdvertisingProvider } from 'react-advertising';

const config = {
  slots: [
    {
      id: "banner-ad",
      path: "/6355419/Travel/Europe/France/Paris",
      sizes: [[300, 250]]
    }
  ]
};

function MyPage() {
  return (
    <div>
      <AdvertisingProvider config={config}>
        <h1>Hello World</h1>
      </AdvertisingProvider>
    </div>
  );
);
The configuration in this example is taken from the
Getting Started page of the GPT documentation. It
configures one ad slot with a 300x250 medium rectangle banner, to be displayed in the HTML div element with id
banner-ad.
For details on how to set up the configuration, refer to the documentation's Configuration section.
Note: If you use react-router, you can use one provider per route with different configurations per route (i.e. per page).
Finally, with the provider in place, you can add slot components that display the ads from the ad server.
This library includes a component AdvertisingSlot that you can use to put div elements on your page that are filled with creatives from the ad server.
The final code example:
import React from 'react';
import { AdvertisingProvider, AdvertisingSlot } from 'react-advertising';

const config = {
  slots: [
    {
      id: "banner-ad",
      path: "/6355419/Travel/Europe/France/Paris",
      sizes: [[300, 250]]
    }
  ]
};

function MyPage() {
  return (
    <div>
      <AdvertisingProvider config={config}>
        <h1>Hello World</h1>
        <h2>Slot 1</h2>
        <AdvertisingSlot id="banner-ad" />
    );
);
Note: The critical part about the ad slot is the id prop – it corresponds to the IDs in your configuration and is used by the script from the ad server to find your container div in the page's DOM.
You can also add CSS classes to the AdvertisingSlot component (using the className prop) or inline styles (using the style prop).
← Home | Usage with Prebid →
