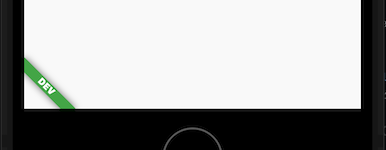
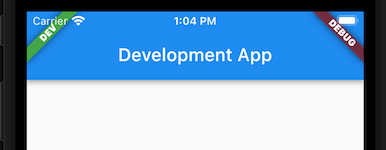
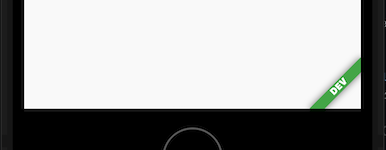
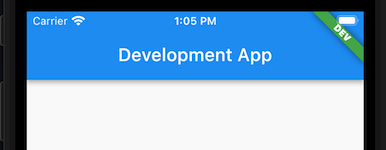
Yes, yet another flavor based package, sorry.
This package helps when creating 'flavors' of a Flutter App (this is for Dart code only - not OS specific apps). It allows definition of attributes for each flavor and provides a FlavorBanner that displays a visual indicator of the current running flavor.
- Flavor Banner
- Change banner color
- Change Banner text
- Change Banner position
- Flavor attributes
To get started just add the package to your main pubspec.yaml file.
The idea of this package is to allow the maintenance and running of different versions of your app, for example you may want to connect a development or test app to a set of different end points that your production app. This can be achieved by setting up the attributes of various flavors of an app.
To make this as simple as possible it should be a matter of just setting up different version of the lib/main.dart file for each flavor. Do all the flavor changes in these files and then you can keep the rest of the app the same, which should mean must less custom code/maintenance for each flavor.
So for example:
- lib/main_dev.dart (development flavor)
- lib/main_test.dart (test flavor)
- lib/main.dart (production flavor)
See below for simple examples, or see the /example folder for more detailed use where the flavor is tracked by a Riverpod provider.
This will add a green marker on the app with the title DEV.
import 'package:flavours/app.dart';
import 'package:flutter/material.dart';
import 'package:sa_flutter_flavor/sa_flutter_flavor.dart';

void main() {
  runApp(App(
    flavor: FlavorConfig(
        name: "DEV",
        color: Colors.green,
        attributes: {'title': "Development App"}),
  ));
}
This will add a red marker on the app with the title TEST.
import 'package:flavours/app.dart';
import 'package:flutter/material.dart';
import 'package:sa_flutter_flavor/sa_flutter_flavor.dart';

void main() {
  runApp(App(
    flavor: FlavorConfig(
        name: "TEST",
        color: Colors.red,
        attributes: {'title': "Test App"}),
  ));
}
This will not display a flavor banner as it is marked as a production flavor.
import 'package:flavours/app.dart';
import 'package:flutter/material.dart';
import 'package:sa_flutter_flavor/sa_flutter_flavor.dart';

void main() {
  runApp(App(
    flavor: FlavorConfig(
        name: "PROD",
        isProduction: true,
        attributes: {'title': "My App"}),
  ));
}
These should be the only flavor different files required, you just add more attributes in each as you require any differences for each flavor. Finally the app.dart file takes care of the flavor and displaying the banner.
import 'package:flutter/material.dart';
import 'package:sa_flutter_flavor/sa_flutter_flavor.dart';

class App extends StatelessWidget {
  final FlavorConfig flavor;
  const App({super.key, required this.flavor});

  @override
  Widget build(BuildContext context, WidgetRef ref) {
    return MaterialApp(
      title: flavor.attributes['title'],
      debugShowCheckedModeBanner: true,
      theme: ThemeData(
        primarySwatch: Colors.blue,
      ),
      home: FlavorBanner(
          bannerConfig: flavor.banner,
          child: const AppMain()),
    );
  }
}


