This is an alternative firmware for some sonoff devices to use them over Wifi with MQTT communication protocol. The main purpose of this firmware is to perform as best with Home Assistant.
It is designed with these features in mind:
- Simple low coupled clases with all functionality (esp8266-utils -Relay, LED, Button, WifiManager, MqttManager, DataManager (EEPROM)...).
- Easy to use and reusable to create firmware for other devices.
- C++ code and Arduino interface approach (
setup(),loop()).
It's capabilities are:
- Support for devices with similar pins and configuration -custom esp8266 or esp8285 based boards-. Currently suporting sonoff, sonoff touch, sonoff S20 and sonoff POW.
- Fast connection to Wifi network and MQTT broker.
- Working button toggling relay even when disconnected from Wifi and MQTT.
- Publish device information and state topics to MQTT at connection start and periodically.
- ArduinoOTA to target devices flashing a new firmware over Wifi.
- Automatic Updates from devices calling an Update Server with new releases.
- Support for external switch or button using the additional GPIO (Only for sonoff).
- Device information: Sonoff Basic: iTead WiFi Wireless Smart Switch
sonoff: Without external peripherals.sonoff-button: With external button connected to GPIO 14 and GND.sonoff-switch: With external switch connected to GPIO 14 and GND.
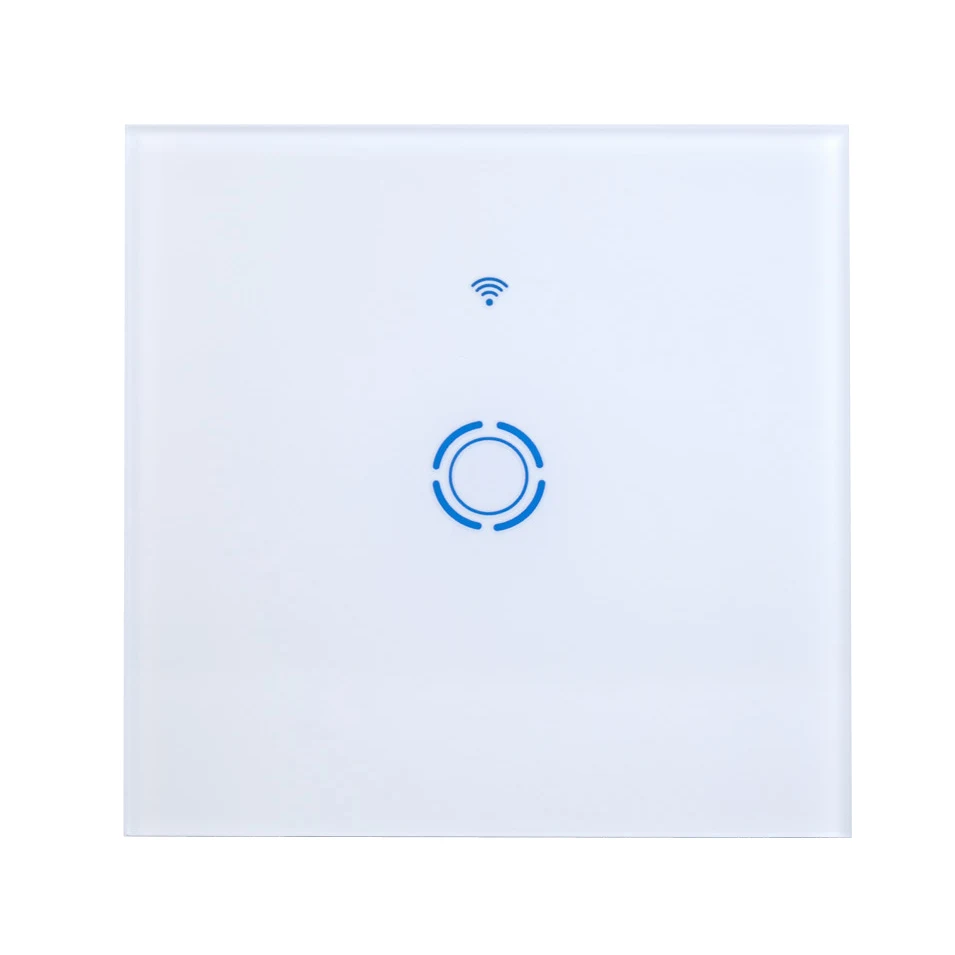
- Device information: Sonoff Touch: WiFi Remote Smart Wall Switch Light Switchç
sonoff-touch
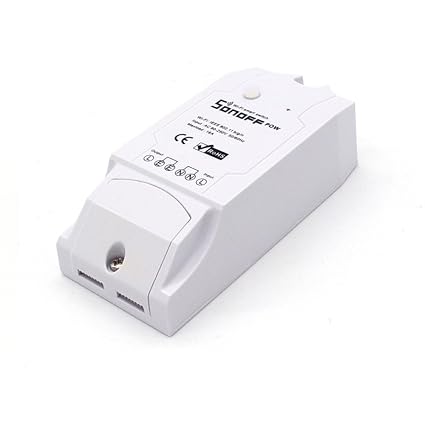
- Device information: Sonoff Pow: Electricity/Consumption Monitor Switch
sonoff-pow
- Device information: Sonoff S20 Socket: iTead WiFi Smart Power Outlet with Timer Function
sonoff-s20
- Device information: Custom device with esp01 chip and push button. It uses the original Sonoff Touch enclosure and power supply.
sonoff-touch-esp01
- Device information: Aliexpress, EWelink touch hack
ewelink-touch-single
- Device information: Aliexpress, EWelink touch hack
ewelink-touch-double
Power your device in flash mode:
- Press the button or pull the GPIO 0 down to GND.
- Connect the device to the USB port.
WARNING: Do NOT connect any device to the USB port of your computer while connected to mains.
Clone this repo and its submodule:
$ git clone --recursive https://github.com/danimtb/sonoff-danimtb.git
This project is built with platformio to manage third party libraries such as AsyncMqtt, Embedis, ArduinoJson... so you will need to install it. The best way to install it is using pip (only compatible with Python 2.7):
$ pip install platformio
Firmware types for supported devices are: sonoff, sonoff-button, sonoff-switch, sonoff-touch, sonoff-s20, sonoff-touch-esp01.
- First flash the file system (SPIFFS) where the HTML web is stored (contents of data folder in this repo):
$ platformio run -e <device-type> -t uploadfs - Then flash the firmware:
$ platformio run -e <device-type> -t upload
For example, in case you want to flash a Sonoff Basic device with sonoff firmware type:
$ platformio run -e sonoff -t uploadfs

$ platformio run -e sonoff -t upload
Or in case your device is already connected to a Wifi running an old version of this firmare, you can flash it with Arduino OTA over Wifi:
- First flash the file system (SPIFFS):
$ platformio run -e sonoff -t uploadfs --upload-port your-device-IP - Then flash the firmware:
$ platformio run -e sonoff -t upload --upload-port your-device-IP
And that's all! :D
The first time you flash a new device, you need to configure some parameters to connect the devie to your Wifi network and MQTT server.
To do that, press and hold for 10 seconds or more (then release) the button and the device will start flashing the LED (if any) and will create a Wifi HotSpot with the name of the device type. Connect to the wifi hotspot and open browser with IP 192.168.4.1. It will bring you to a web to configure the parameters of your device. When you are done, press Save Settings button and the device will try to connect to the Wifi and MQTT network indicated.
Parameter description:
Network Settings
- WIFI SSID : Name of wifi network to connect the device to.
- WIFI PASSWORD: Password of wifi network to connect the device to.
- IP: Static IP address of the device (Usually 192.168.1.XXX)
- MASK: Mask of the device in the network (Usually 255.255.0.0)
- GATEWAY: Gateway of the device iun the network (Usually 192.168.1.1)
- OTA Update Server: IP address + port of the arduinoUpdateServer. E.G. "http://192.168.0.10:8266"
MQTT settings
- MQTT Server: MQTT server to connect the device to
- MQTT Port: Port of the MQTT server
- MQTT Username: Username of the device in the MQTT network
- MQTT Password: Password of the device in the MQTT network
Device Data
- Device Name
- MQTT Status topic: Status topic of the the device
- MQTT Command topic: Topic to command the device (Payloads accepted: ON, OFF, TOGGLE)
- MQTT Secondary Command Topic: Long press topic to send TOGGLE (in case you want to command other devices doing a long press of the button -if not, leave it empty or the same as MQTT Command Topic-)


