Freerouting is an advanced autorouter for all PCB programs that support the standard Specctra or Electra DSN interface.
-
Open KiCad 6.0 or newer
-
Start Tools / Plugin and Content Manager (Ctrl+M)
- Search for the Freerouting plugin
- Click on the Install button
-
Open you PCB design in PCB Editor
-
(Optional) Remove routed tracks and via from the design
- Start Freerouting from the Tools / External Plugins menu
- Wait until the Freerouting app exits and the plugin loads your routed design
-
Download the latest eagle2freerouter ulp file
-
Start EAGLE and open in the control panel of Eagle for example the design my_design.brd.
-
Choose in the Files pulldown-menu of Eagle the item "execute ULP" and select the Eagle2freerouter ulp file. A file with name my_design.dsn is generated.
-
Start the router, push the "Open Your Own Design" button and select my_design.dsn in the file chooser.
-
After making some changes to the design with the router select "export Eagle session script" in the Files pulldown-menu. A file with name my_design.scr is generated.
-
Choose in the Files pulldown-menu of Eagle the item "execute Script" and select my_design.scr.
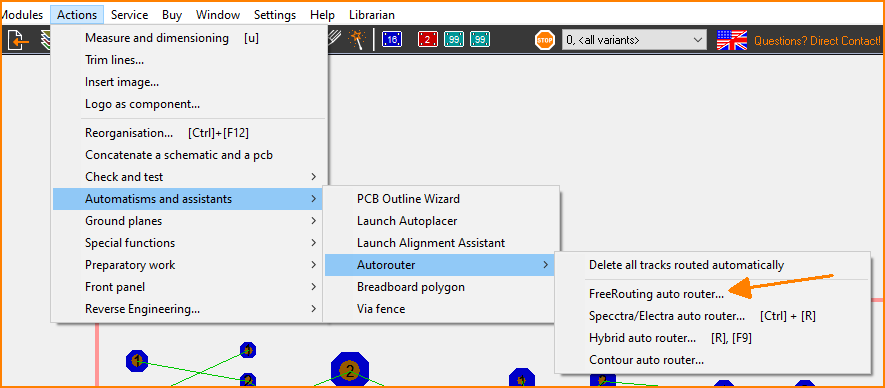
- Freerouting is accesible directly from the GUI menu in Actions / Automatisms and assistants / Autorouter / Freerouting autorouter...
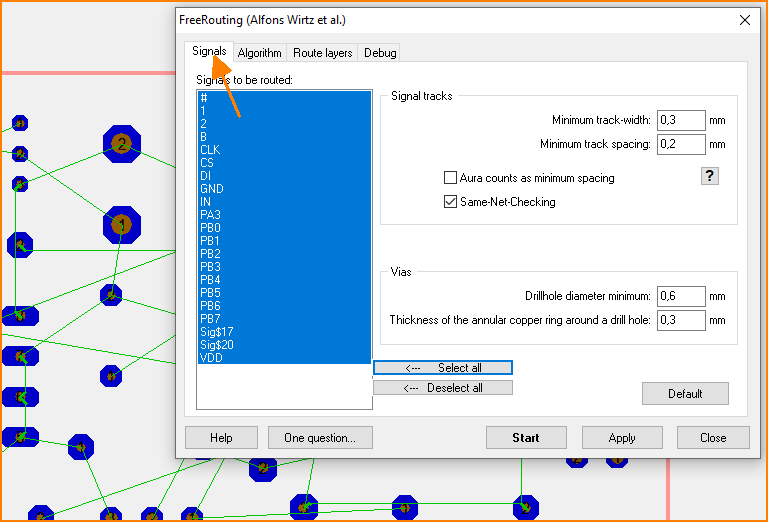
- There you can select the signals (=nets) to be routed
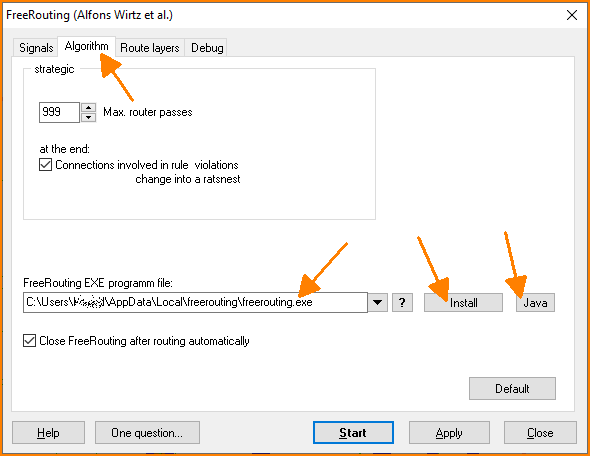
- Next you can influence the algorithm
- They will get the Freerouting installer from https://github.com/freerouting/freerouting/releases/
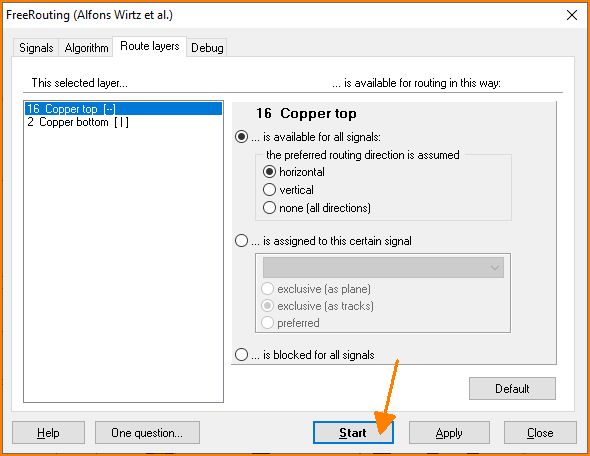
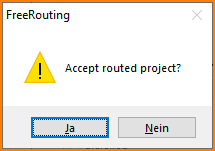
- Normally the user does not have to change the settings and can click directly on the [Start] button. So then it is a one-click solution. After the creation of the session file SES, Target automatically asks, if the results shall be used
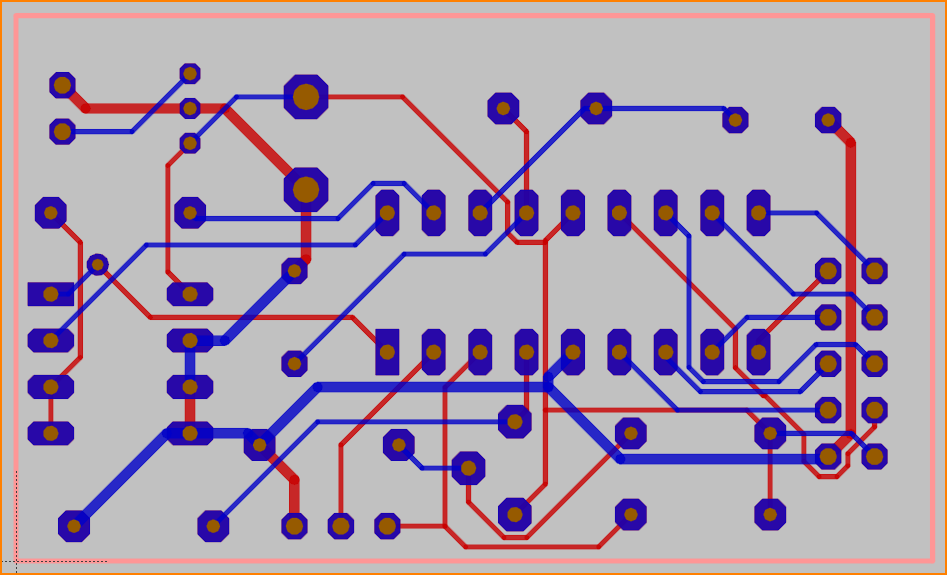
- The tracks and vias are imported immediately into the TARGET project file
-
Download the latest
freerouting-1.8.0.jarfile from the Releases page -
Start pcb-rnd and load your layout.
-
Export the layout as Specctra DSN (File / Export... / Specctra DSN).
-
Start the router by running the
freerouting-1.8.0.jarfile, push the "Open Your Own Design" button and select the exported .dsn file in the file chooser. -
Do the routing.
-
When you're finished, export the results into a Specctra session file (File / Export Specctra Session File). The router will generate a .ses file for you.
-
Go back to pcb-rnd and import the results (File / Import autorouted dsn/ses file...). Track widths and clearances during autorouting are based on the currently selected route style during DSN export.
-
Download the latest freerouting-1.8.0-linux-x64.zip from the Releases page
-
Unzip it and rename the top directory freerouting-1.8.0-linux-x64 to freerouting.net (the default location is /opt/freerouting.net)
-
Start pcb-rnd and ensure that this directory is specified in (File / Preferences / Config Tree / Plugins / ar_extern / freerouting_net...); the location of the executable can be customised.
-
Load your layout
-
Open the external autorouter window with (Connect / Automatic Routing / External autorouter...)
-
Select the freerouting.net tab, and push the "Route" button.
-
Go back to the layout and inspect the autorouted networks. Track widths and clearances during autorouting are based on the currently selected route style when the autorouter is started.
