-
Notifications
You must be signed in to change notification settings - Fork 1
Managing Images
- The Image Manager
- Linking Images
- Unlinking Images
- Viewing Linked Images
- The Image Collections Manager
There are two places to manage images in VCEditor: The Image Manager and the Image Collections Manager. An Image Manager is available in each Collation project to manage images for that project, while the Image Collections Manager is an umbrella manager over images for all Collation projects.
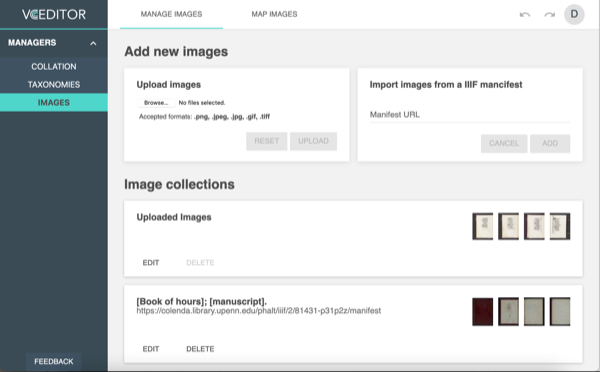
You can add images to your project to build interactive virtual previews. These images can be uploaded and accessed from the Image Manager. When you are logged into a project, select "Images" from the side menu, then switch to the "Manage Images" tab from the top bar.
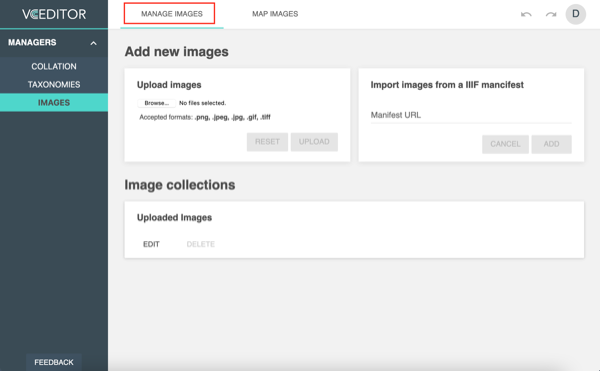
To upload your own images, use the file selector under "Upload images" to choose image files from your system, then click "Upload" to continue.
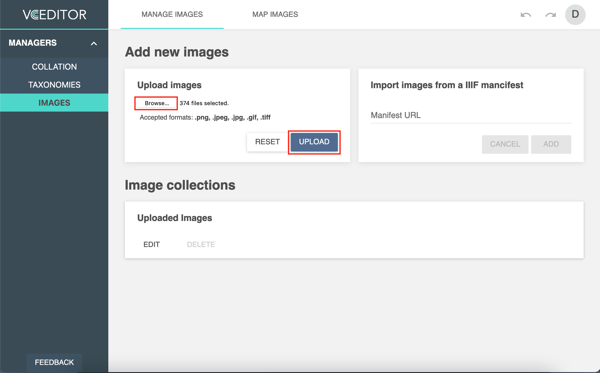
Your images will appear as a collection named "Uploaded Images".
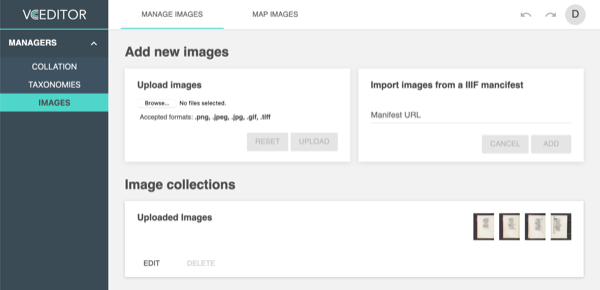
In addition to uploading your own images, you can also fetch scalable images referenced by IIIF manifest files. Simply enter the manifest's URL, then click "Add" to continue. VCEditor requires securely served manifests (ones where the URL begins with https) - if you have trouble uploading a IIIF manifest and it begins with http only, try adding an "s" at the end.

Your images will appear as a collection with the same name as the label on the manifest. You can change a collection name by clicking on the name and typing in a new one.
Images can be linked to sides to build a virtual preview of the collated manuscript. To link an image, select "Images" from the side menu and switch to the "Map Images" tab. You will see the following mapping form:
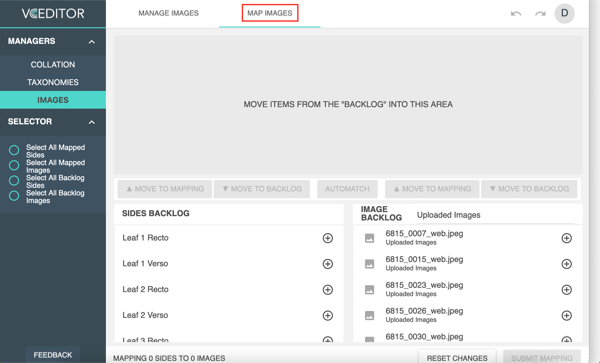
Use the "Move to Mapping" buttons (+) to send sides and their corresponding images to the mapping area, in order of appearance.
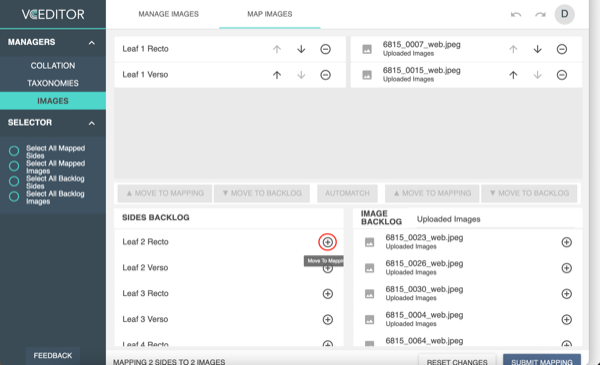
You can also hold down Shift while clicking to select a range of sides or images, or Ctrl to select multiple individual sides or images. Selected ranges can be sent to the mapping in batch by clicking the "Move to Mapping" button.
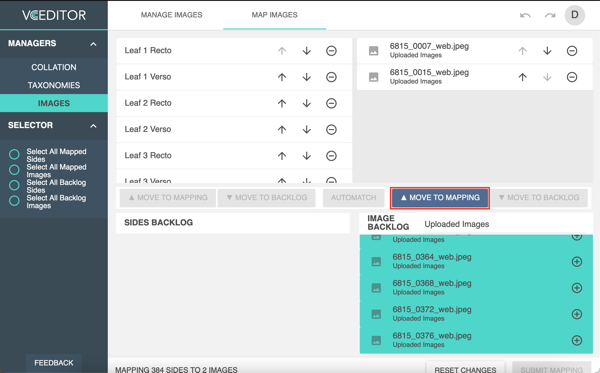
To add images from IIIF manifests, click on "Uploaded Images" to access a drop-down and select the IIIF manifest. Map as above.
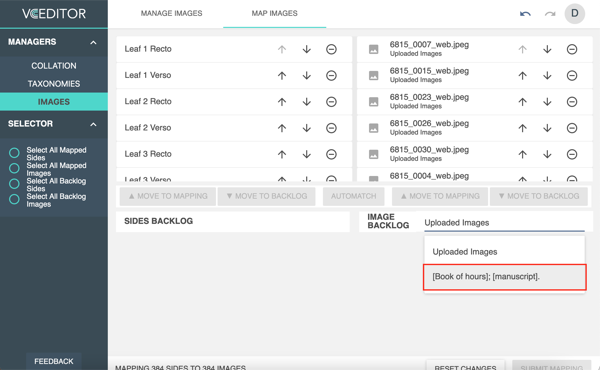
When you are done mapping, there must be an equal number of matched sides and images. Here is an example of a valid mapping:

To apply your mapping, click "Submit Mapping" to start pairing the sides with images.
To unlink an image, select "Images" from the side menu and switch to the "Map Images" tab. Click the - button on each pairing that you wish to unlink.
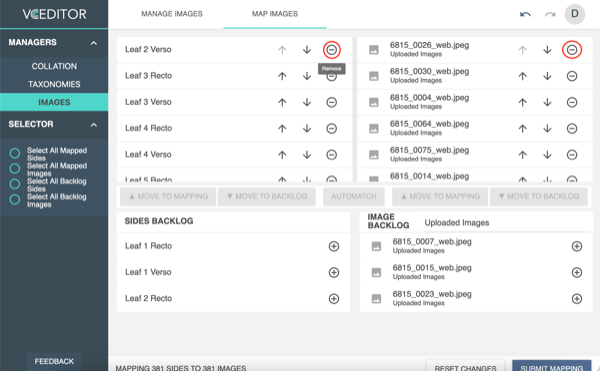
You can also hold down Shift while clicking to select a range of sides or images, or Ctrl to select multiple individual sides or images. Selected ranges can be removed from the mapping in batch by clicking the "Move to Backlog" button.

To apply your changes, click "Submit Mapping" to confirm.
When you select a leaf with images linked to any of its sides, the linked images of the recto and verso appear in the leaf's properties box as thumbnails.
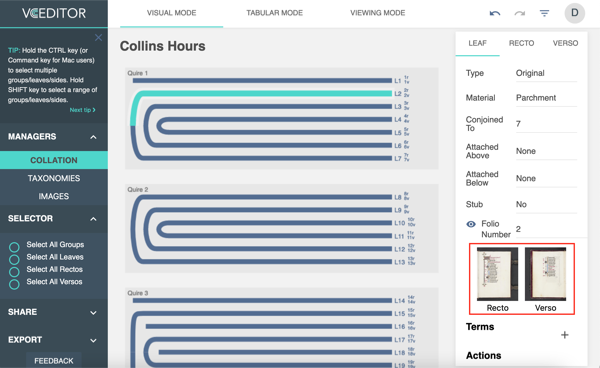
Clicking the thumbnails allows you to view the images in greater detail using the OpenSeadragon zoomable viewer.
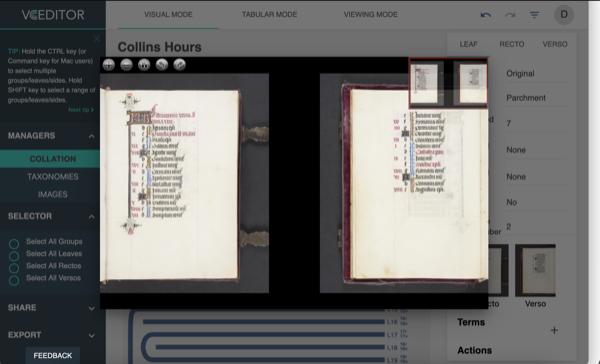
As of March 2022, you can also view conjoined leaves using Bifolia View. When you select a leaf with images linked to any of its sides, you will have the option to view INNER BIFOLIA or OUTER BIFOLIA.
Clicking on these will open an image view with the page image alongside the image of the conjoined page.
In Viewing Mode, select "Image Viewer" to show the OpenSeadragon zoomable viewer. Click on any leaf to view the images linked to the two sides of the selected leaf.
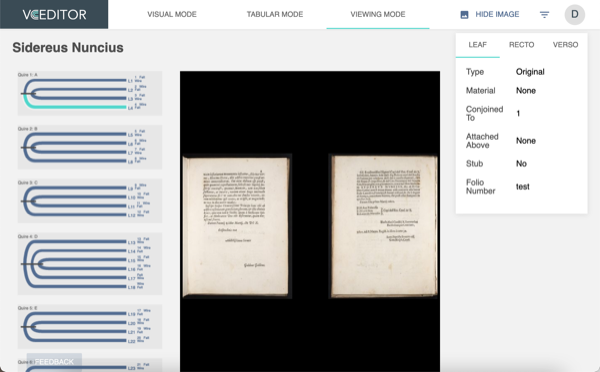
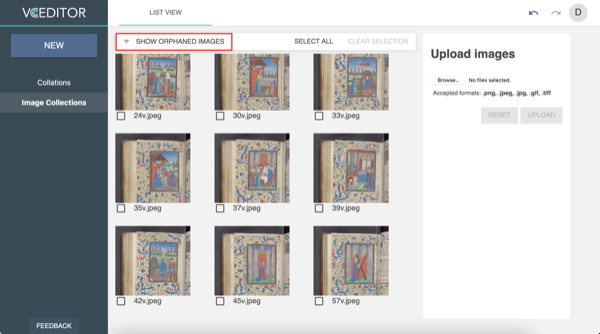
When you are logged into VCEditor and on the main page, select Image Collections in the side menu. All images in all collections will automatically display.
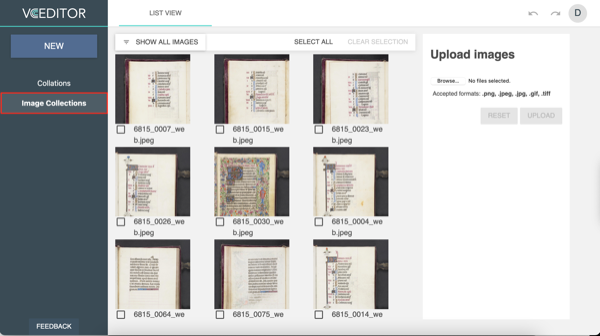
Click on Show All Images to select images to view. You can select Show orphaned images (image files that aren't attached to a Collation project) or images for any project.
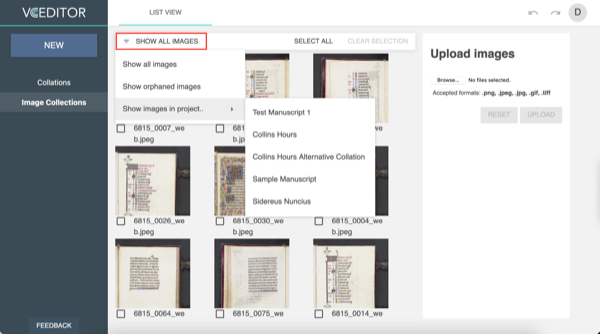
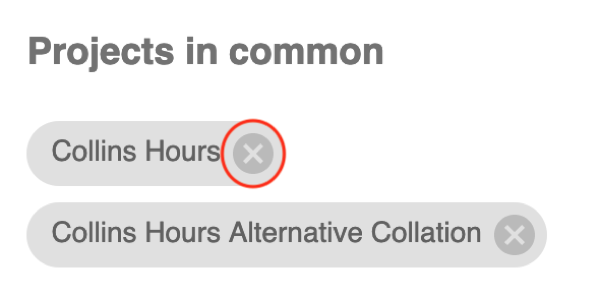
Images and image collections can be shared between projects. First, select the images. Then click on the line above Delete to access the list of projects. Click on one to share images. The new collection will appear as buttons under Projects in Common.
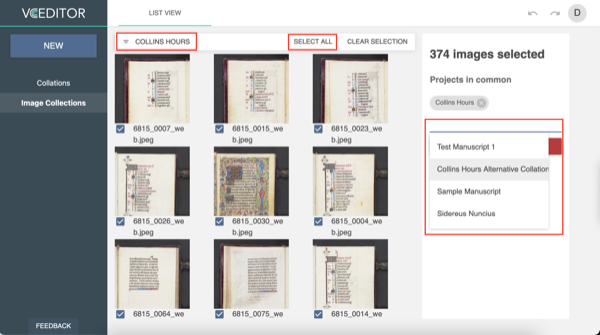
To remove images from a collation, click the x on the collation project's button.
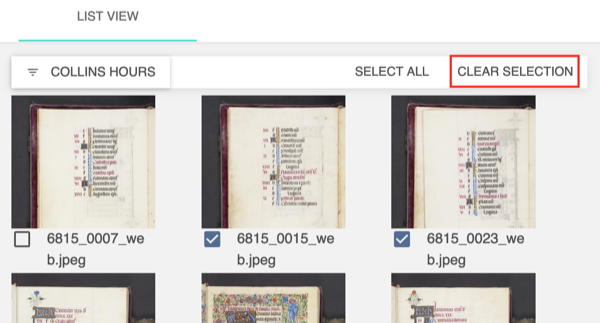
To unselect all checked images, click Clear Selection.
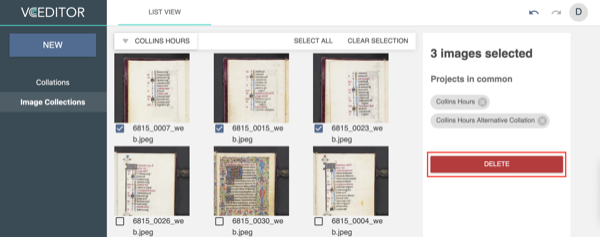
To bulk delete images, select the image files to delete and click Delete.
To upload images in the Image Collections Manager, first click on Show All Images to bring up the Upload images section in the right side menu, then upload images by browsing your computer. (Upload IIIF manifests in the collation-specific Image Manager only)
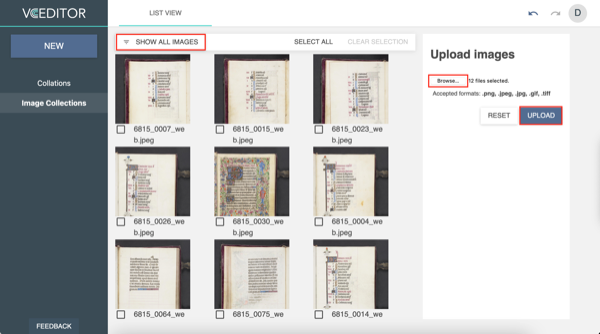
New images are added at the bottom of the list of images, scroll all the way down to find them or select Show orphaned images from the drop-down. Assign uploaded images to collation projects as described above.
