- Click "Browse "
- Click "Resources"
- Scroll to the audio-visual collection and Click "Edit"
-
In this example, we are creating a record for a tape recording of show #1003 from season 1 of the Ebony/Jet Showcase.
-
Click "Ebony/Jet Showcase, TV program"
- Click "Ebony/Jet Showcase, season 1"
- Click "Ebony/Jet Showcase: show #1001"
- Click "Add Child"
- Enter the title.
- In this example the titles is "Ebony/Jet Showcase: show #1003"
- Individual tapes are described at the item level.
- In the "Level of Description" field, click the dropdown and choose "Item"
- Each item-level record needs at least one date.
- Click "Add Date"
- An item-level record (a tape) can have a broadcast date, a creation date, or both.
- Don't use "Publication". Let's enter a broadcast date.
- In the "Label" field, click the dropdown and choose "Broadcast"
- For the Ebony/Jet Showcase, use the first date of broadcast.
- This date will be the same as the date in for the Sub-Series level of which the tape is a Child.
- In the "Type" field dropdown, choose "Single".
- Item level records in the "Ebony/Jet Showcase" Series will not use "Inclusive Dates".
- Enter the broadcast date.
- If there is direct evidence that the tape was broadcast on a different date, e.g. perhaps this is a shortened cut of the original show that was broadcast for a special occasion, enter that date here.
- Direct evidence will be such things as a slate indicating the broadcast date or metadata on the tape, case or associated ephemera.
- Let's also add a creation date.
- Click "Add Date" again.
- For the "Label" choose "Creation" and for the "Type" again choose "Single".
- Enter the creation date the same way the broadcast date was entered.
- Creation dates, when known, will indicate when the recoding was made or assembled.
- This is particularly important for interviews and final shows.
- For interviews the creation date will be when the interview was recorded; for shows it will be when the final cut was created.
- Upwards of 6 months could pass between the date an interview was recorded or a show edit locked and the date when a show was then broadcast.
- Click "Add Extent"
- Click this text field
19. Type "1"
20. Click "Cassettes"
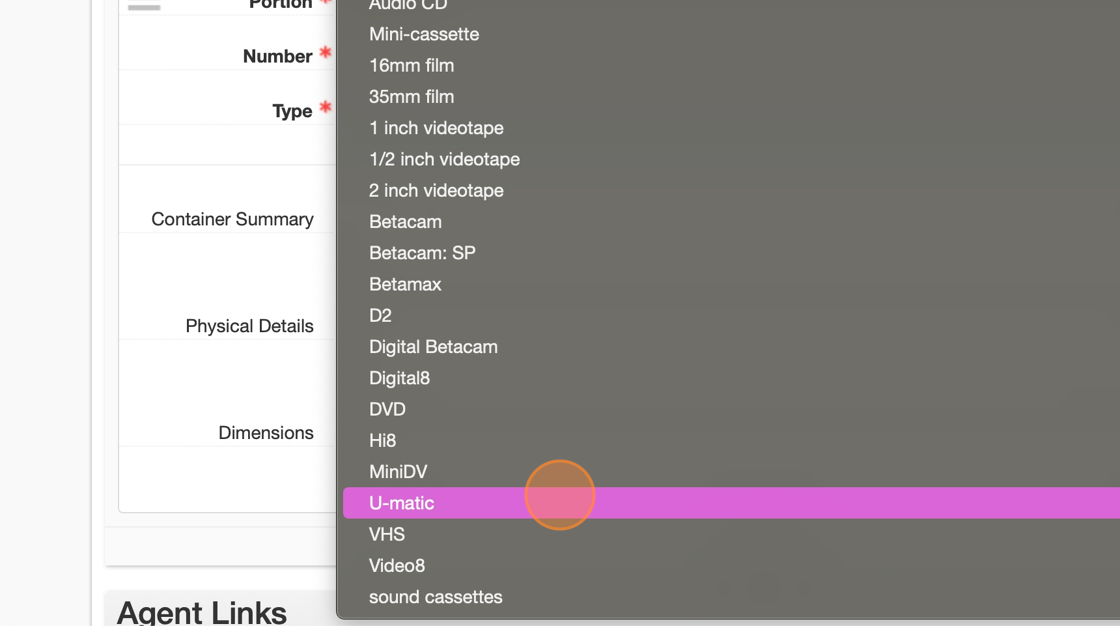
21. Click "U-matic"
22. Click this text entry area
23. Type "SD video, color, sound"
24. Click this text entry area
25. Type "00:28:14"
26. Click "Add Agent Link"
27. Click this menu item
28. Click "Subject"
29. Click the Agent search text field
30. Type "prince"
31. Click the Agent search text field
32. Press [[Delete]]
33. Press [[Delete]]
34. Press [[Delete]]
35. Press [[Delete]]
36. Press [[Delete]]
37. Press [[Delete]]
38. Type "young, an"
39. Click "Terms and Subdivisions Add Term/Subdivision"
40. Click this combo box
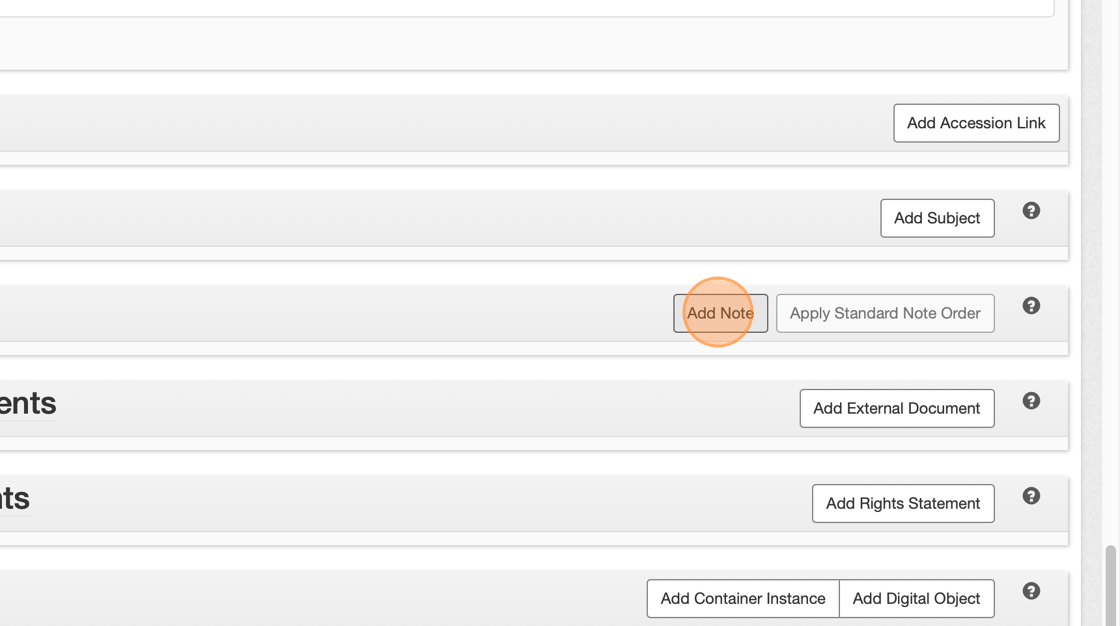
41. Click "Add Note"
42. Click this menu item
43. Click "Scope and Contents"
44. Click here
45. Type "Ebony/Jet Showcase, season 1, e"
46. Click here
47. Type "This is a broadcast"
48. Click "Later"
49. Click here
50. Click "This is a broadcast "
51. Click here
52. Double-click here
53. Press [[Left Arrow]]
54. Press [[Right Arrow]]
55. Type "recording of EJS show 1003 as it aired on 1986-09-12. Where there would have been commercials there is simply a black screen and no audio."
56. Click "This is a broadcast recording of EJS show 1003 as it aired on 1986-09-12. Where there would have been commercials there is simply a black screen and no audio."
57. Press [[Cmd]] + [[x]]
58. Press [[Delete]]
59. Type " Andrew Young is interviewed and talks about his current projects."
60. Click "Add Note"
61. Click this menu item
62. Click "Physical Characteristics and Technical Requirements"
63. Click here
64. Press [[Cmd]] + [[v]]
65. Type ""
66. Click "Add Rights Statement"
67. Click "Add Rights Statement"
68. Click the Remove sub-record link
69. Click "Confirm Removal"
70. Click the Remove sub-record link
71. Click "Confirm Removal"
72. Click "Add Container Instance"
73. Click this menu item
74. Click "Moving Images (Video)"
75. Click the Link to top container link
76. Click "Create"
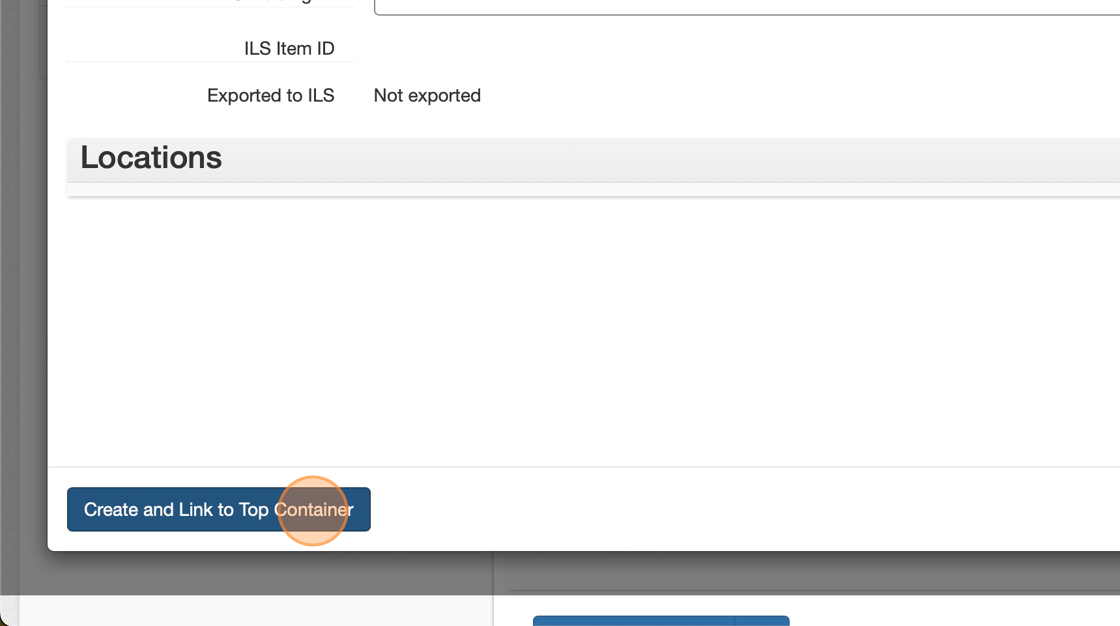
77. Click "Create and Link to Top Container"
78. Click this menu item
79. Click "AV Case"
80. Click this text field
81. Type "U-matic"
82. Click this cell
83. Click this text field
84. Type "JPC_AV_00001"
85. Click "Create and Link to Top Container"
86. Click this menu item
87. Click "Object"
88. Click this text field
89. Type "JPC_AV_00001"
90. Click "Save Archival Object"


